
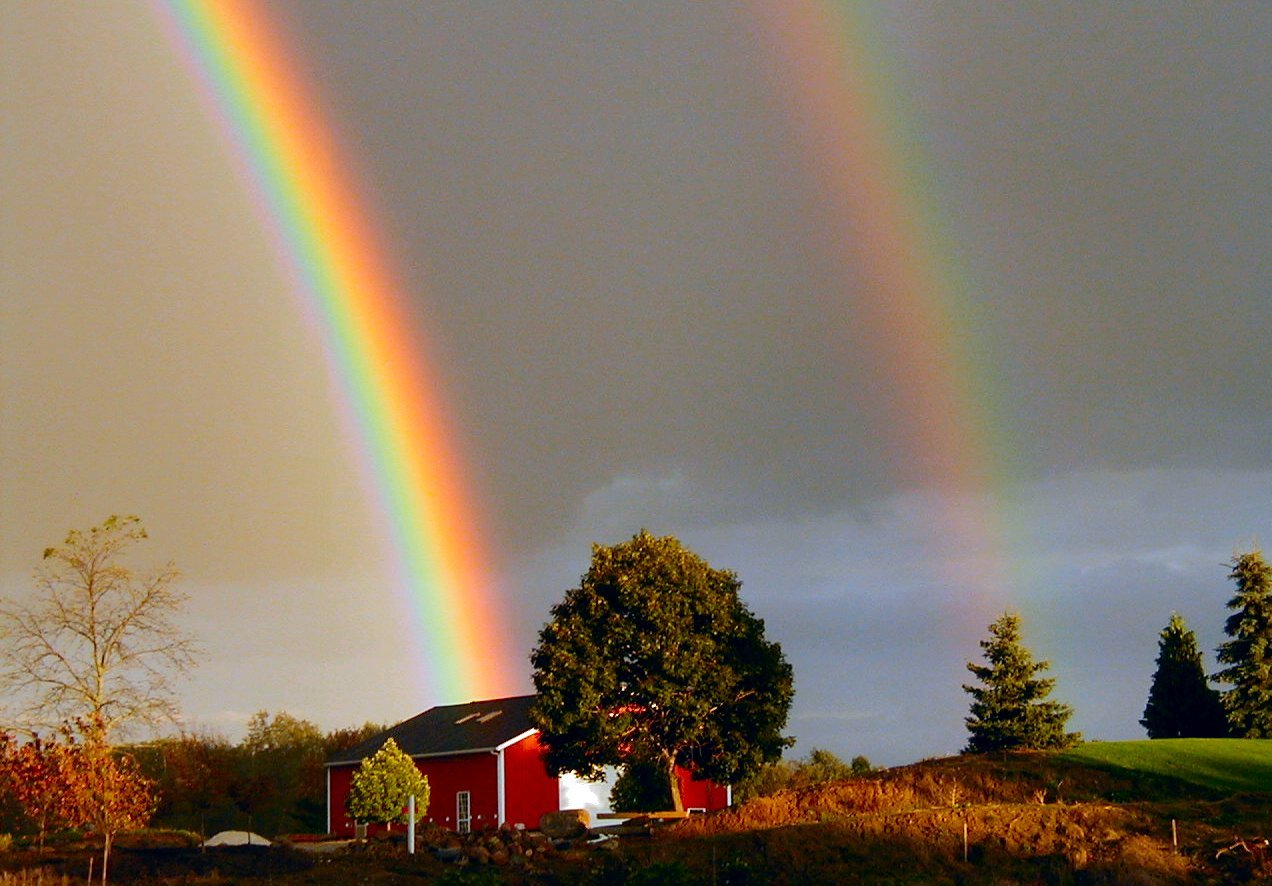
 Rainbows can be observed whenever there are water drops in the air and sunlight shining from behind a person at a low altitude angle (on the ground). The most spectacular rainbow displays happen when half of the sky is still dark with draining clouds and the observer is at a spot with clear sky in the direction of the Sun. The result is a luminous rainbow that contrasts with the darkened background. ...from Wikipedia.
And now... this trick teaches you how to create a rainbow in a few steps using gradient presets in Photoshop CS.

Step 1
Open an image on which you wish to add the rainbow. Press D. (to set default foreground and background colors, kinda magic isn't it?) Create a new layer by clicking on the 'Create a new layer' icon at the bottom of the layers panel.

Step 2
With the new layer selected, click on the Gradient tool
 on the tool bar. Now the gradient properties will be displayed just below the main menu as in the image below. Give similar settings as in this image. Next click on the gradient image (marked in red below)
The Gradient Editor will be displayed as in the image on the right.
Step 3

From the presets, select the sixth colored box on the second row. Below you'll see the colored bar with pencil icons called tab stops.
Step 4
Drag on these color tabs and reduce the width and opacity using the opacity tabs above. Experiment the different tab stops and you will have an idea what each tab stop is meant for. If you wish to remove any tab stop just drag the tab stop out of the window.
Step 5
Add a new tab stop with the color orange. To create a new tab stop just click on the bottom border of the rectangle, a new color tab stop with the same color to its next color stop. By clicking on this color tab stop you can change the color. Drag the colors to the right side.
Step 6
This is how the settings look after all the changes.

Step 7
After you create the new gradient, click on OK. Now you'll see this gradient in the gradient properties bar (below the main menu).
Step 8
From the gradient properties select the radial gradient, place the cursor at the bottom left corner and drag it to the top middle edge of the image. (Try out different positions till the rainbow position suits your image)

Step 9
On the layers panel change the opacity to 21%. In the final image if you wish to erase any part of the rainbow that appears out of place you can use the eraser tool with a brush size between 24 to 36 and erase the unwanted portion.

Here we go! The picture with a colorful rainbow!

See this tutorial in Indonesia
Related Topics :
Air Brush Style | Dancing Text Animation | Vektor with Photoshop | Menu Navigation | Abstract Background | Rain Effect | Matrix Effect | Firing Text | Retouching Image | Transparent Image


Lach ini udah lancar kok...
ReplyDeletekesulitannya dimana...?
postingan gambar gk sesuai sama postingan tulisan, saya biasa pake (center) buat gambar, tp jadinya malah berantakan gini...
ReplyDeletekan jadi 'menyesatkan' pembaca... kesian banget ni saya kang :(
mau pake table sbg solusinya, udah terlalu banyak, ribed edit 1 per 1 lagi dari awal...
any suggests?
agak kebayang dikit-dikit.. praktek dulu ah...
ReplyDeleteWach ...keren banget Bos
ReplyDeletekalau warnanya lebih cerah/muda sedikit tambah indah ya Bos sehingga ACEH BLOGGING atau ACEH WORDPRES nya lebih terexpose....mantap banget
Thanks banget ya Bos ...saya save dulu ya gambar nya Bos
kang ujannya gede amir nih :(
ReplyDeleteAceh Wordpress? wow... banyak banget om... yang mana lagi tuh??? alamatnya?
ReplyDeletewah keren buanget nh kang artikelnya
ReplyDeleteWow! good trick
ReplyDeletethanks for sharing
I can't use Photoshop till now.
ReplyDelete:">
bisa nggak ya gubrak...!
ReplyDeleteYaaaa... ampyunnnn kuerennnnn beengggggg....Top Markotop...wesss
ReplyDeletewow!! keren tutorialnya..
ReplyDeletebtw, lam kenal yah ^^
mank cewe kok yank punya link ->> http://dhe-n-music.blogspot.com/2008/10/nightwish.html
hehehe...
beautiful... just like me :)
ReplyDelete@ harry seenthing : tulung di kasih tau kekurangannya kang :(
ReplyDelete@ momeen : my pleasure ma'am
@ hell-da : me neither :p
@ mata hati : tau juga da mba'... :p
@ yumaima : apanya yg keren ni??? saya??? itu mah pstinya mba, pan saya dari dulu juga mang udah keren... (mabuuuuuuuuuuurrrrr...)
@ dhe : o gtu ya.. maap deyh... meluncur kembali :)
@ Liliana : do i know you???
kereen..kereen..., aku link aah...boleh kan...
ReplyDeletebtw mana serabi nya ? hehehe....
Mauuuuuuuuuuu.............
ReplyDelete@ pinky : silahkan dan terimakasih :) serabi, ada tuh depan gang rumah, tinggal dateng aja... bayar ndiri tp nya.. wkwkkwkwkww...
ReplyDelete@ dmy : cie cie cieeeeeeeeeeee...