Showing posts with label Texture. Show all posts

Monday, August 23, 2010

How to create Original Texture

How to create Original TextureWelcome again to our PS Holic site. We're hoping so much that you'll come again and again to enjoy awesome experience unique in the way of presentation available each visit.

Texture is an important element and is one of the most popular things used by designers. Almost all types of digital design from background manufacturing to web design, creating realistic visuals and even for digital scrapbooking use it.

So, always useful to have the ability to create high-quality textures with Photoshop.


Hire Me?!

I hope you will find this trick useful as well. Enjoy! We will quickly create a texture for later use.

Step 1.


Create a new document. I used 1280 x 1024px for my canvas size. Make sure your foreground color is black and your background color is white. You can simply press D on your keyboard to do that.

Step 2.

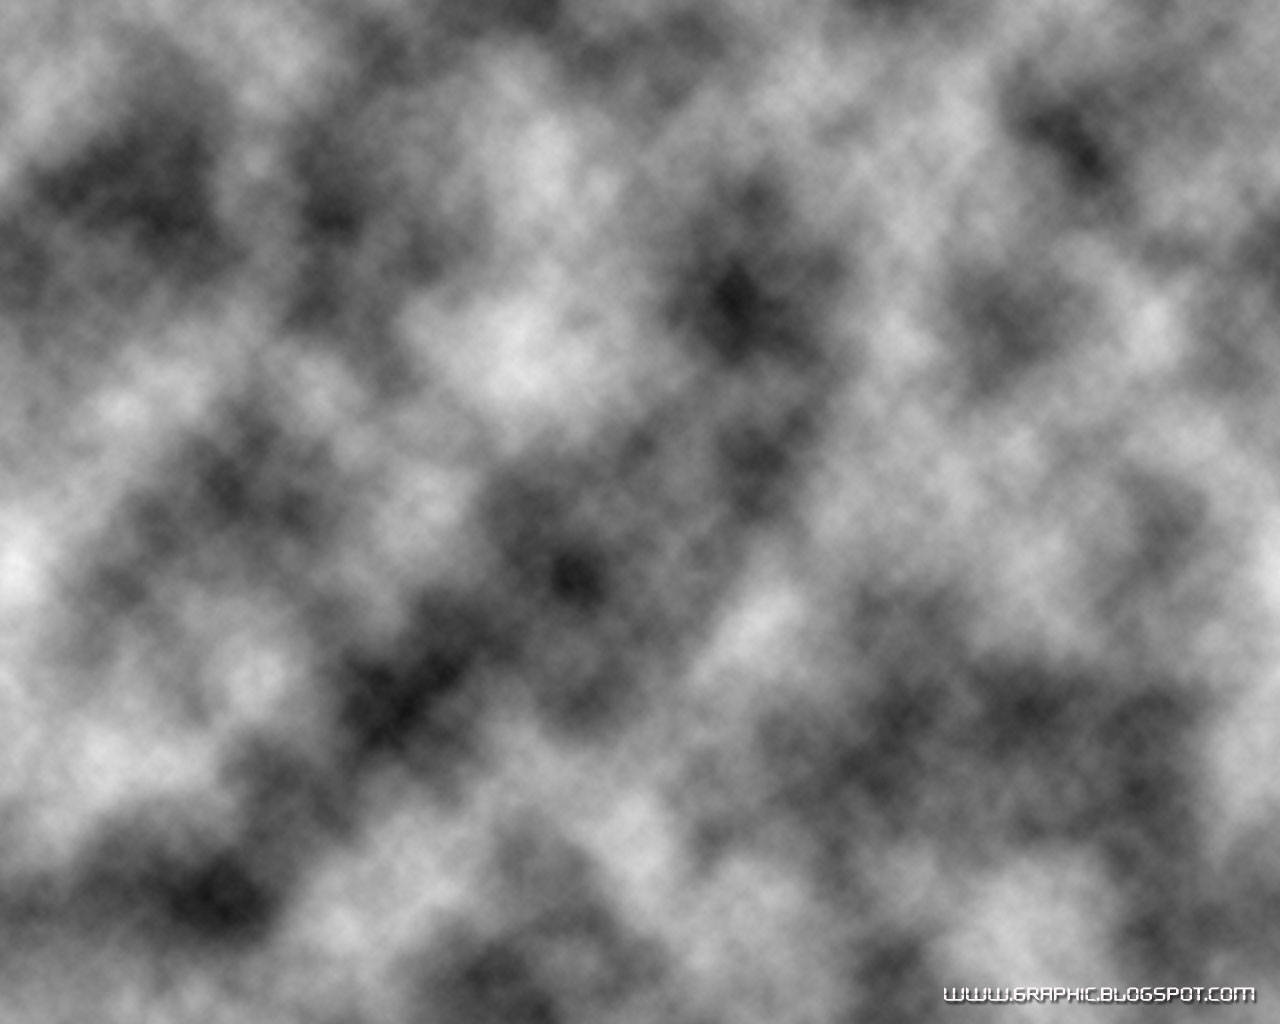
Add a new layer and go to the menu Filter > Render > Clouds.

How to create Original Texture

Step 3.

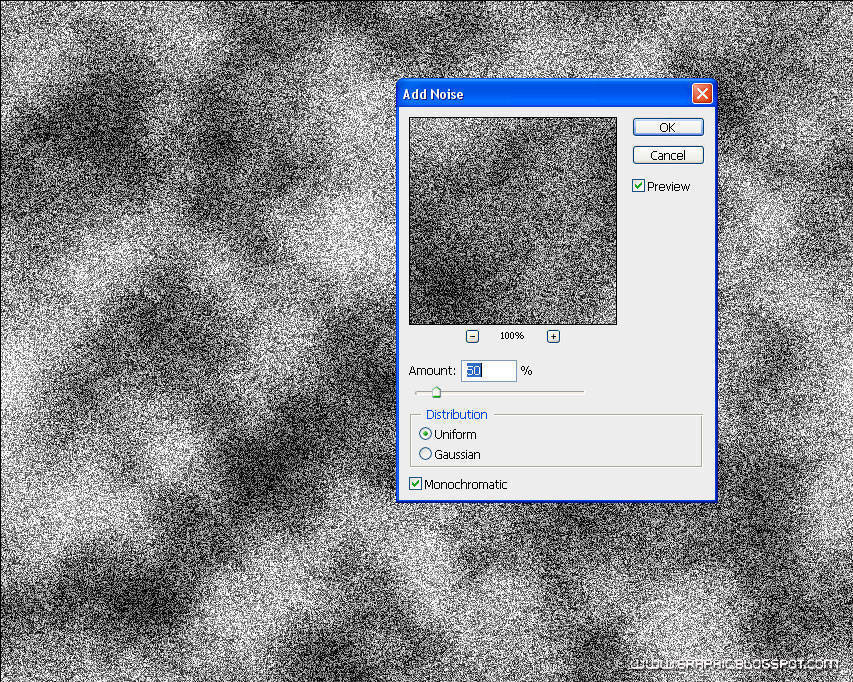
Then go to Filter > Noise > Add Noise. Choose the following settings: Amount : 50%; Distribution : Uniform; Monochromatic : On.

How to  create Original Texture

Step 4.

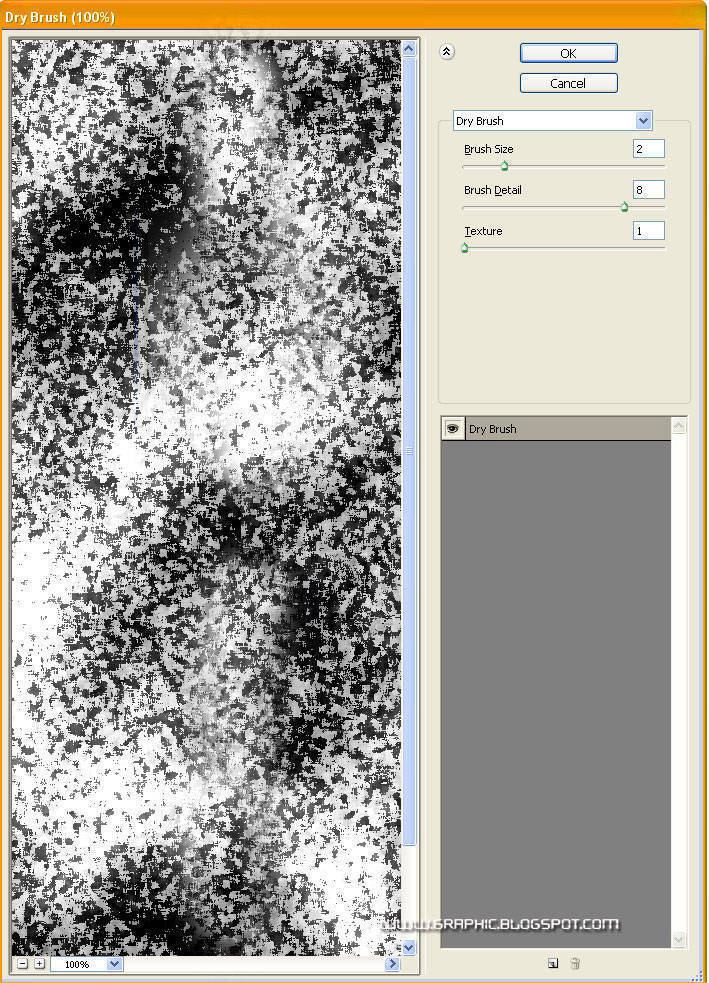
After that, use Filter > Artistic > Dry Brush with settings: Brush Size : 2; Brush Detail : 8; Texture : 1.

How to create Original Texture


Step 5.

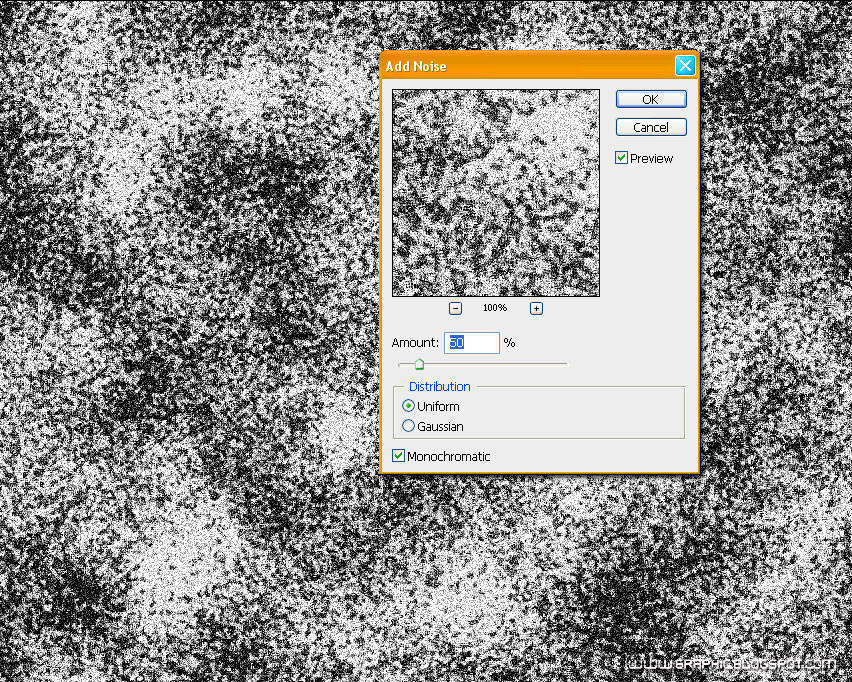
Now again, add some noise by going to Filter > Noise > Add Noise and use the previous settings.


How to create Original Texture

Step 6.

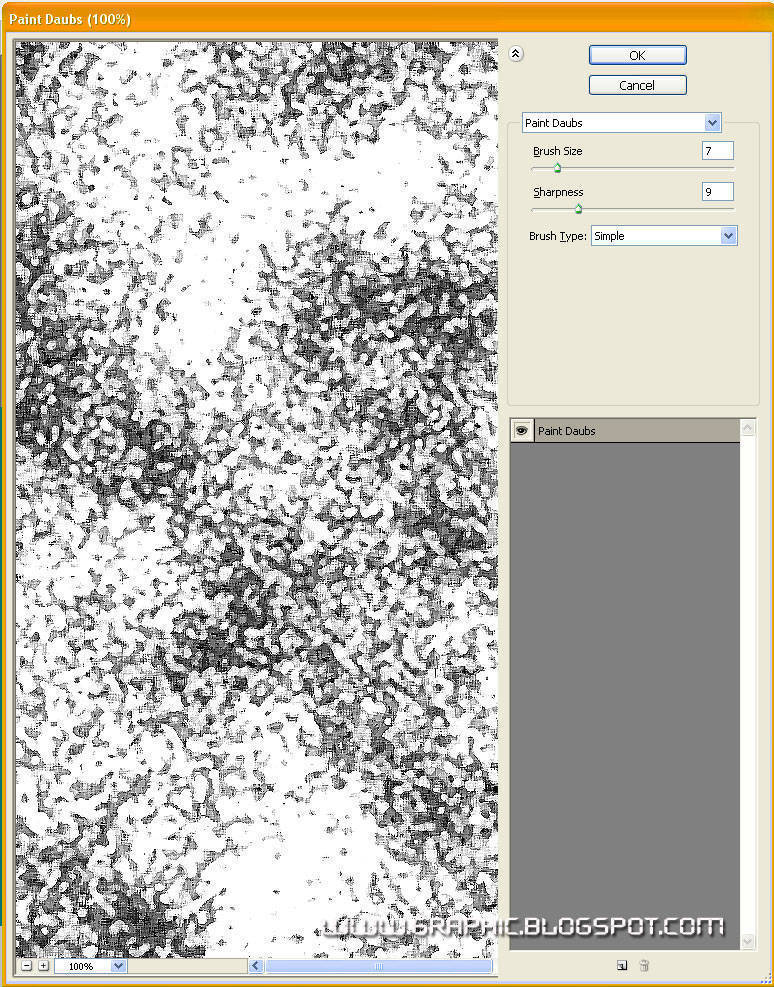
Then use Filter > Artistic > Paint Daubs with the settings shown in the screenshot:


How to create Original Texture

Step 7.

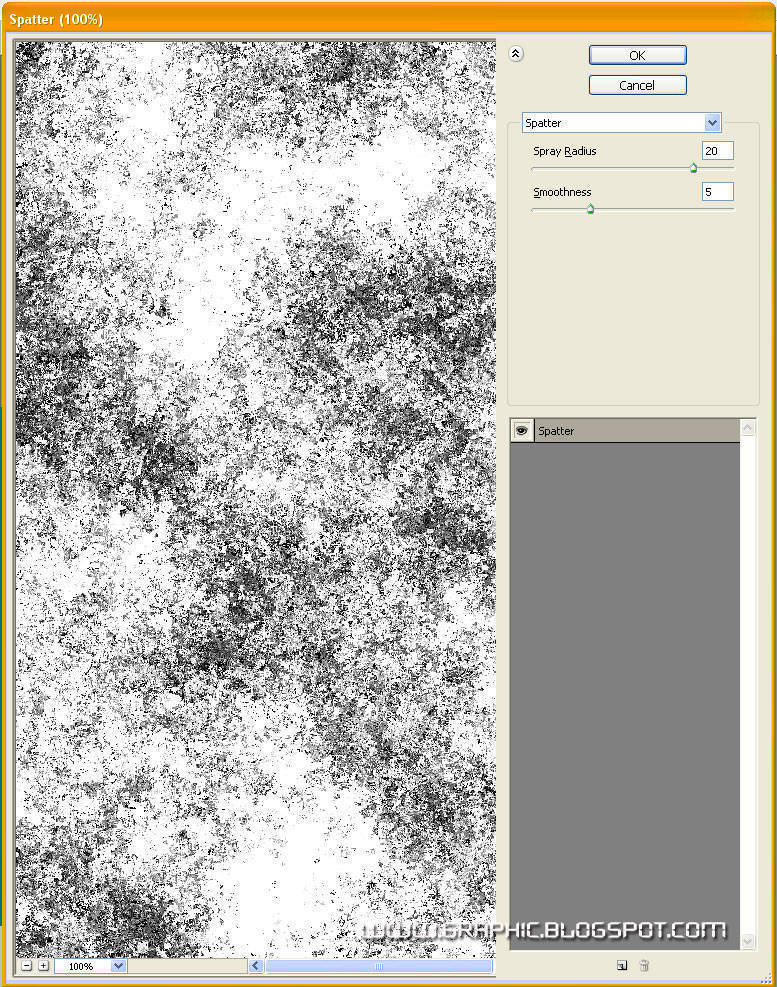
Now use Filter > Brush Strokes > Splatter with Spray Radius : 20 and Smoothness : 5.


How to  create Original Texture


Step 8.

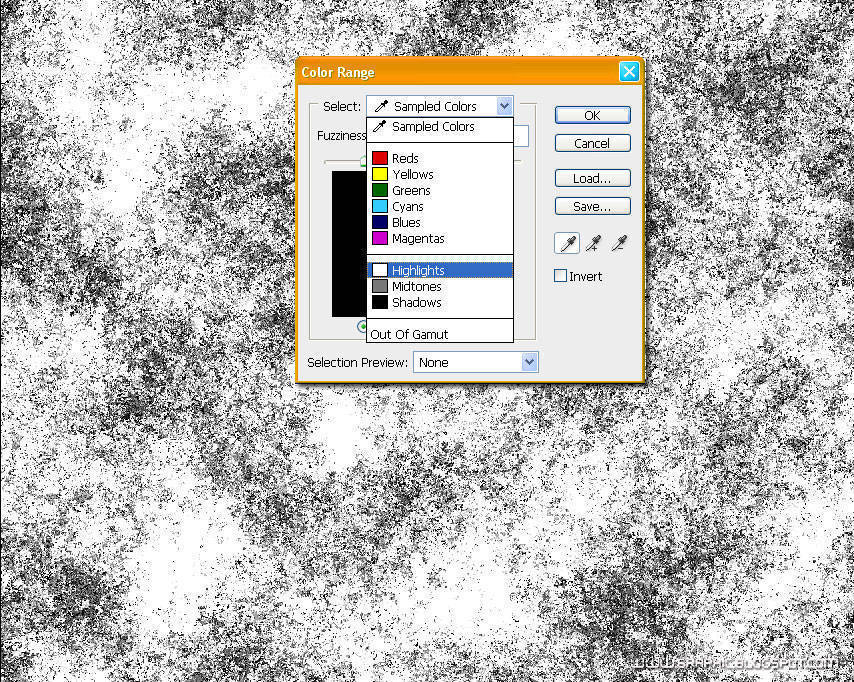
Go to Select > Color Range, choose Highlights, hit OK

How to create Original Texture


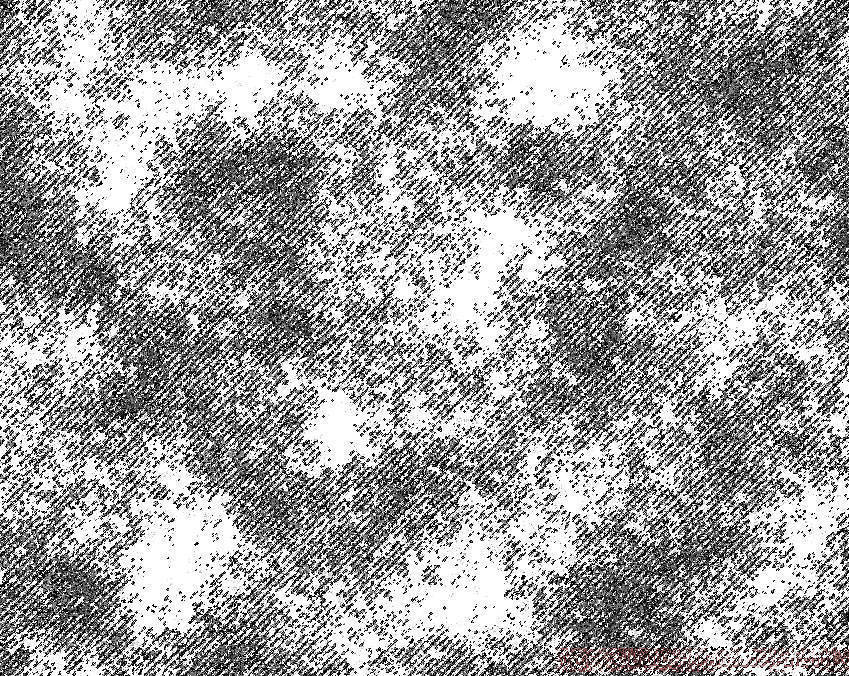
You will see that random areas in your texture are now selected.


How to  create Original Texture

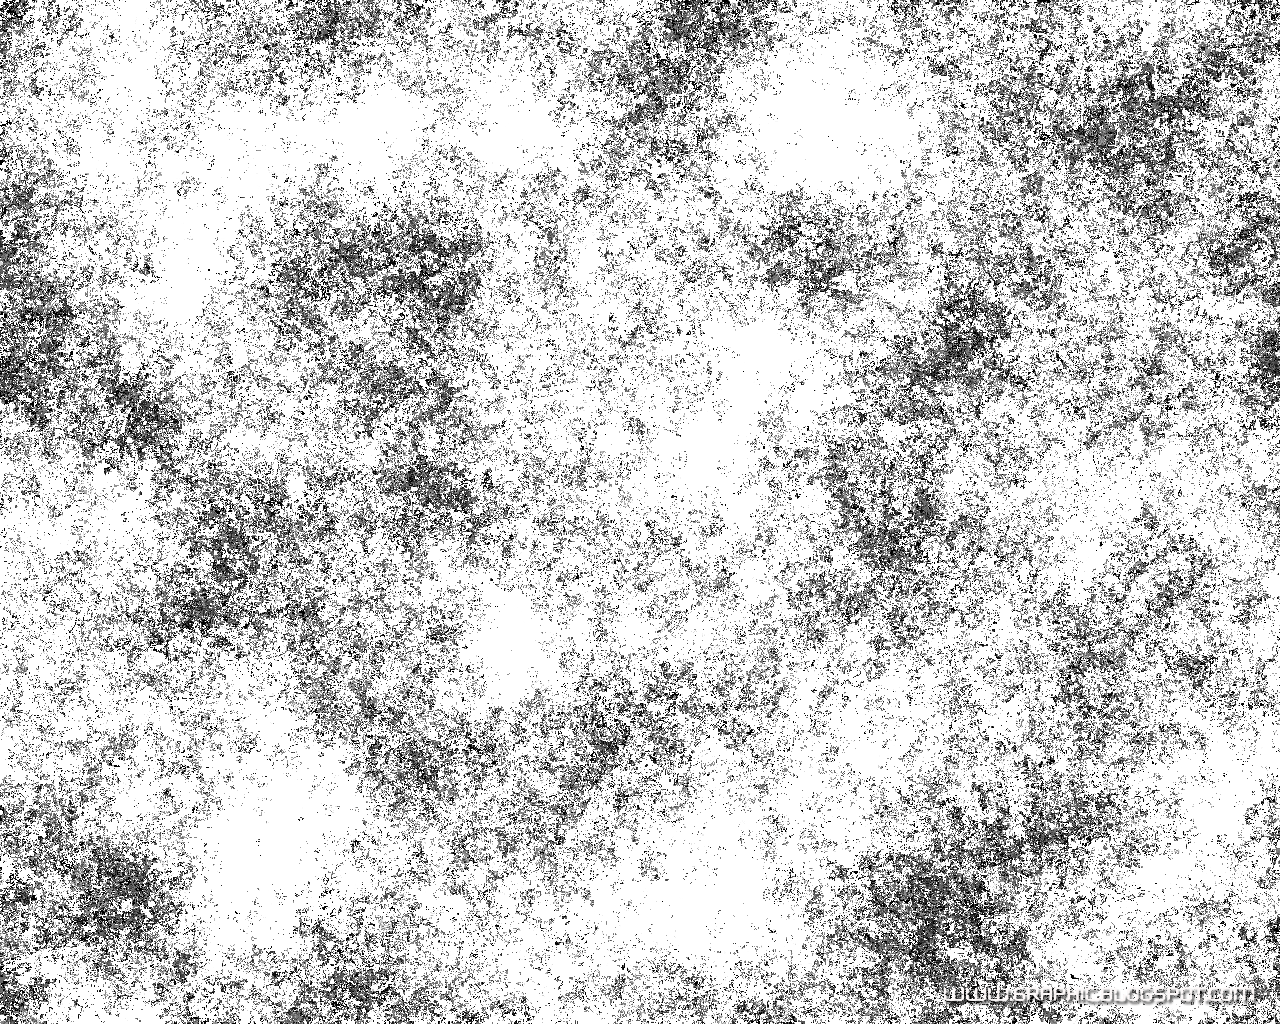
We will delete them by pressing Delete. Also, delete the background layer and you're done with your texture! Save it, we'll use it later.

How to create Original Texture


See other samples here!


Tuesday, January 05, 2010

Creating Levi's Patch

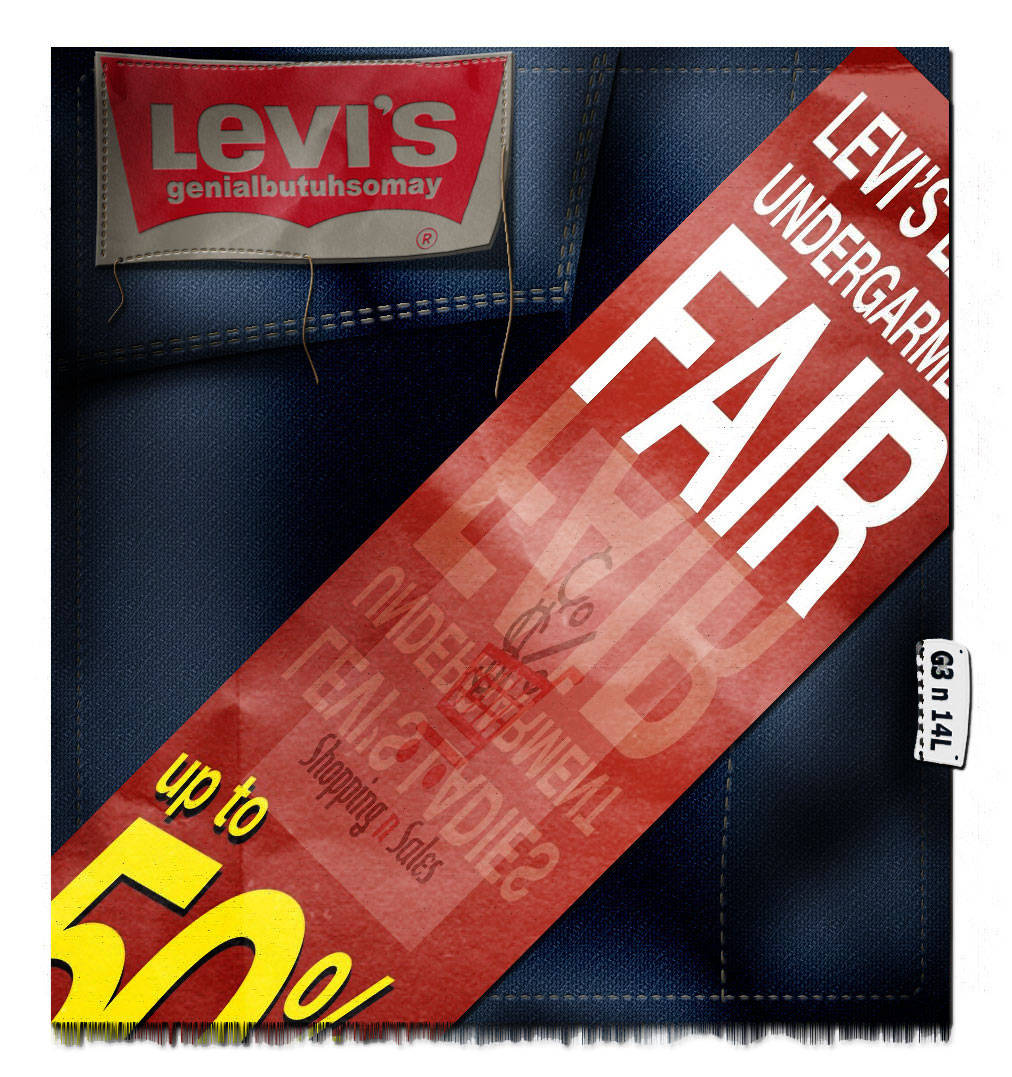
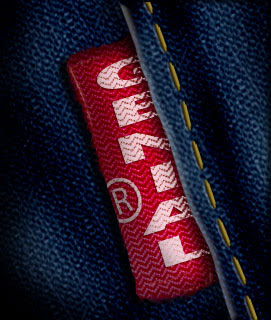
Creating Levi's PatchMesdames Monsieurs, BONJOUR! Our goal for this tutorial will be creating a denim textured patch (from Photoshop Texture bank) with simple stitching, to draw a realistic what we called Levi's pant entirely from a few artistic filters, Wind and a few basic layer styles.

Mesdames Monsieurs... There are some really nice tricks along the way,

Let's get started!

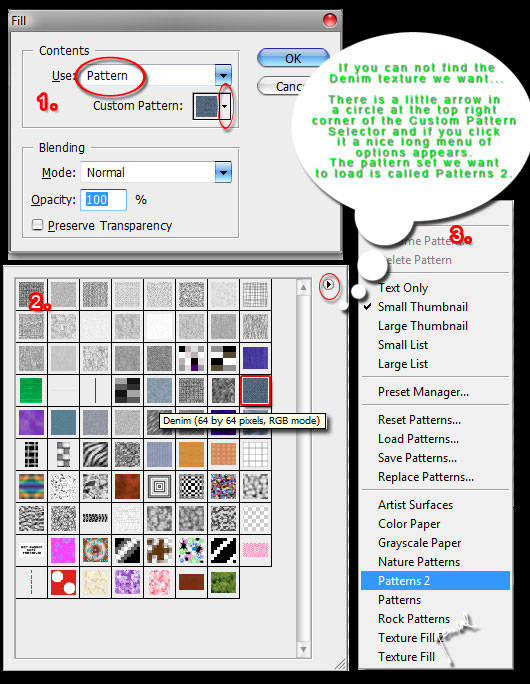
First thing first is create this simple denim background. Open your New Blank Document. This will be 700x500 at 72ppi. That's quite enuf. Create a New Layer, and from the main menu, go to Edit > Fill which will bring the Fill dialog box up.

You can Short it cut by pressing Shift + F5 from your PC.

Choose Pattern, once it's selected, click OK.
Creating Levi's Patch


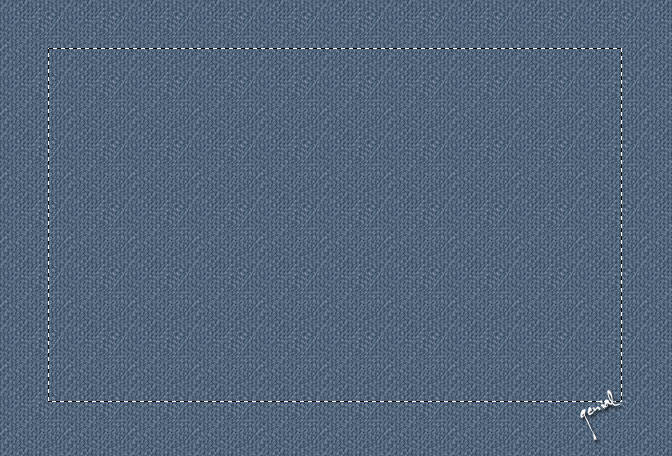
Mesdames Monsieurs, from your PC, press your M key to call the Rectangular Marquee tool up, make a slection like this :)
Creating Levi's Patch


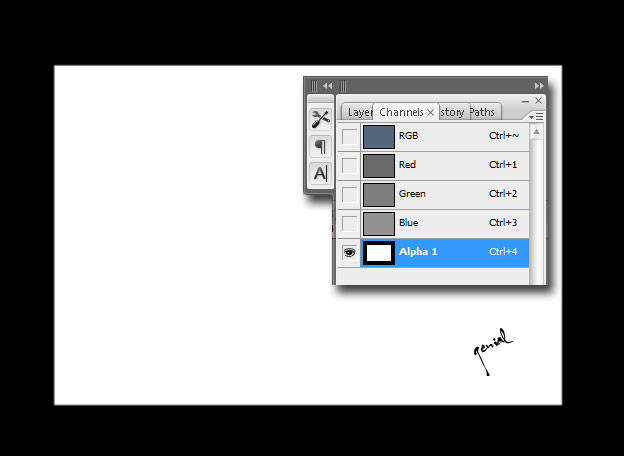
Now switch over to Channel tab in your Layers Palette Mesdames Monsieurs, hit the little button at the bottom of the Channels palette to Save the Selection As Channel. Activate your new Alpha Channel, press Ctrl + I to Inverse the selection, then hit Ctrl + D to Clear the selection
Creating Levi's Patch


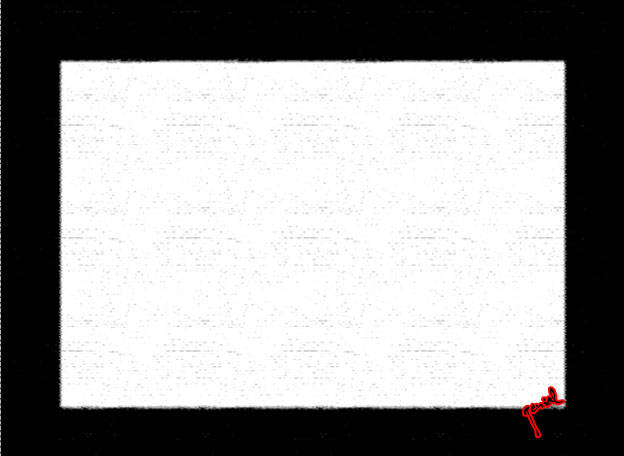
Now we are going to add some Grunge look for our Denim. From the main menu, go to Filter > Sketch > Conte Crayon with the default setting, which is..

Foreground Level : 11
Background Level : 7
Texture : Canvas
Scalling : 100%
Relief : 4
Light : Top
Creating Levi's Patch


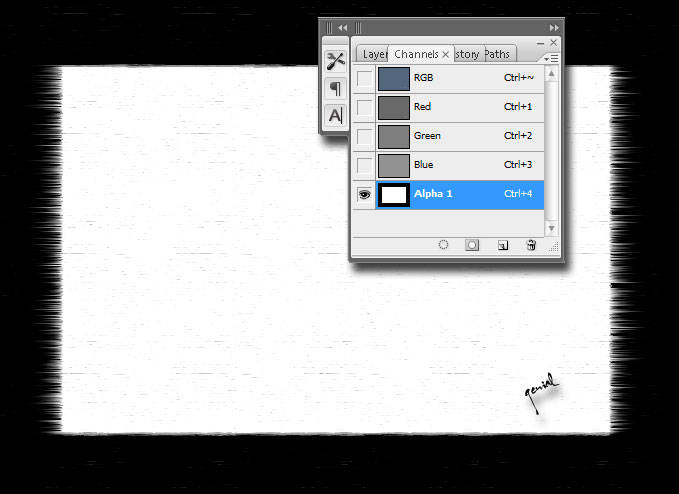
Take a look at the image you've created a moment, give it a break.. After a higher realism on your smoke variation, go to Menu Filter > Stylize > Wind and choose Wind and From The Right and click OK. Repeat that step except this time choose it opposite -whisch is- From The Left.
Creating Levi's Patch


Ctrl + Click on your Alpha 1 Channel to Load the Seletion, press Shift + Ctrl + I to Inverse the Selection. Click your RGB channel, switch back again to your Layer. Don't STOP.. With the Denim layer selected, add a simple Layer Mask by choosing the Create Layer mask icon from the bottom of your sweet Layers palette.

GOSH!!! If Mesdames Monsieurs followed along like a good little monkey, ooOoPppsss.. then your Denim Layer should now look like this.
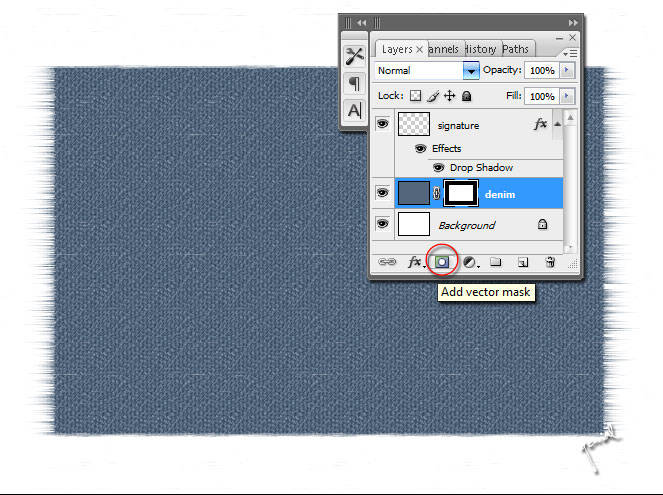
Creating Levi's Patch


Add some black brush thing to paint the Right and Left edges of your Denim down where the wind filter blows to get the more realistic look from the piece o'Levi's s***!!!

Make sure when you do that painting black brush thing, the Layer Mask is still selected Mesdames Monsieurs.
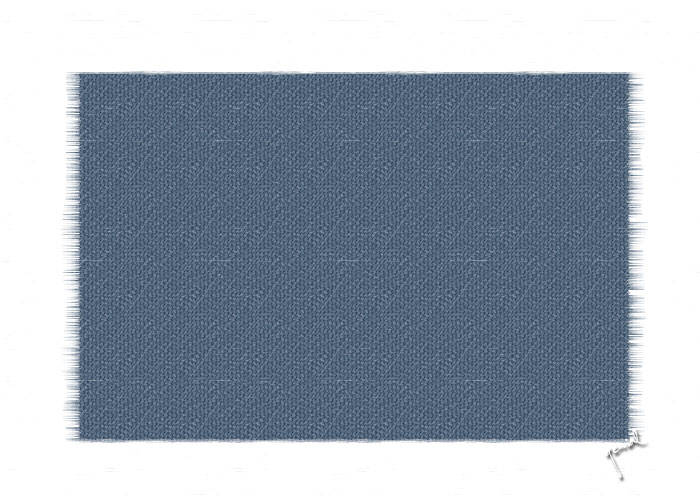
Creating Levi's Patch


Mesdames Monsieurs... don't forget to always adding a slight drop shadow to this layer (Levi's/Denim layer in this case). Set it Blending Option with;

Drop Shadow checked

Blend Mode : Multiply
Opacity : 60%
Angle : 120
Use Global Light : Checked
Distance : 2px
Spread : 0%
Size : 3px
Layer Knocks Out Drop Shadow : Checked

Just leave the Contour Quality and Anti-Aliased with Noise as the Default.

Done??!?!? It is time to add a higher realism stitches by introducing some Brushes Option from Brushes Preset (F5). I told you this, experimentation is very very very important in graphic design. OK, to execute that, you should first...

Create other New Layer, name it Stitches. The shortcut to do that is Shift + Ctrl + N. After that, switch your tool to Rounded Rectangle (U), Radius 10px. Drag your mouse to draw this..
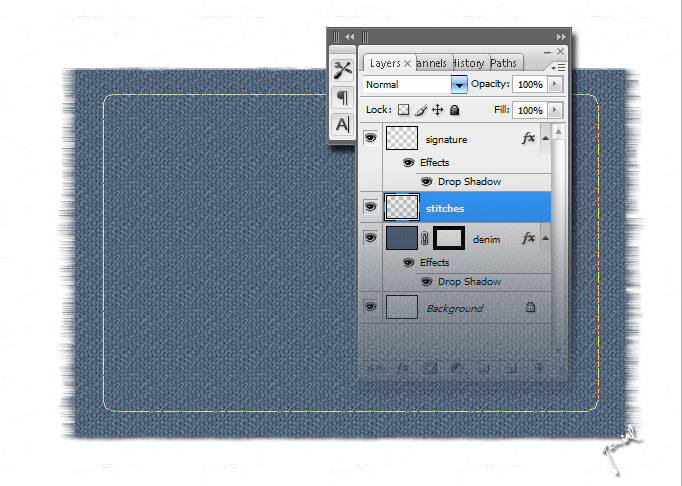
Creating Levi's Patch


Switch your tool again from Rounded Rectangle into Brush (B), fill it with White Color, then hit F5... Take your eyes carefuly on this setting..
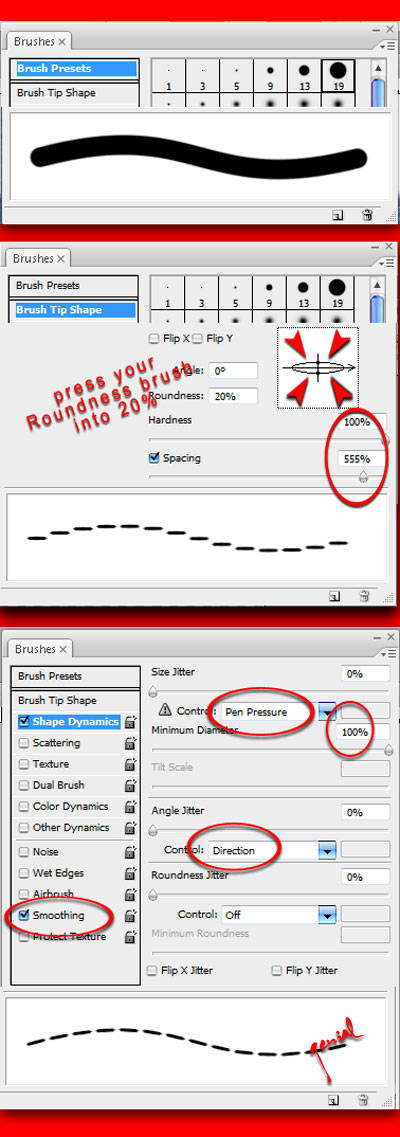
Creating Levi's Patch


Kinda mess or something...?!?!? What's the purpose exactly from that image? Just read along, than you'll find out. The brush is all set up clearly with White Color, for the Brush Preset, you can choose the size in between 13-19. Mine is 15. Mesdames Monsieurs.. you can absolutely press now the P key to invoke the Pen tool and make sure to Right-Clicking your Rounded path, choose Stroke Path from the Pop-up menu came out, then choose Brush. Leave the Stimulate Pressure Unchecked.

Viola!
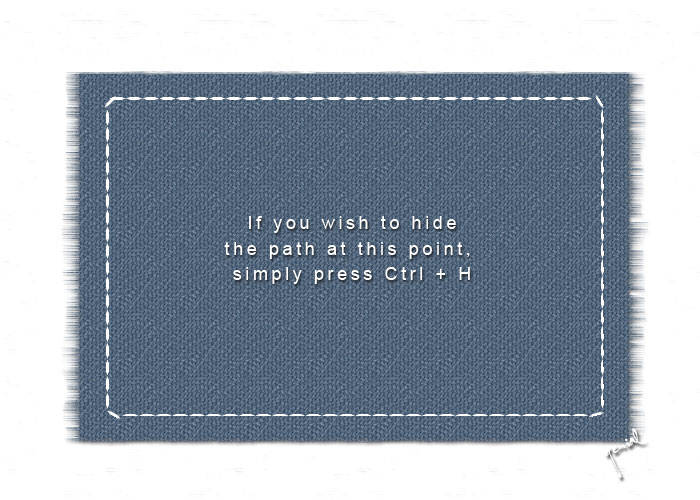
Creating Levi's Patch


What a clever technique to create stitches, ain't that right?!?!? To this Stitches layer, you can add a Bevel and Emboss layer style with the following setting ;

Bevel and Emboss checked

Style : Pillow Emboss
Technique : Smooth
Depth : 151%
Direction : Up
Size : 5px
Soften : 0px
Angle Shading : 120
Altitude Shading : 30
Use Global Light checked
Gloss Contour : normal (#1 from Pop-up)
Anti-alised : Unchecked
Highlight Mode : Screen, White
Opacity : 40%
Shadow Mode : Multiply, Black
Opacity : 40%

And then.. to tone down the stitching a little bit, drop the Stitches layer Fill opacity down to 65-75%.

Finaly, back to your Denim layer, select it, and add a Satin layer style to give this Levi's a realistic tonal variation with this following setting :

Satin Styles checked

Blend Mode : Color Burn, black
Opacity : 17%
Angle : 19
Distance : 131px
Size : 125px
Contour : the the Half Round (#7 from the PopUp box)
Invert : Checked
Anti-aliased : Unchecked

result
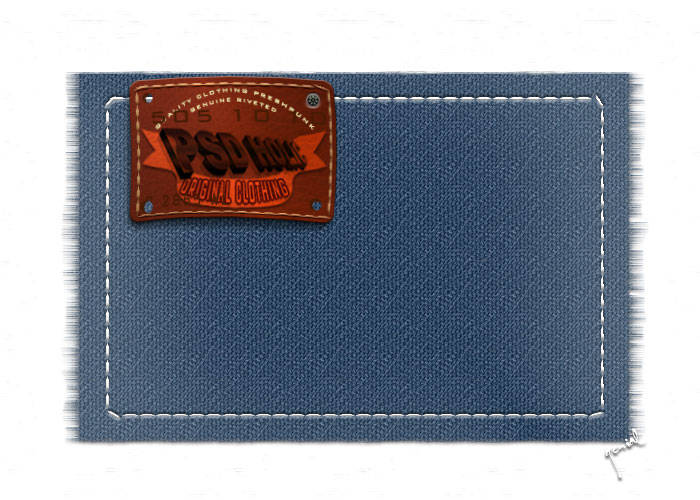
Creating Levi's Patch


So... Mesdames Monsieurs, this is YOUR site as well, so if you have massive constructive suggestions or deliciouse critisizm or even feedback or anything or something or whatever on how we can improve it for you (except for the size of each image ofcourse, lmao), please please please let me know! I would do my best to keep up!

Your Ads Here!
Creating Levi's Patch

Creating Levi's Patch

Creating Levi's Patch

Creating Levi's Patch

Creating Levi's Patch


Thursday, December 03, 2009

How to create Mud Texture

How to create Mud TextureStart with a new file document. Mine is 650x500px. Just keep the default black and white color for foreground and background by simply pressing D key on your PC.
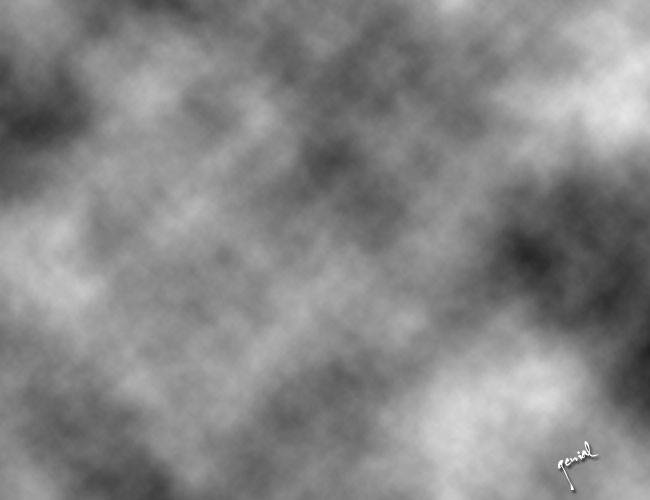
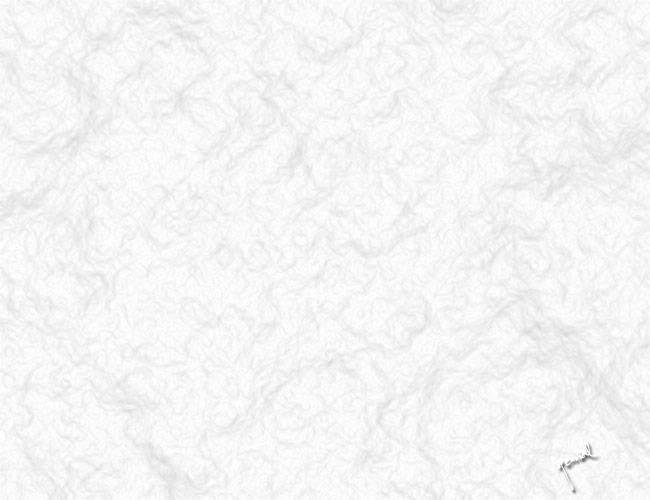
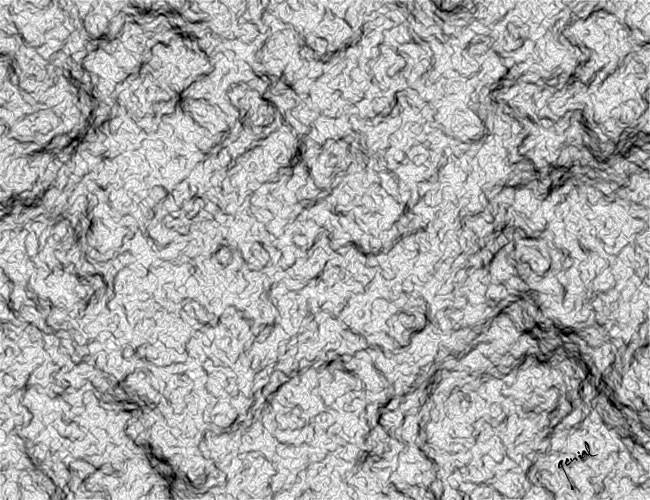
Add some tonal variation to your blank document by going to menu Filter > Render > Different Clouds


How to create Mud Texture


Next, enter the menu Filter > Stylize > Find Edges


How to create Mud Texture


Image > Adjustments > Auto Levels
. You can use trl + Shift + L shortcut key to apply this step. Got it?!?!


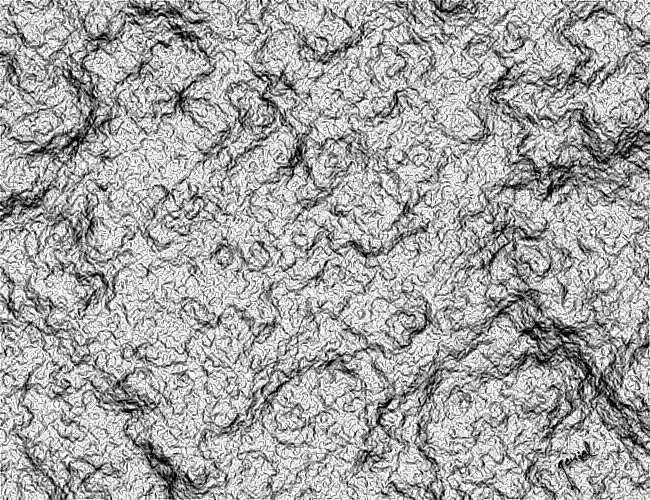
How to create Mud Texture

A good looking piece of dried mud you create here, but you need to make your edge of this piece of shit becoming more clear.

Go to menu Filter > Sharpen > Sharpen More. Voila..


How to create Mud Texture


For the final touch, play around with color.
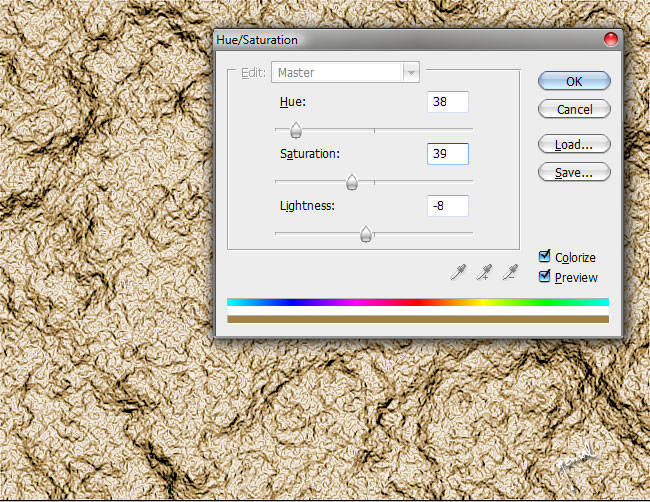
Image > Adjustments > Hue/Saturation

or simply hit your Ctrl + U from your keyboard.


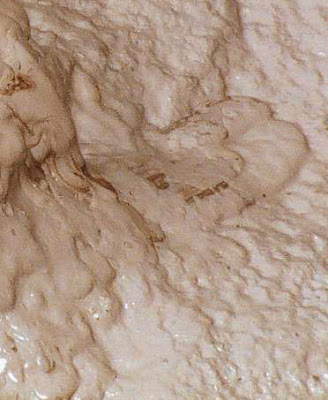
How to create Mud Texture


Do not forget to check Colorize little box on the pop-up menu appeared when you call the Hue/Saturation up of your document.

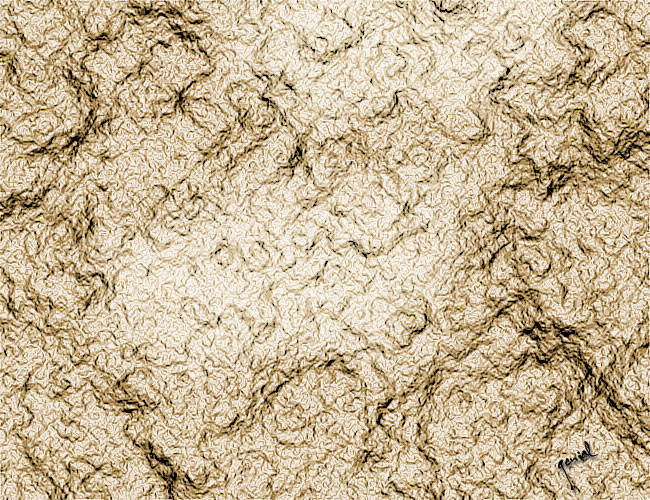
Now.. we'll do some exploration from that final mud texture we made.. Create a new blank Layer. Fill it with White solid color by pressing Ctrl + Backspace. Set the Blend Mode to Soft Light. Next.. Hit E Key to call the Eraser Tool. Erase the part you don't need. Guys... it's an optional step, you can leave this part and directly save your work without doing this one.

It's a wrap!!!


How to create Mud Texture

See the tutorial in Indonesia here on Cara membuat Tekstur Lumpur

Wednesday, October 07, 2009

Creating Wood Textures

Creating Wood TexturesThis tutorial will show you how to create original wood textures. Forget about BBR S***!!! It is now important to have focuss on how your picture is going to turn out... unless you are going to do a completely random and full of hate about that service. A dignity will show the basic composition of the pride of your own self, even though you may change onto another brokers. Lmao!
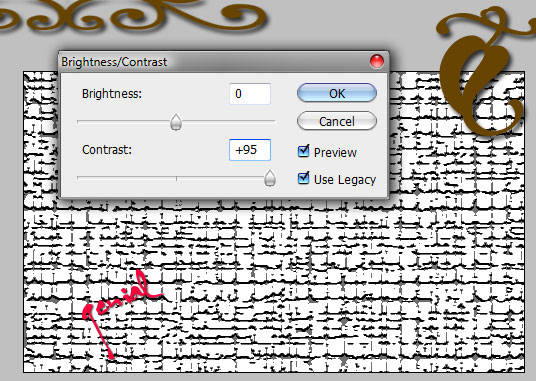
OK... Start off by opening a new 500x300 RGB file.

Choose Filter > Texture > Craquelure. Leave the default set.

Go to Menu Image > Adjust > Brightness/Contrast, then bump the contrast up to about 90. I used 95.


Creating Wood Textures


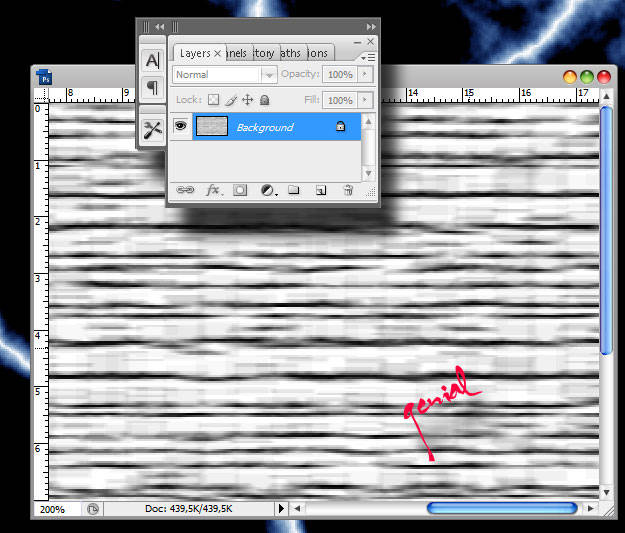
Choose Filter > Blur > Motion Blur set the Angle to 0 and the Distance to 20 or so. You would have something like the image said below


Creating Wood Textures


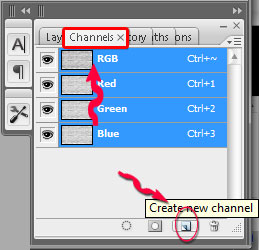
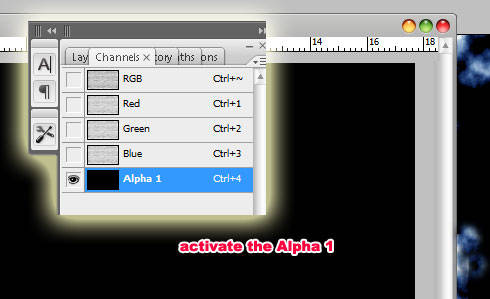
Hold the Ctrl + A to select (your whole visible layer) and then Hit the Ctrl + C to copy the selection. On your Palette Layer, choose Channels to open the Channels palette. Create new channel icon by clicking on the right bottom new channel icon. This will create a new channel named Alpha 1. Your image will turn black as the new channel is made visible.


Creating Wood Textures

Creating Wood Textures


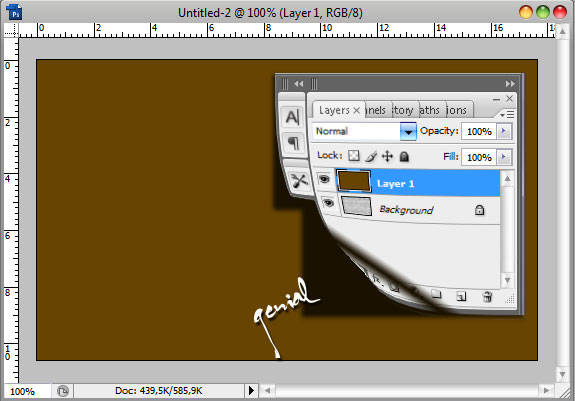
Paste here at Alpha 1 channel the texture you've copied earlier. Immediately switch back to Layer. Now click on the Create new layer icon to bring the blank new layer 1 come up. Ctrl + D to deselect.

Fill the foreground color with a sweet delicious brownish color. I used R: 103 G: 68 B: 1.
Press Alt + Backspace to automatically fill the layer with your color selected.


Creating Wood Textures


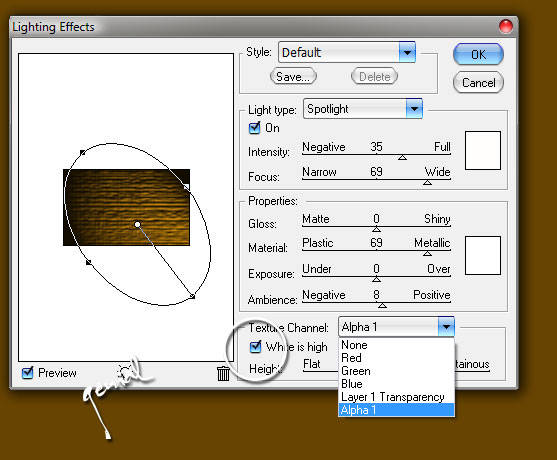
After that you can go to the menu Filter > Render > Lighting Effects. Play around with the light and the settings until you get something you like. Make sure that the Texture channel is set to Alpha 1 and that White is High is checked.


Creating Wood Textures


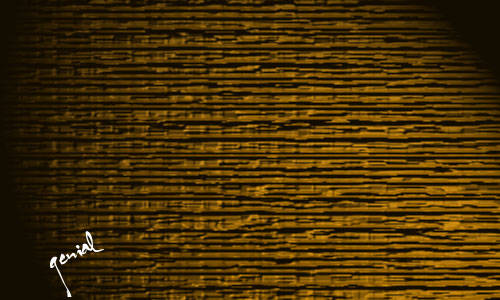
Here it is...


Creating Wood Textures


Saturday, October 03, 2009

Another Bricks in The Wall

Another Bricks in The Wall
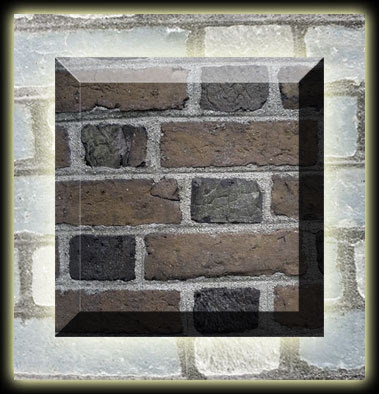
Wadda...*** Nope! It's obviously not Pink Floyd section. It's just a little trick to blend your font into an object. Lets jump right in and open your bricks stone, wall, metal, or any background image you like. Today we're gonna reveal one of the most effective way to blend some text or even something/image into textured surfaces. What a day!!!

Starting with this textured image...


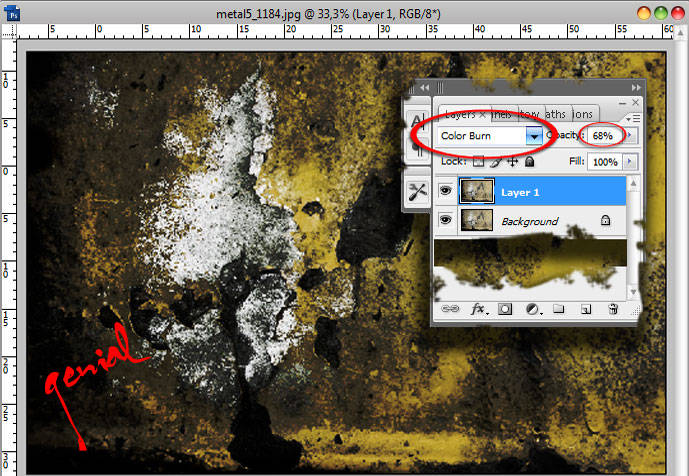
Go a head duplicate the original texture and turn its Blending Mode down to Color Burn and reduce its Opacity to 68%.


Another Bricks in The Wall


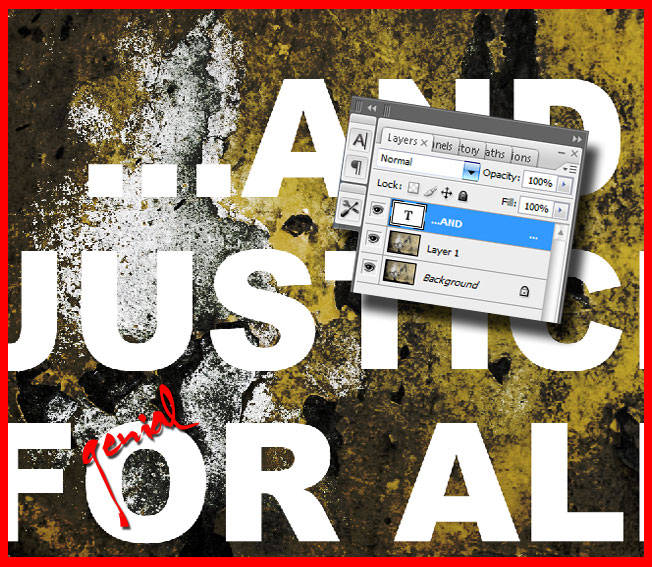
While we’re at it, lets go ahead and add a new Layer, we're gonna type something here.. above the textured layers as I have captured below. I used Arial Black, color white, it's your choice guys to pick any font you like.. lmao.


Another Bricks in The Wall


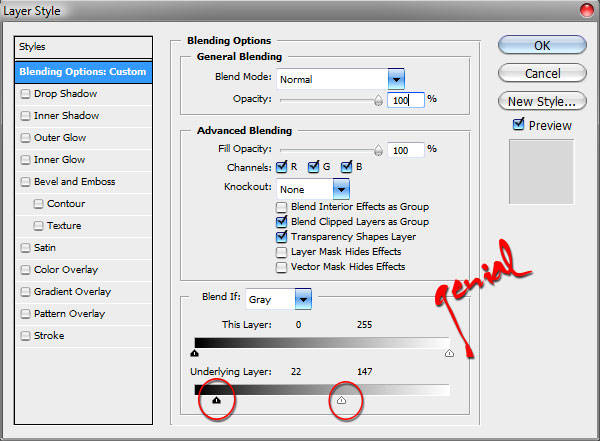
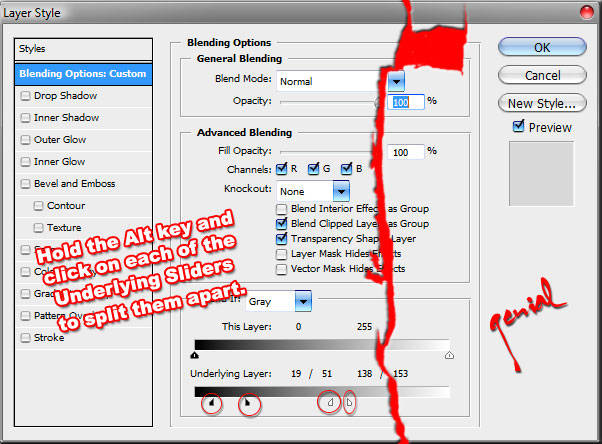
Next, Right Click the Type Layer and choose Blending Options by Right + Clicking it... Within the Layer Styles main panel, go to the lower left to the Blend If section. Do this separation thing I've done...


Another Bricks in The Wall


We're gonna add a lil' dimension to the font we've created. For the moment, again do that separation just like the previous step, as captured below.


Another Bricks in The Wall


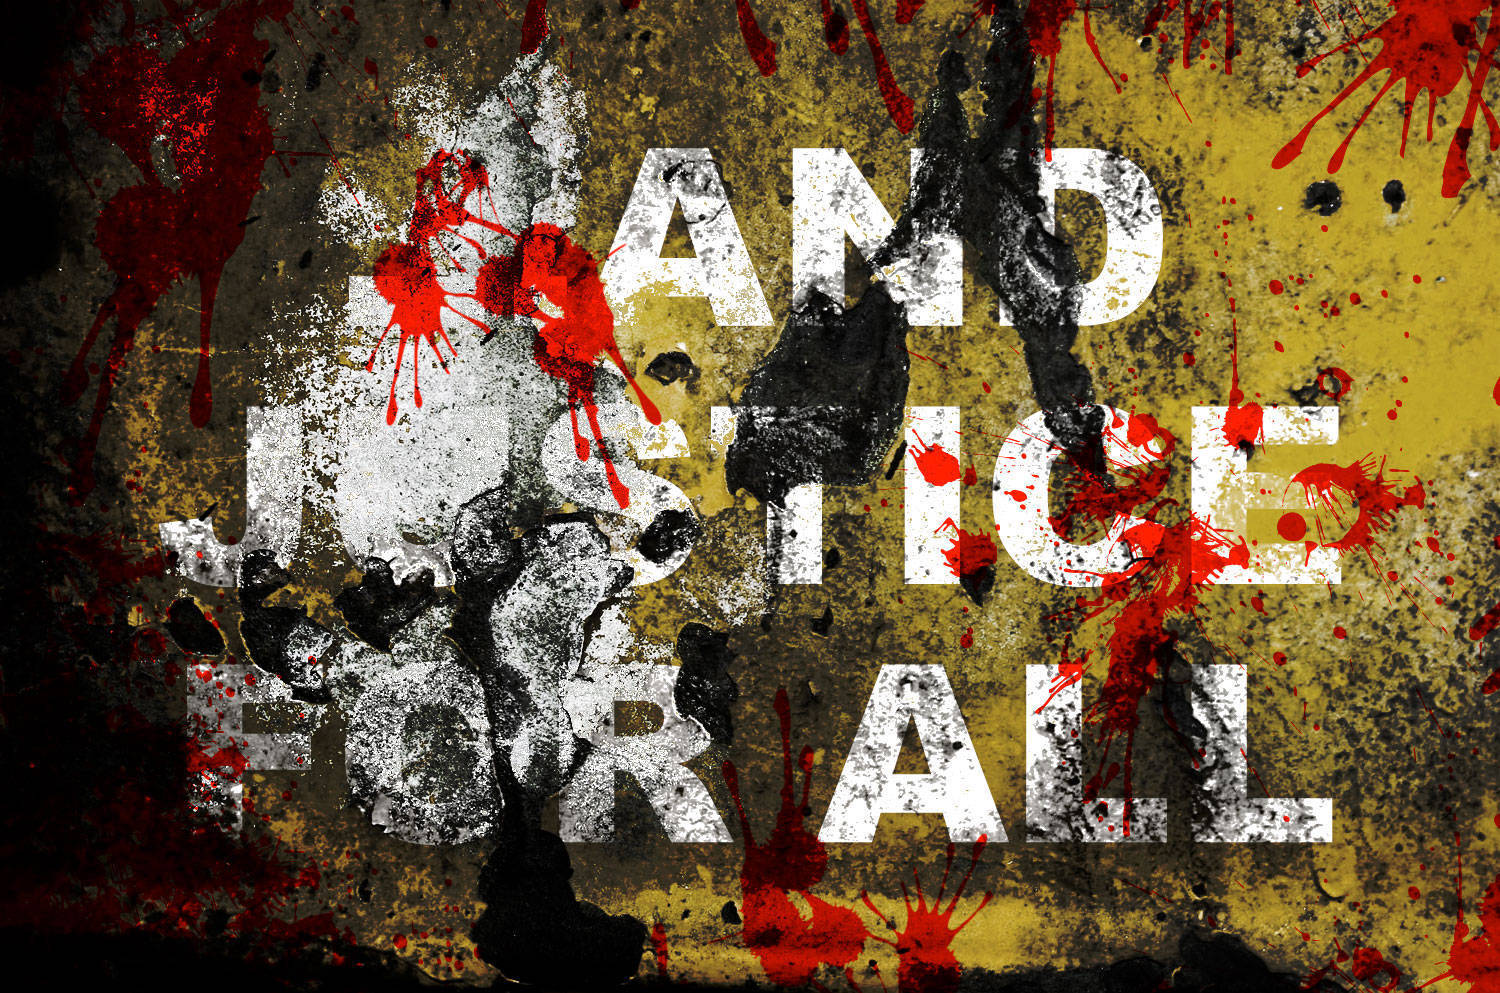
If you go it right, your bricks should now look like mine.. but if not, do not pass go, do not collect $7000, just get yourself back to Step 4 and figure out where you went wrong! Let me tell you something, that tricky part depends on your image size. Explore your own then!


If you followed the directions carefully your image should now resemble the one you see in final blend. If not.. au revoir!

Read Indonesian Version Here!