Sunday, May 24, 2009

From Line Art with LOVE

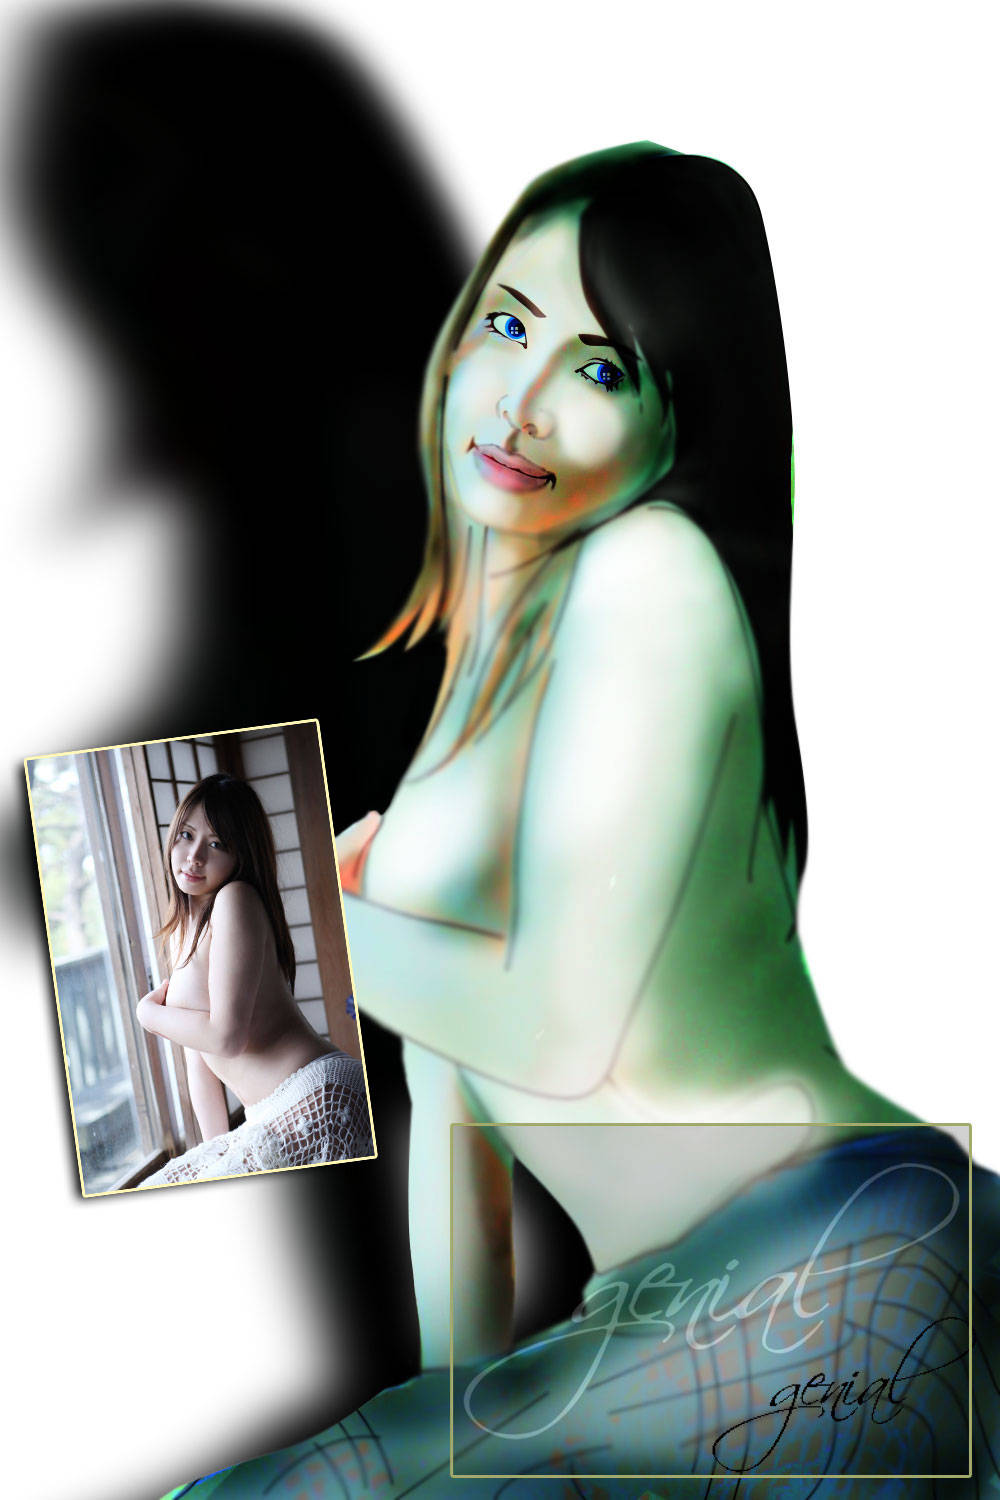
shower-me-with-your-love
How much d'ya care about me?
How high d'ya love me?
Don't you ever again answering
with poems of Elizabeth Browning!
I am tired to wait. This is Worthless?
Do not leave it again like water flows.
I have some love for our
rivers ripple cascade with no...
boundaries...


Wila

Image Hosted by UploadHouse.com


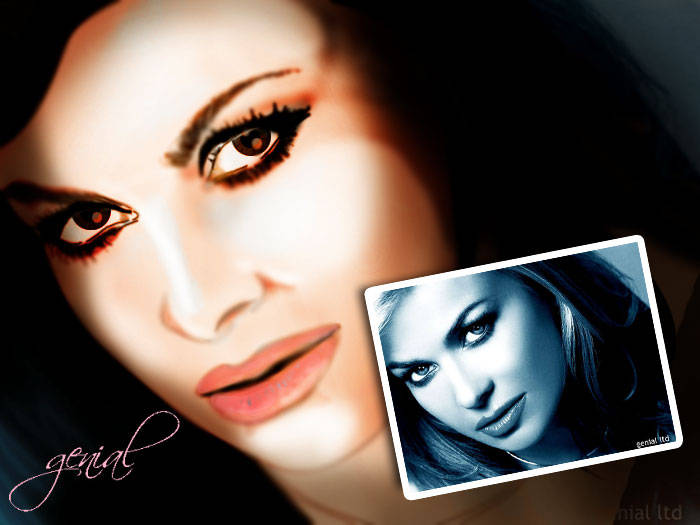
Carmen Elektra

Image Hosted by UploadHouse.com

One piece of you

Image Hosted by UploadHouse.com

Marvel-Klik Owner

Image Hosted by UploadHouse.com

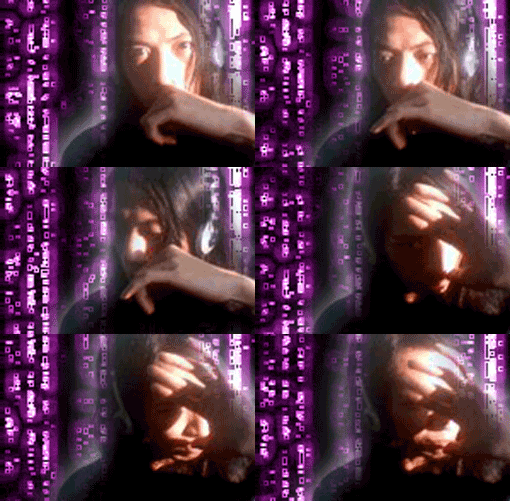
Ardan

Image Hosted by UploadHouse.com

Ai Takeuchi

Image Hosted by UploadHouse.com


Related Post :

Line Art and Illustrated Look


Again, Line Art and Illustrated Look


Saturday, May 16, 2009

Again, Line Art and Illustrated Look

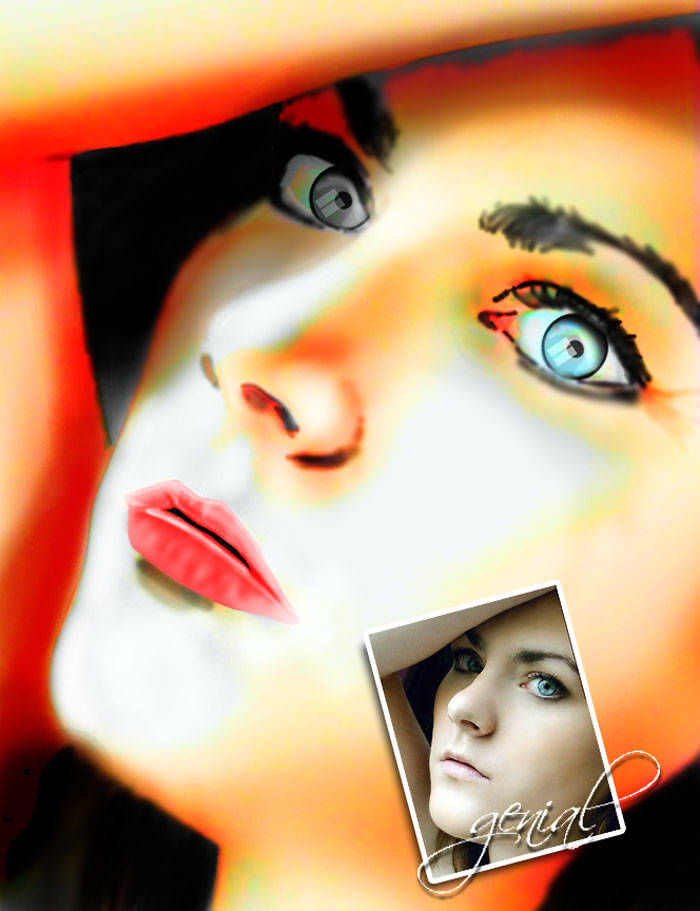
Due to Mas Suryaden's question here, I really tickled to reset it down. This is still engaged to the advance tutorial in about to make a vector image. But this time... it's a quite different. If on that tutorial, I utilized Shape Layers as selection on Pen Tool (P) -meaning your beautiful image is closed trace- a part quotient, and this time, a bit different I think, I utilize Path as selection for Pen Tool (P). It means, that image no longer enclosed coloration thoroughly, but... you are free to use this amazing Pen Tool (P) as an Opened Shape.

I will give you today this magnifique lesson about how to create a stylized illustrated look from a photograph, remember that, from a photograph. The best part is that it requires no artistic ability! You can do this to any photo and pretty much any subject, but I think it works best with people.


Step One:

This time, I use this awesome pic from www.thesun.co.uk. OK now, create a new layer and fill it with White. Above that layer, create a new blank layer by hitting the New Layer Button at the bottom of the layer palette. Name that layer Basic Shapes. Turn both of those layers off.

Image Hosted by UploadHouse.com


Step Two:

This is it! We are going to use the Pen Tool (P) to trace all of the basic structural elements of the image, it will be the outline of the body and the outlines of the clothes.

If you don't get how to use Pen Tool (P), you should check this Energy Beams first or simply click here to find about the Vector thing out!

Image Hosted by UploadHouse.com


With the Pen Tool (P) selected, simply click anywhere you would like to start, I mean anywhere...! Continue to click and drag to trace the part you are working on with the path. To make it look more like a sketch, we are going to use a lot of small paths rather than trace the whole thing with one long path.

Here are a few shots of how I traced my image:


See..?!?!?

A common misconception is that a path needs to be a loop. Not true. We are going to use all open paths in this tutorial.


Step Three:

Turn on your white layer and your blank layer. Select the blank layer.


Image Hosted by UploadHouse.com

On your gready paths palette, drag your work path down to the New Path button at the bottom of the palette to save it.
Image Hosted by UploadHouse.com

After that... Select the Brush Tool (B) and open the Brushes Palette
by going to Menu > Window > Brushes or you guys could simply press F5 from your PC.


Isn't that simple?!?!? OK.. Select now any round, hard brush preset.


Under the Brush Tip Shape section, modify the brush to create a thin ellipse by bringing the roundness down to 12%. Make the angle 45 degrees.


Turn on the Shape Dynamics section bring the Size Jitter to 100, the Minimum diameter to 35, and the Angle Jitter to 5. Do some experiment on this step... it's quite fun if you did that with a glass of hot chocolate besides, lol.


With the blank layer still selected, hit D to make black your foreground color then right/control + click on the path and choose Stroke Path. Make sure that Simulate Pressure is checked and use Brush as your source. Hit OK. You might have to adjust the Master Diameter in the brushes palette if the lines are too thin or thick. It depends on how big your image size is ofcourse.


Repeat steps 2 and 3 a few more times, the more detail you trace, the thinner you should set the Master Diameter on the brushes palette. Each time you do a pass, make sure to apply the stroke onto a new layer. Remember about tons of layers I usually said when making something in Photoshop? Use Layers!


Step Four:

Now that we have the outlines, let's paint in some color. Copy the layer that contains your photograph (Background Layer). Put the duplicate image at the top, above all the other layers. Set the Blending Mode to Color. (that's the tricky part actually... without this step... just go to hell!)


Hit B for the Brush Tool. In the Brushes palette set the Brush Angle to -45 degrees and turn off the Shape Dynamics. Make the brush a bit larger.

Make a New Blank Layer (Shortcut : Shift + Ctrl + N) and call it Paint (...or whatever you'd like..!). Make sure that it's below all of your outline layers. Make sure that your foreground color is still set to Black (it's also the tricky part of this such amazing tut).

In the properties bar, set the Opacity of the brush to about 5 - 10%. Very roughly paint in the color where you want it. Be sure to release the mouse every now and then so that the color begins to multiply over itself. Don't worry about staying in the lines too much. Just do the best you can. Lol...

So far.. your Palette Layer should be like this ;


or not??? I don't give a damn! Lmao! Kidding!


Step Five:

Hit E for the Eraser Tool. Set the eraser brush up the same way that we did the paint brush. Make the eraser brush's Opacity is at 40 - 50% or even under. Now go back and tidy up your paint job. I like it when you can still slightly see the paint going over the lines.


Step Seven:

Create another New Blank Layer below the Paint layer. Call it BG Image. Hit the Brush Tool (B) again and make the master diameter huge. Mine is at 200. or sometimes, I like use it in 2500 (don't try this if you're not so sure about that, lol) with just one click on my damn image. That's it! You guys could set it totally different with mine ofcourse.. With the brush opacitie's at 5% do a few really broad strokes across the whole image just to bring in a little color to the background.

...and this is my final image ;


Satisfied?!!?!

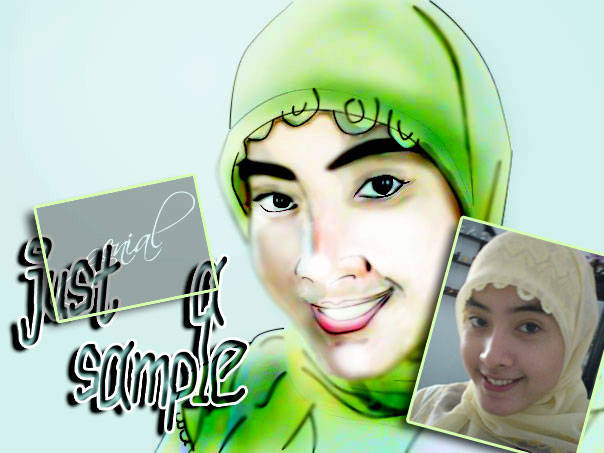
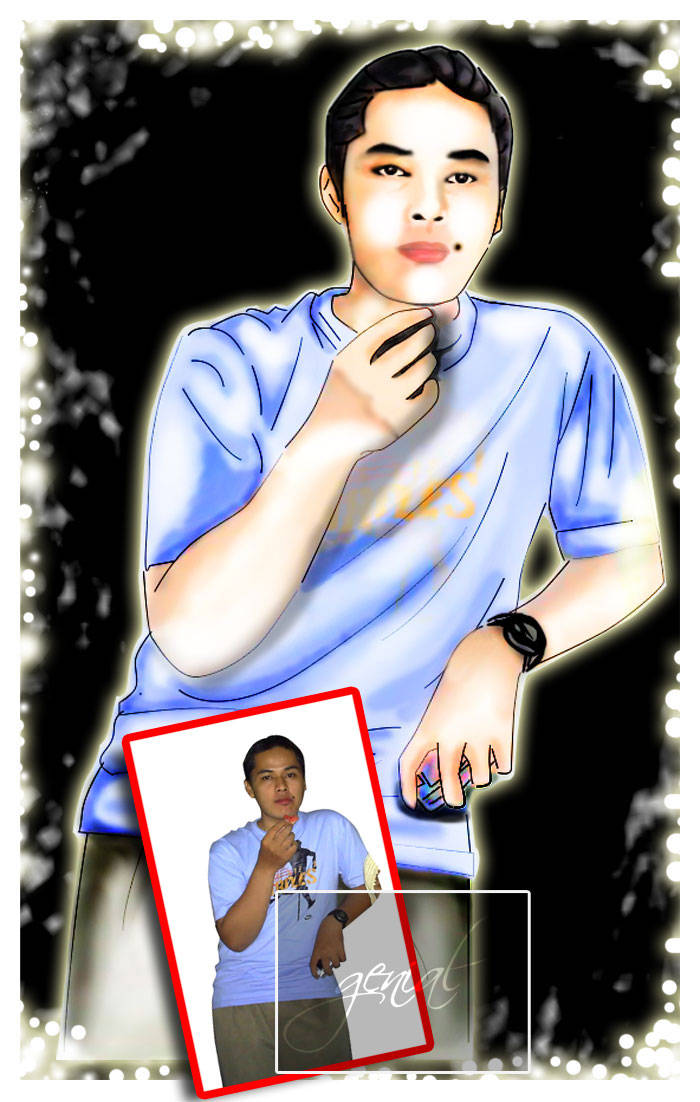
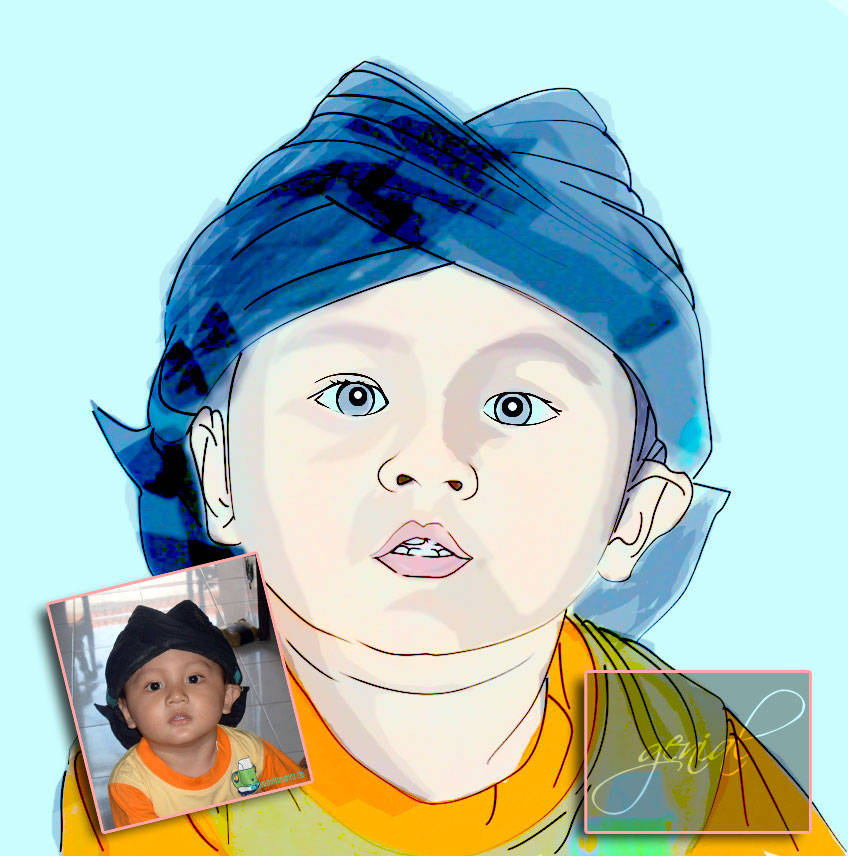
Other samples of this tut!

Read also : How to use this amazing Pen Tool and do not miss about this Vektor with Photoshop!

Line Art and Illustrated Look

A common misconception is that a path needs to be a loop. Not true. We are going to use all open paths in this such tutorial. First, I'm gonna show you couple of samples from that tut to you... How great a Peen Tool (P) is gonna be!

From time to time, I've got my own work that I have achieved through following this tricks. I decided to put some of the best here... (at least, to me... lol!)


Do not forget to click thumbnail to get the hi-res of these images!!!


Image Hosted by UploadHouse.com

Image Hosted by UploadHouse.com

Image Hosted by UploadHouse.com

Image Hosted by UploadHouse.com

Image Hosted by UploadHouse.com

Image Hosted by UploadHouse.com

Image Hosted by UploadHouse.com

Image Hosted by UploadHouse.com

Image Hosted by UploadHouse.com

Image Hosted by UploadHouse.com

Image Hosted by UploadHouse.com

Image Hosted by UploadHouse.com

Image Hosted by UploadHouse.com


See the tutorial about making all of that magnifique art!


Thursday, May 14, 2009

The 4th Award

Ini dia yang gw takutin... gw pernah mampir di tempat siapa gtu, terus kebetulan ngebaca postingan tentang award satu ini... huuuu... mengerikan, gw langsung pergi dari postingan tersebut berharap gag keTrack sama yg punya blog, takut kena pe'er serupa, tapi hari ini, sewaktu singgah di tempatnya Ratu doyan ngBlog... terpampang nama gw (sekali lagi)
di sana... wewww...


Huahahahahha.. walau bagaimanapun, ini harus gw terus sambungkan... hahahah... (quinie,
muhun maafnya tuk award yang lalu, pink)... awas aja photo2 org yang gw jadiin terusan,
gag dipasang atawa malah ngasih yg sekenanya... (part yg mengerikan buat gw, pink).


And the rules are:

1. Take your latest picture. (it's a must)
2. Take your picture as natural as possible. (it's a must)
3. Post your picture on your blog. (it's a must)(it's a must)(it's a must)
4. Post the rules as well.
5. Tag 10 people to do the same as above.

Here's the award and the code with the landing destinations!

Award


Code


Destinations


01. Botaxxx
02. Ople
03. Dada
04. Romo
05. Etha
06. Utie
07. Cing Oleh
08. Anya
09. Anak Nelayan
10. Nico Nian


Di sini sebenarnya letak dimana gw binun... Mo' lempar ke siapa lagi ya...?!??!?
Takutnya malah ngerepotin, terus takutnya mereka gag perduli dan gag memasang
seperti apa yang Rule asalnya gariskan... dengan berbagai alasan...


Tapi bodo lahh... moga gag ngeberatin buat mereka yang terlimpahkan, dan semoga
makin rajin ngBlognya de'el el de'es'te lahh... buat yang lum kesebut, sabar iia...
pastinya nanti ada waktunya.

Ciao!


Sunday, May 10, 2009

German Shoe (Schuhe) Shop

D'ya know what?!?! I am a huge fan of shoes. My awesome shoe collection's almost like a store it self. What a coincidence when I'm browsing through the Internet I found an online shop that sells various models of shoes. Gorgeous!!!

Log on to the site, helas, although I don't even understand what the words say as they are in German, my brilliant pocket translator has provided me the best help to analyze every word. So that explains so much each words used there, lol. The important thing is that I saw an extraordinary collection of fabulous shoes... or... they said Schuhe. Whether it is for men or women.

Timberland, Puma or even Nike Schuhe. They’re obviously very versatile, more stylish than a sport brand shoe. They'd be great for wearing jeans and joggers with. In other words... They are totally rock!!!

Lebaran is comin' your way. It is very proud if I could get even just a single pair of their brand. Blue or sexy black Stiefel for example or I could not absolutely override the trendy and stylish beautiful Damenschuhe. Very pretty delicious one. Can you imagine when Lebaran arrived, someone brought you a gift, complete with blue ribbon, and when you opened that lovely box, it's a shoe with the brand. Just another hilarious dream? I don't think so!

Vanity License Plate

Vanity License PlateDifferent State, ofcourse different legal requirements to each plate of
Country, like... mayB, we've found the white plate of California, America... and we've got here is Black simple metal plate. Gosh, am I that good? Lmao!

OK... in this tut... We're gonna try to create a custom vanity license plate using some creative layer stylings.

Step 1

Open a new file 500×300 at 72ppi. Seems that I like to get a piece of reference to work from, but 'till now... i've got an idea... lol... so I’ve inset my example in the Step 1 graphic. Please to the owner of this number.. don't get mad of me!

Fill your background with a pretty radial gradient ( #f5e9d3 to #a2875d) we’ll be first creating a light brown and you wanna be able to see what you're doing ofcourse on your workflow. You can fill the background with any color you like...

Vanity License Plate


Step 2

Create New Layer and rename it Plat Nomor. Press the U key to switch to the Custom Shape tool and choose Rounded Rectangle, make sure that the Fill Pixels icon is checked and set the Radius to 15 pixels.

(*note: our black metal plate in Indonesia would be about 2 : 1 or 25cm x 15cm,
so here I use that easy scale to applied in our job). It's about 25 x 15 in Fixed
Ratio
with Rectangular Marquee help.


Vanity License Plate


Vanity License Plate


Step 3

Set your foreground and background colors to #252424 and #000000 than Select Filter > Noise > Add Noise from the main menu, set the Amount to 2% and make sure that Gaussian and Monochromatic are checked before hitting OK.

Vanity License Plate


Vanity License Plate


Double click next to the layer name in the Layers palette to bring up the Layer Styles dialog then add the following Drop Shadow and Bevel And Emboss.

Vanity License Plate


Step 4

Advertise Here!

Create a New Layer, call it B 2855 WL or what ever you like... Press the T key to call up the Text tool, set the text color to #FFFFFF and for my example the font size is 85pt of Dave Hansen kind of font. Type it! Draw a single white line to saperate the B 2855 WL with the 12.09 using Custom Shape Tool (U)...

Did it? Again make a New Layer and we could name it 12.09 or again it's up to your ass guys! You can put this 12.09 in the Bottom Center of the Plate, or Right Bottom of it just like my 2nd inset right about there...

Vanity License Plate


Select these 3 Layers (B 2855 WL, Line and 12.09 layer) by holding down the Ctrl + Click. After these 3 Layers change into Blue (means they are selected the three of 'em) merge 'em! How? Make your mind! Press Shift + E to get that action.

Your Layer Palette should be like this :) .................or not? Lol...

Vanity License Plate


Step 5

Create a New Layer beneath the text layer we just merged by holding down the Ctrl key while clicking the Create New Layer icon at the bottom of the layers palette and rename it Line Bevel.

With the Line layer selected, Ctrl + Click on the Line layer icon to load the text as a selection. Now Expand the selection by 4 pixels by using the Select > Modify > Expand option in the main menu and fill the selection with any color. I used this very attractive Dark Turquoise color >>> #339999. Can you believe that, Dark Turquoise color?!?! Lmao!!! Shut up Doods!!!Just go ahead and Ctrl + D when you’re done to release the selection.

Vanity License Plate


Step 6

Here's the fun part. Drop the Line Bevel’s Fill opacity to 0% and the following
Bevel And Emboss
layer style.

Vanity License Plate


Or your ass could apply this Bevel And Emboss layer style with your own
damn style! Enuf!

Final Touch

Select the Plat Nomor layer, hit Ctrl + L to bring the final color adjustment (optional). You could go crazy with some of the grunge brushes and bend the edges a little to really age the plate.

Vanity License Plate


So......... it's a WRAAAAAAAAAAAAAAAPPPP!!!

Vanity License Plate


With a lil' penetration here and there...

Vanity License Plate


Related Topics :

  • Air Brush Style
  • Dancing Text Animation
  • Vektor with Photoshop
  • Menu Navigation
  • Abstract Background
  • Rain Effect
  • Matrix Effect
  • Firing Text
  • Retouching Image
  • Transparent Image