1. Open your new blank documen
500x500 with
white BG... Click
Rounded Rectangle Tool (U) from your flying menu on the left corner, set like my pic said :
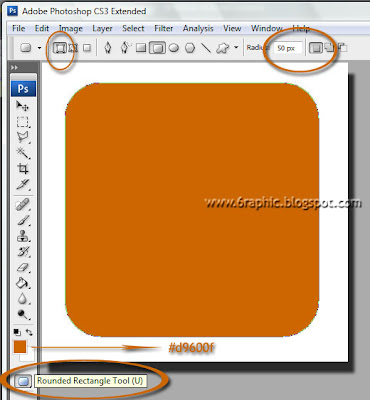
Orange color for the icon, produced from the
#d9600f of your foreground colour, press and hold shift, draw a shape as big as the document like mine above!
 2.
2. Press
Ctrl + J or
right click the shaped layer and choose duplicate layer from the little menu to duplicate the shaped layer, now you should have 2 layers in your layers window.
Make sure you have the top most layer selected then go to the
Menu and choose
Edit > Free Transform or just press
Ctrl + T... now change the settings for the width and height to 97 and hit enter
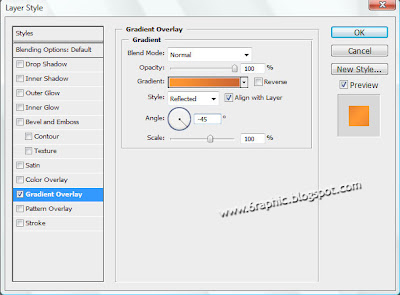
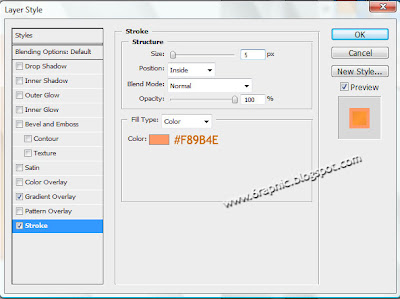
3. Right click the
top layer and choose
Blending options click
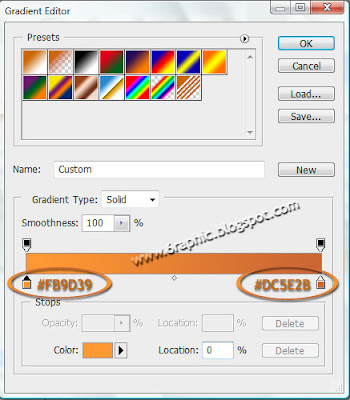
Gradient overlay and use settings given below
Do not forget click on
stroke and use the following settings :
 4.
4. Next we're gonna make a white logo inside the Orange container.. you guys can use your own style to do this, i use an
Elliptical Marquee Tool (M) to get the first step on creating that white thing inside...
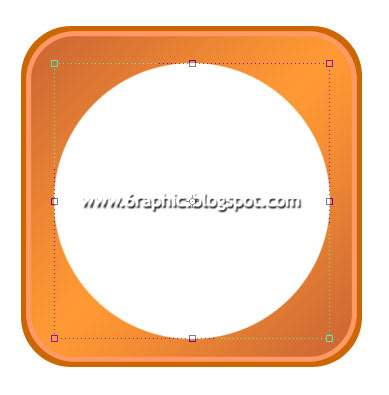
Double it and fill it with
Black (#000000), make the Black circle more little than the white one, you could use
Ctrl + T or whatever you've done.. got it?!?! After give the
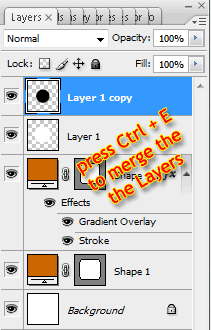
Black color on it, merge that both Layers,
Layer one with
Layer One Copy... that it!
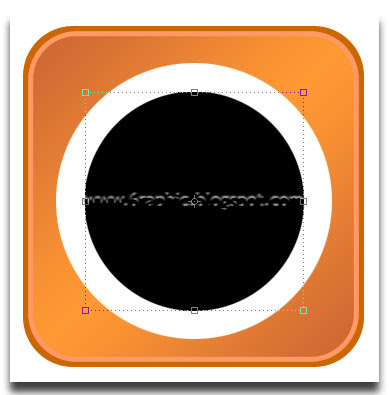 5.
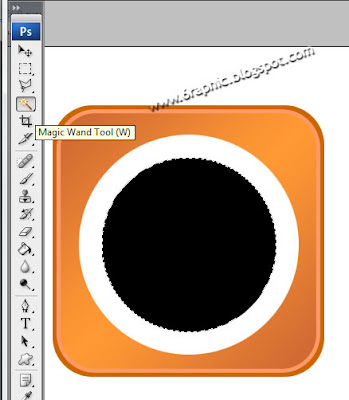
5. Here i choose
Magic Wand (W) or again and again, you can choose other option like
Ctrl + click to get the selection on the black circle, i said, create your own style, it's more fun to me with the result. After you get the selected Black circle on your workflow, press Delete to get rid off it, we don't need it any longer... lol. Is there choccochino on your side? Geeezzz.. i like it!
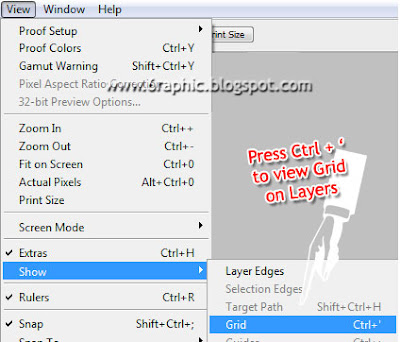
6. Make that circle a part! Use the help line or you can go to menu View > Show > Grid if your eyes have no ability to fix it from the center to the lower part of the logo... Make it quick, select Rectangular Marquee Tool (M) to make this selection...
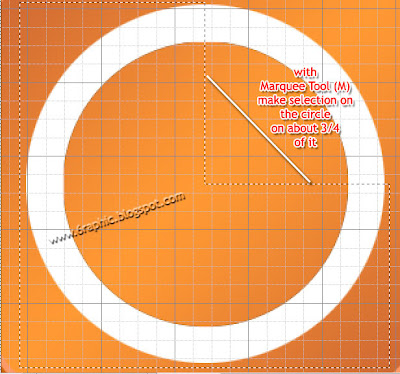
That's why i told you that you should use the help of this grid or even the blue line from the top and the left of your stage. OK... you've got the selected area, press Delete.. T
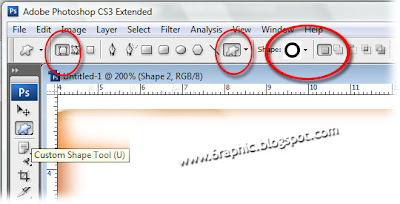
7. To get the second 1/4 white circle, use your own imagination... Done!?!?!? OK... here you can use other tools to explore how magic photoshop is like i use to say in other PS trick... so c'mon, choose your tool, here i use Custom Shape Tool (U) with this parameter...
8. Lick Ctrl + T to make your white logo bigger than that OK?!?!?
Now you have your own RSS feed icon which is vector meaning you can resize it without losing quality.

oOOoPPsss.. don't go anyway, 'coz we have one thing to do, but... i'm not gonna tell you that it's a must... it just an optional thing, you can in or out of this... To make the icon a bit more interesting I've added a glossy shine... so if you would like to do the same, follow along with the next step...
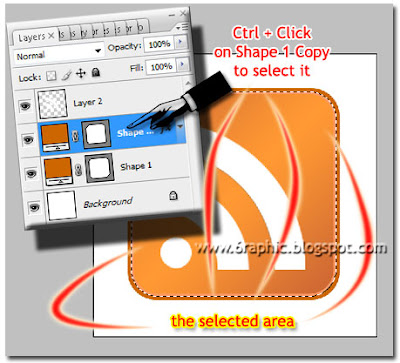
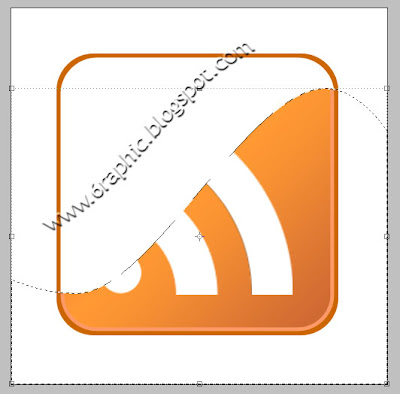
9. Press ctrl + click the middle layer with the right hand like i show you with this image below to create a section around it...
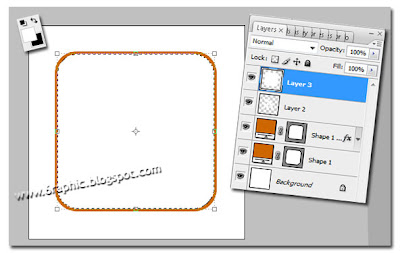
10. Create a new layer then fill it with White (#FFFFFF)
Isn't that easy?!?!
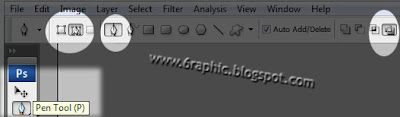
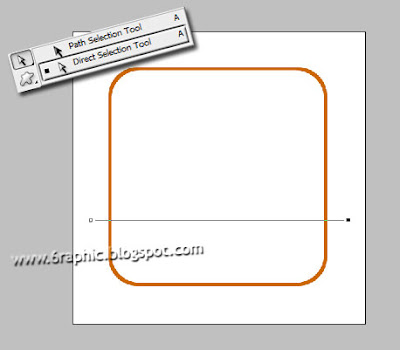
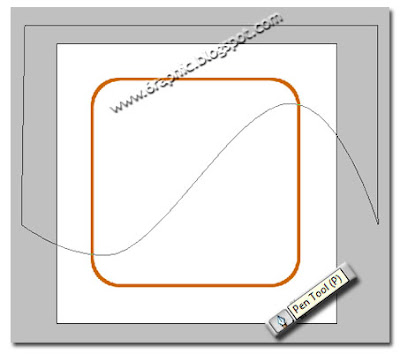
11. Now select the Pen Tool (P) and use the following settings, make sure you have Paths selected..
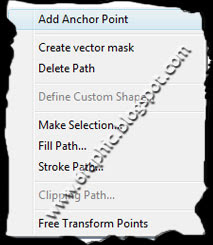
Select the Direct selection tool (A) and right click the line and choose Add Anchor Point.. create two Anchor Point on it like the .gif image shows you
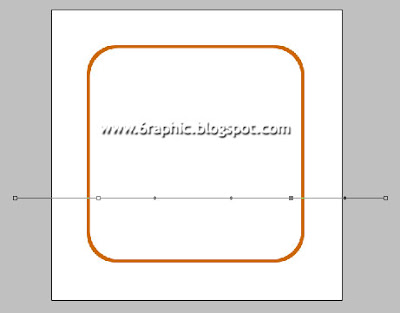
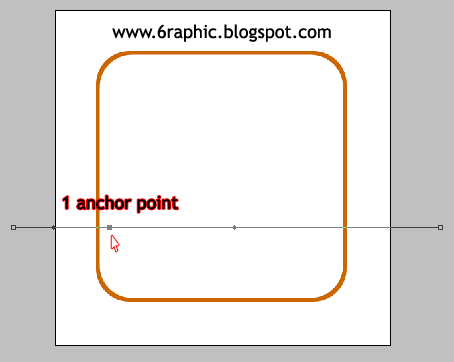
Now with the Direct selection tool (A) still selected click and drag one of the new anchor points and move them one at a time

Now back to the Pen tool (P) again and close the path
Now right click the path and choose Make selection from the little menu which appears...
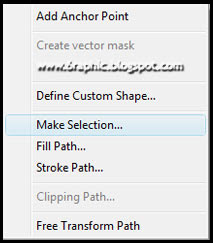
So, now you should have a selection... go to the main menu and choose Select > Inverse or press Shift + Ctrl + I to inverse the selection... make sure you have the white fill layer selected which should be the top most layer, than Press Delete from your PC...
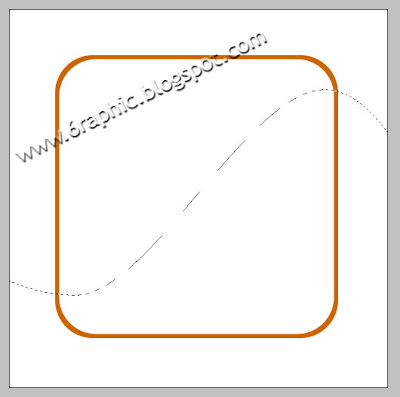
and hit Ctrl + D to deselect the section now your image and layers window should look like mine below... Press Ctrl + D to deselect the selection, turn the Opacity down to about 25 for this layer... That's IT!!!
Now you should have something like the final image, here's mine...! What about yours?!?!?!?!


View Indonesian version here!
Related Post :
Sony Ericsson Logo3D BallSimple Logo

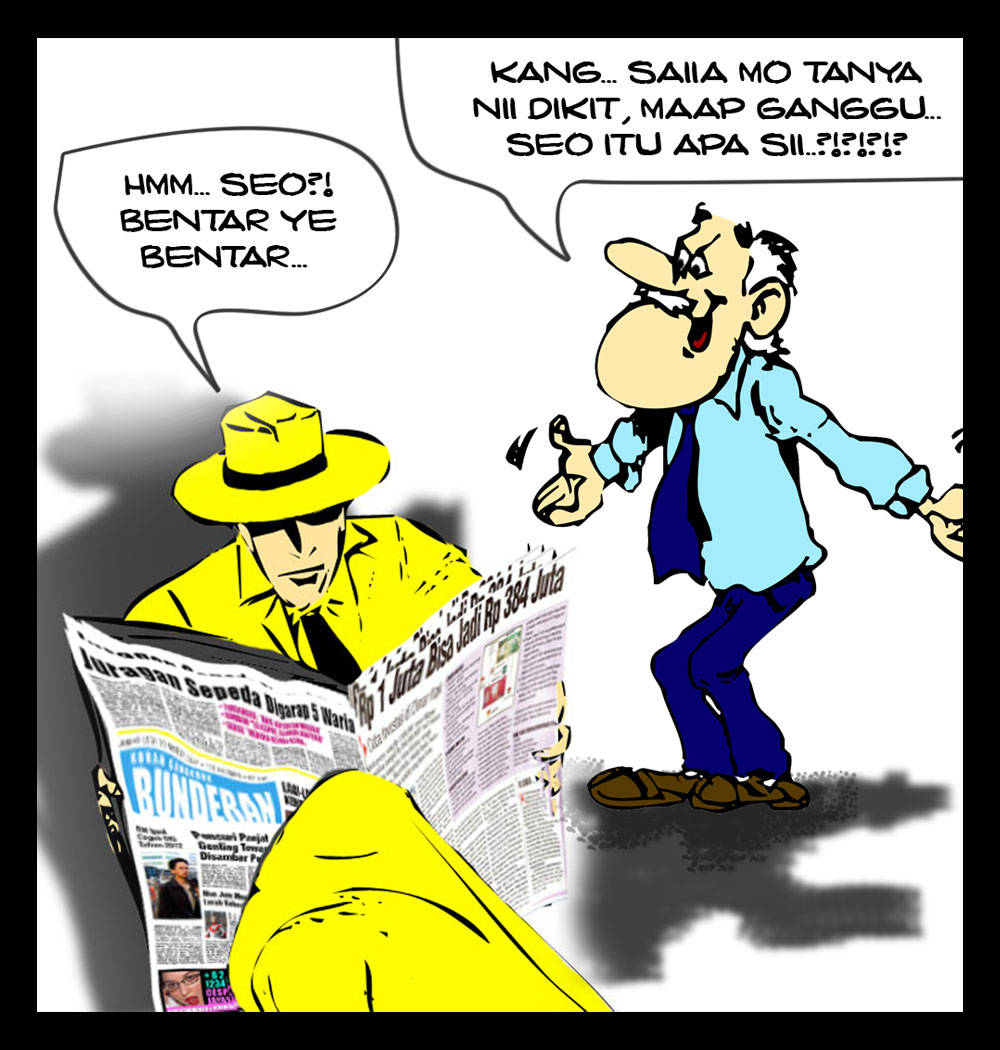
 Huuaaaa... what am I doing here right now in this early morning?!??!!? Gang... what's up world?!??! Spank me! This is 01:56 WIB! Geeezzz... What happen to me?! Cing Oleh, Chikal Botax, Maureen, Friend of her, Hit me goddamned!!! I hate Monday! Enuf enuf enuf!!! Now it's time to
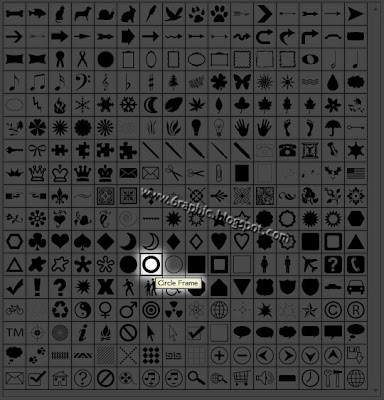
.jpg) in the fly menu over there in the left corner of your Photoshop... make a simple white circle with it... Remember to set the Foreground and Background color to #FFFFFF (white).
in the fly menu over there in the left corner of your Photoshop... make a simple white circle with it... Remember to set the Foreground and Background color to #FFFFFF (white).