
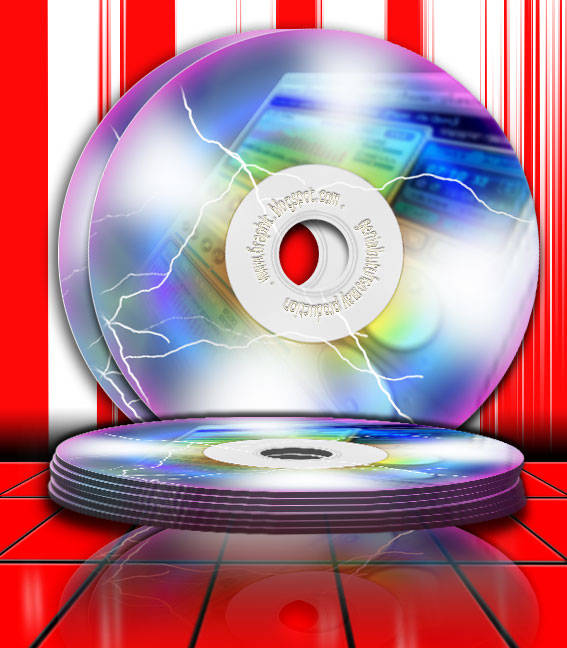
 Now I'm gonna show you how to create a creative and stylish Compact Disc for your own collection in easy ways.
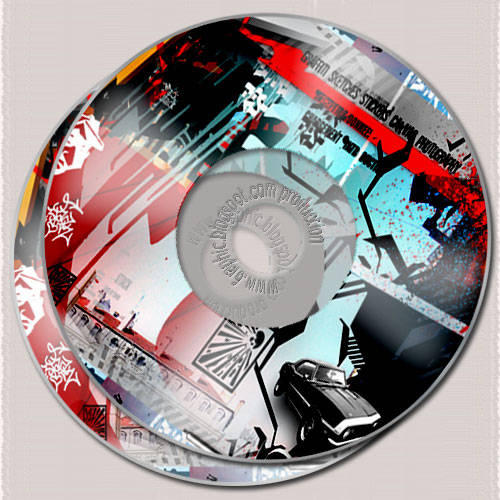
We ain't need a good stock photo line up, something with action and preferably dark as I use to advise you in manipulating something (photos actually).
I personally always start off with an open mind. Helps you to put all your ideas down, and get a better idea of what you want to end up with at the end of the picture.
It can be as simple as you like, or as complex. I tend to do things on the simpler side as I tend to get lazy when looking at super detail and difficult pieces and end unever finished them. (I'm what some may call an impulse artist).
OK.. forget about the bla bla bla thing.. Open your New Blank Document in Photoshop ofcourse, Press Ctrl + Nwith 500x500px, then fill the Background with whatever you like :)
Related Topics :
Air Brush Style Dancing Text Animation Vektor with Photoshop Menu Navigation Abstract Background Rain Effect Matrix Effect Firing Text Retouching Image Transparent Image
OK.. forget about the bla bla bla thing.. Open your New Blank Document in Photoshop ofcourse, Press Ctrl + Nwith 500x500px, then fill the Background with whatever you like :)
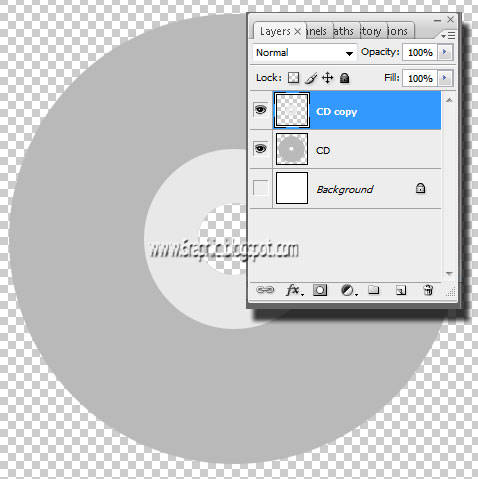
| Create a a New Layer by pressing Ctrl + Shift + N and name it CD (something you like, pink). What we're gonna do is drag a simple circle with help of Elliptical Marquee Tool (M), hold the Shift to get constrain proportion of it, or you can do the same with mine, here I use the circle with 450x450px fixed Size Style. Fill it with #b9b9b9. |
 |
| Copy that Layer (usualy... I'm gonna ask you to copy a Layer by hitting Ctrl + J , but now...) by Left Clicking on that Layer and dragging it onto the Create a New Layer icon on the Plaette Layer (below on the corner). What a trick!!! |
 |
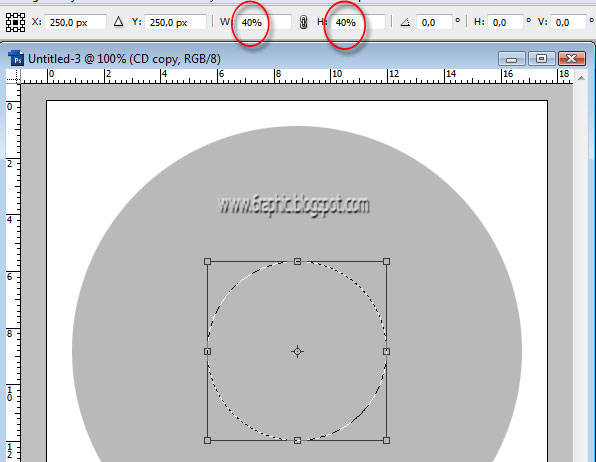
| Right-clicking on the Layer Thumbnail of CD copy to load the selection, make it smaller than the first one by hitting Ctrl + T, hold the Shift and Alt together... As you can see below... mine is 40% widht and 40% height circle. Fill it with #e8e8e8 |
 |
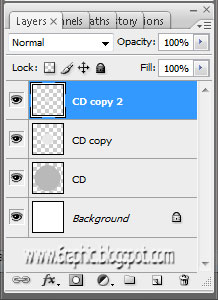
| With the same way, duplicate the second circle, make it smaller, then hit Delete to get rid of it, we're not gonna need it any longer... Lmao! Your Palette Layer should be like this before you get the Delete action there; |
 |
Delete the CD copy2 away! Merge down the CD copy Layer with the CD layer.. finish??? What? The shortcut? OK, hit Ctrl + E!!! |
 |
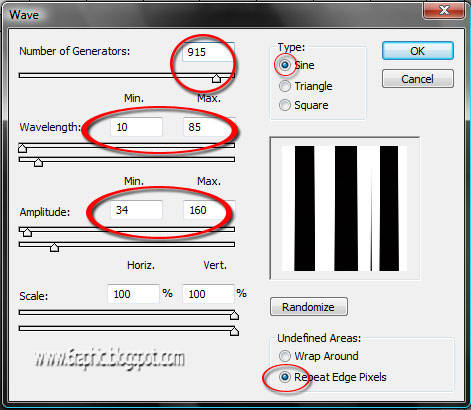
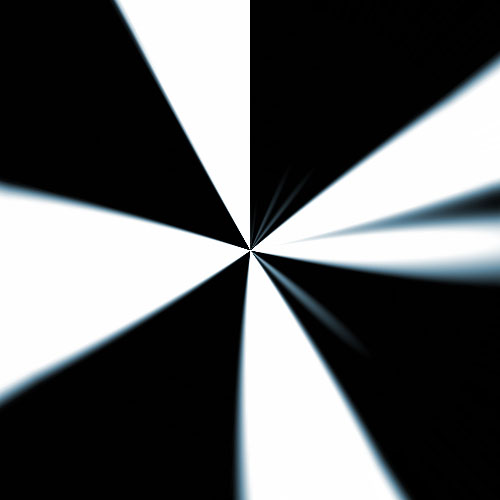
Create a new Layer by hitting the Ctrl + Shit + N, name it Reflection. Press D. (to set default foreground and background colors) Press Alt + Backspace to fill canvas with black color. Duplicate the layer (right click on the current layer on the layer's panel and select 'duplicate layer'). Continue working on this new layer. Select the Gradient Tool (G) from the tool bar, place the cursor at the bottom of the canvas, click and drag it to the top of the canvas. Now your canvas has a black and white gradient fill. Click on Filter > Distort > Wave the Wave window appears, give the settings as in the image below. |
 |
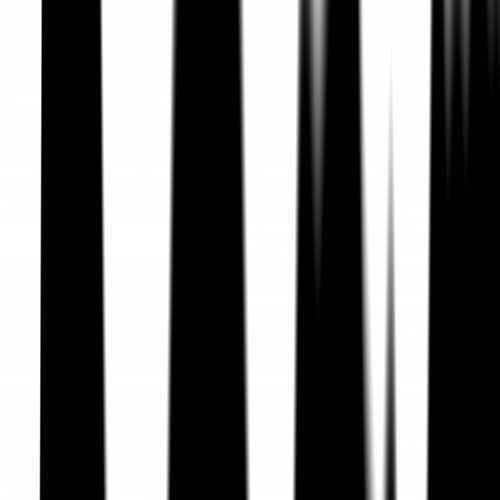
| Your pic should be like this ; |
 |
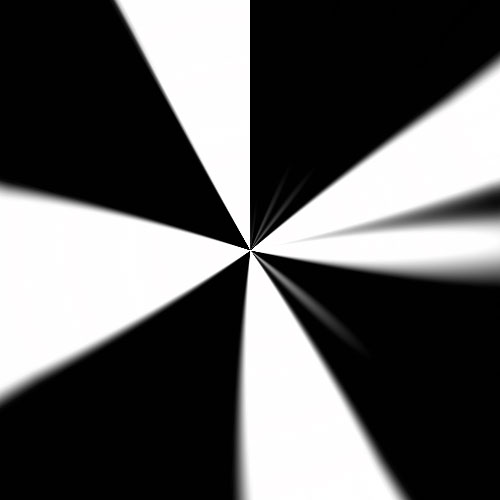
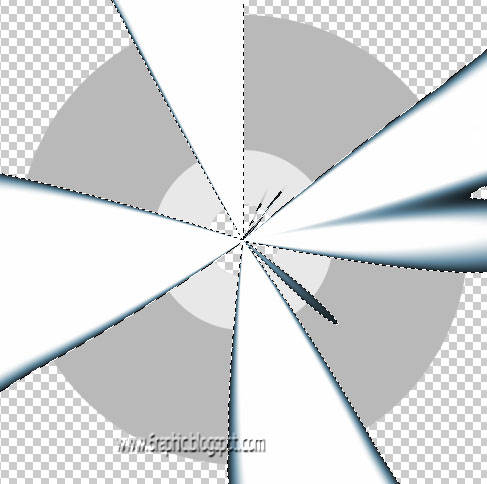
Then click on Filter > Distort > Polar Coordinates. The polar coordinates window opens up, give the settings as 100% and check the Rectangular to Polar option. |
 |
| Press this Ctrl + U to go to Image > Adjustments > Hue/Saturation and change the settings to : Hue - 200, Saturation - 25 and Lightness - 0. Check the Colorize option. |
 |
| Click the Magic Wand Tool (W), then select the Black section to load it... do not hesitate to Delete it... Get it! |
 |
Hit the Ctrl + D to deselect it. Go to the Palette Layer, select the Reflection Layer, Ctrl + click on CD Layer Thumbnail to load the selection of the CD area, Click Ctrl + Shift + I to invers the selection. It means, we're gonna go to make an action with the Reflection Layer content but in the CD seletion, confuse? Just wait and see... Make sure you got the Reflection Layer active, Hit Delete! See what I mean?!?!? |
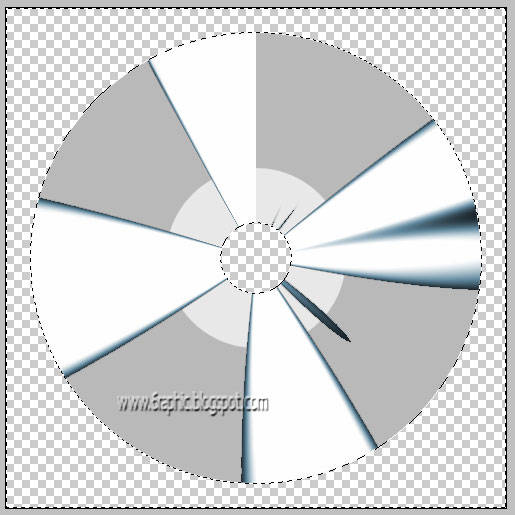 |
Turn down the Layer Opacity into 70% or something :) Fiuhh... Deselect it! OK.. without mistake, we're not a living life, right?!?!? I forgot about something... next time will be better.. Lmao!!! Here's my mistake... Select the CD Layer, activate the Magic Wand Tool (W), then select the 10% Grey circle, yupp the little one from the Layer CD! Slow down beib, slow down...!!! Duplicate the selection by holding down the Ctrl + J... Right-Clicking on the Layer 1 (CD copy, the lil' one), then select again the CD Layer, hit Delete 'coz that the of this sucking tut... hahaha... Just delete it brow!!! There's no need of it... That shit!!! Go to menu Filter > Blur > Gaussian Blur, set like mine here... |
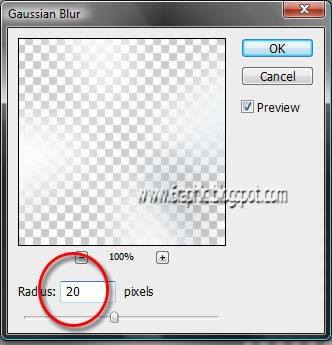 |
Layer 1, turn down the Layer Opacity into about 30%. And there you go kids! Another fun Photoshop tutorial and a few more tools you’ve now got a little experience with. Great Job! These are literally the steps I use to draw. You may find another way in the future that is best for you, and I encourage everyone to explore on your own. |
  |
Related Topics :


Eddyaannn ..!
ReplyDeleteMang mantep lu :D
Gue bikin cover gitu cuma pake corel :)
Takut salah ngomong nie gue, jadi ada penambahan :D
ReplyDeleteGue bikin cover sederhana pake corel,, liat punya lu gue silau,, hahhh
mantap banget....
ReplyDeletehoho,, di sini emang banyak tutor2 yang menarik :D
ReplyDeletethanx seklai ilmunya
ok gak masalah. mau jadi pertama or kedua, up to you. tks udah mampir ya. tapi aku suka bingung nih kalo kesini mo komeng apa ya?
ReplyDeleteVery nice post, saya bookmark dulu nih.
ReplyDeleteKirain takut disuntik he.he.. ya udah g usah ke dokter. Kalo lum pernah kena obat kimiawi mending g usah, soale kalo dah kemasukan obat2 kimiawi katanya kekebalan jadi berkurang.
@ all : dukungan kalian sangat berarti buat perkembangan blog ini :) terimakasih sebanyak2nya atas kunjungan tetapnya :) ^o^
ReplyDelete@ Muzda : liad dund versi korel nya >:/
@ e-je + rizky : mksh compliment nya akang ber2...
@ sang cerpenis : di sini bebas sebebas2nya mba'... mau dmn kek komennya, mau komen apa ke'... nyampah aja di sini gk akan ada yg omelin ku'...
@ seno : mksh kang, lama tak basuo nih :) suggest kang yg kek gtu sih :p klu kitanya positif semua2nya... pasti akan lurus2 aja... gtu kalii ya?!?!?!
hm.....kreatop spt biasa..pasang SHOUT BOX DOOOONG...huuuu
ReplyDeleteYa nggak bisa dibandingin ma punya lu ...
ReplyDeletePunya gue kan sederhana,, cenderung jelek, malah ..
hehee ...
Kalo si Bos bilang sih,, "Udahlah Da, asal jadi aja, nunggu kamu bikin bagus ntar malah gak jadi-jadi.."
hahaa...
File-nya di kantor Nel, gue kan sekarang gak kerja ..
ReplyDeleteTrus juga gak ada URL.
Wadoh, sumpah deh punya gue jelek. Lu gak bakal kepingin liat.
Gue bikinnya ngepas banget, manual, trus gambar langsung copy aja, gak pake didandanin ..
Btw, aku add YM-mu
Sapa tau kamu masih mo maksa, hehee :D
Ini untuk Genial ..
ReplyDeleteEntah apa dia juga pernah jadi CS,, tapi ini karena pendapatnya tentang software piracy yang telah lama kusepakati---
Hey Nel ..
Jangan bingung dulu,, itu kata-kata opening gue,, supaya ke blog gue ..
hahaa,, ngomongnya muter-muter, padahal cuma mo ngasih tau ada award di http://muzdalifah-muhlan.blogspot.com/2009/04/cs-yang-baik-dan-pendukung-piracy.html
kirain bikin CD beneran! rupanya.. heiheie
ReplyDeletebaru lg nih om??
ReplyDeletesilahkan dinikmati sajalah :)
ReplyDeletemantap, blognya english tapi mau komen ga bisa ya Indo aja deh,
ReplyDeleteAda efek huruf yang kebakar ga ni, dulu pernah bikin dah lupa lagi, ilang pula tutornya
nyante ajja sii kang.. gpp lagi.. :)
ReplyDeleteeffek huruf yg kebakar...??!??!! kek yg punyanya sii psd-tut-plus iia?!??!?! yg hurufnya bentuk 3D??!!? kebetulan di sini gag ada kang :) hehhehehe.. buat huruf 3D nya baru nanti akan tayang :p apalagi maen bakar2an nya kang :( xixixixixixiixixix...
kerennnn.... kalo pake poto diri juga bisa dunk kak?? sekalian buat promosi gratis :D
ReplyDeleteanother photoshop tutorial..
ReplyDeleteLike it so much,,I can learn a lot from your blog,Thank's
@ Cyntia : mksd na 'cover' yg kita pake itu photo kita sendiri gtu???!??! iia jls bisa lah.. :) hehhhehee... emangnya mo promosiin apa lg sii...?!??! pan uda rame beud blognya :thumbsup:
ReplyDelete@ melandri : obviousely thnx to you too dood... 'coz of your presence here we've become strength... wish us bro :)
wedeh keren nih sob tapi tetep aja rumit bagi diriku haha
ReplyDeletegag ko' kang... cuma maenin dikit sentuhan efek, beres kang... gag perlu ada pen tool kan di sana.. berarti masih tergolong 'blm sulit' kang :(
ReplyDeletegenial:
ReplyDeleteSunguh saya tidak berdaya ketika anda mengatakan 'agak kurang mengenakkan buat saiia pribadi... ' Padahal hanya iseng dan sekedar ngisi komen buat tamba2 PR.
Memang saya bukan manusia yang sempurna dan banyak sekali kesalahan2 yang telah saya perbuat.
Tetapi apalah daya guna 'ucapan yang sudah terlontarkan tidak bisa di tarik kembali'
Hanya saja melalui postingan ini saya ingin meminta maaf dan segera intropeksi diri, dari kesalahan kita sampai kebaikan kita.
Oke walaupun belum lebaran kita bermaaf-maafan tidak ada salahnya bukan. Mulai sekarang kita berteman lagi dan jalin hubungan yang baik. OK
Thankyou sobat.
it's OK kang :)
ReplyDeletebaru ol setelah 3 hari dari 4 nenek di wonogiri ada sodara yg nikah. sempet jalan2 ke monumen jendral sudirman di pacitan
ReplyDeletebingung komen apa neh tp mantap lighting gambar di CDnya. konsisten neh mas genial mas postingannya he3.... tetep semangat dan tetep sehat agar bisa jalan2 dan makan bareng gak nyambung ;)
ReplyDeletehahhahah.. gpp tau kang.. itu nyambung ko' :p
ReplyDeletewew jendral sudirman?!?!? tetep semangad juga kang awal :thumbsup:
Di labelnya kok nggak ada GIMP ya?
ReplyDeleteoh ya, gimp adalah program olah gambar bawaan linux, namun ada juga yang untuk windows, mohon dicoba dan share juga disini...
Tanya juga, blog ini apanya nuruli ya? kok aku klik gimp di atas masuknya ke blog nuruli??? hihihi... salam kompak!
ReplyDelete*senang bisa belajar nggambar di sini*
hhihihih.. mo komen lagi ahhh biar yang punya blog jadi inget Tia terusss :D semangattt !! :P
ReplyDelete@ Andy MSE : berarti sama halnya dengan sotosop iia kang.. ada yg utk MAC, ada juga tuk PC... hhmm.. tp emang terus terang, ngeliad langsung programnya ajja lom pernah... makanya saiia pasang link Nurili di atas karena beliau org yg saiia anggap mumpuni buat ngejawab sekiranya ada pertanyaan yg berkenaan langsung dengan GIMP...
ReplyDeletesalam kompak juga kang... kek di radio ajja.. hehehee...
@ Cyntia : hehehehe.. gag perlu gtu juga pasti inget Ti... heheh.. jd gag enak nii.. ngerasa di uber2 terus :( maap iia lom sempet juga soalnya...
wah memang mantap tutorialnya..bnyk bgt gambarnya nih mantab..
ReplyDeletemakasii bang uda sudi mampir lagi di sini :)
ReplyDeleteYyaaf_buwel@yahoo.com gen
ReplyDeletesorry, maksudnya aaf_buwel@yahoo.com
ReplyDeletehatur tengkyu bang..
ReplyDeleteoi oi oi... i like this one :)
ReplyDeletetengkyu
ReplyDelete