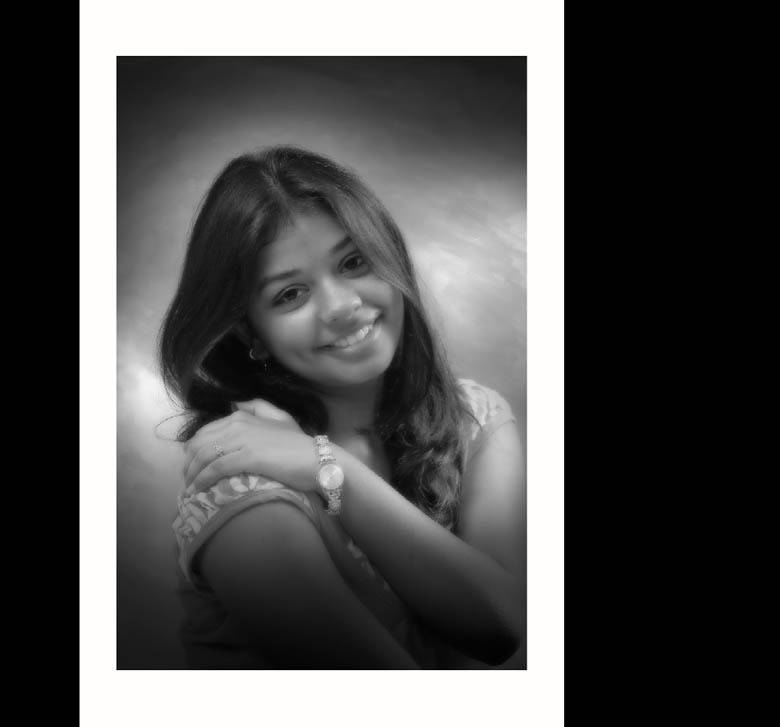
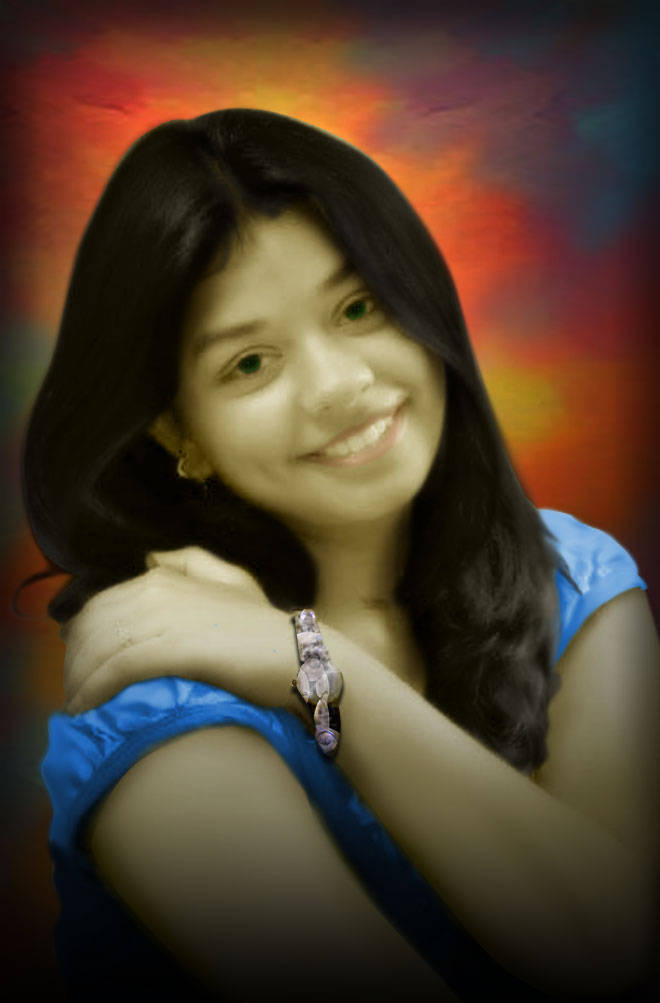
This dedicated tutorial is the main example of that style. Dedicated? Yupp, I dedicated again this to my old talented Indian photographer, Mr. Das. Hmmm... Santanu Das was asking me about how to create this particular creative background design as we can easily find in photographic studio.
This is what I'm talking about...
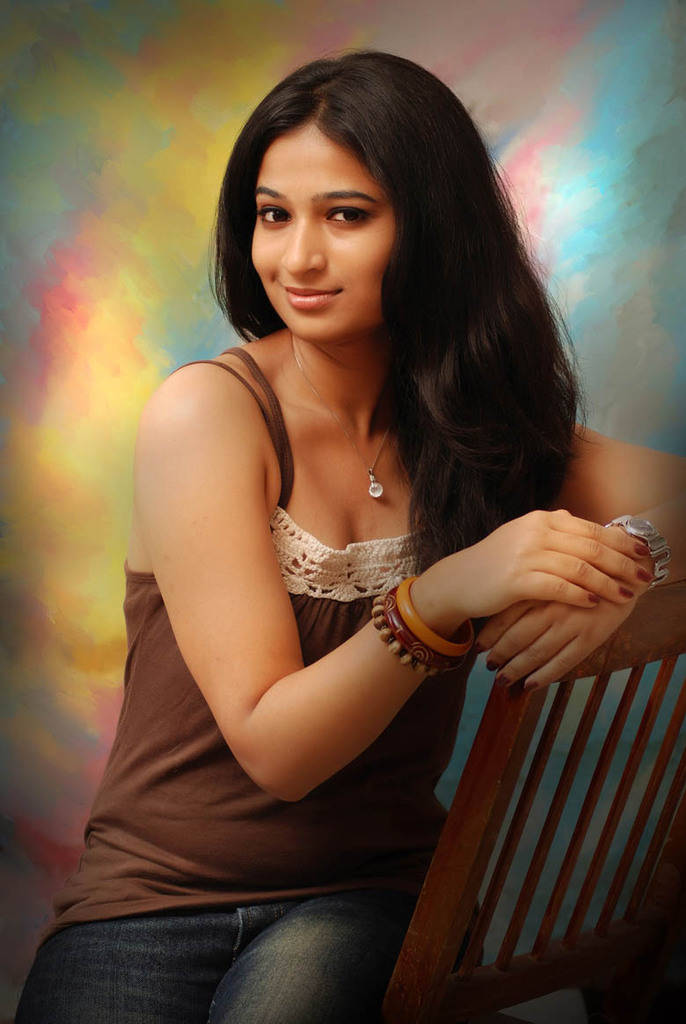
Beautiful model.. Ouchhh!!!
I'll let you in on one of the most effective and easily mastered techniques that I use to create striking, no need dynamic distortion of the subject - in this case I using the model suggested by him self, although this technique can be adapted for each objects that you want to feature your work, such as cars or trees.
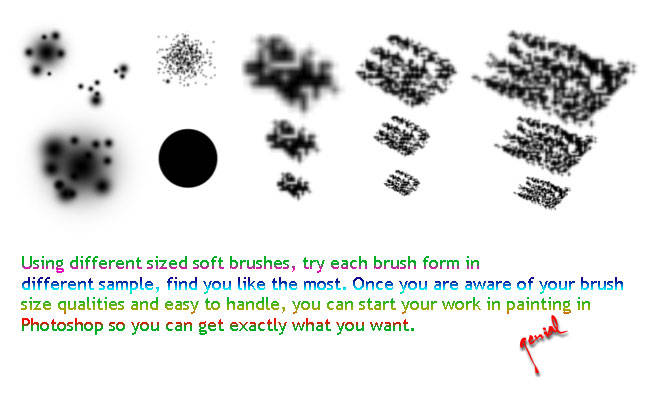
Once you’ve picked the brushes you like and convenient to your need and created the Layer of each color you wanna paint, select the Brush tool (B) and apply separate paint strokes so that each color are on separate layers – and make sure you name each layer to find them easily.
For this exercise, I used around 7 different brush size diameter on about 15 layers, but you can use more or less depending on your image and the effect you’re after.
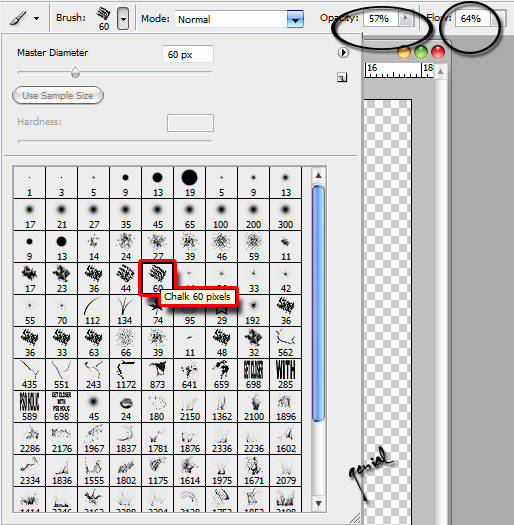
Play around with the brush diameter size and set the opacity of each layers created in low. Add some blur filter to each and voila! You've created what looks like a stain paint, but in the future, you can use a similar technique form of cutting force and distort your subject.. if you need to :p
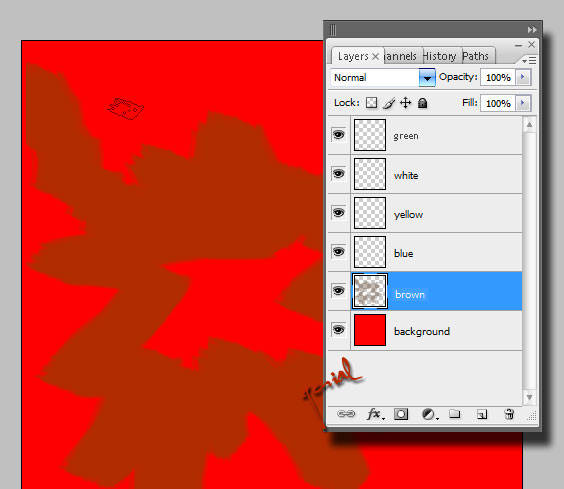
Try to free your mind.. there's no need to be afraid of making mistakes. Remember what I've said yesterday? Now you got what I meant, such a simple way, isn't it? Do the same to scratch your other layer till you get the aim of this tut. These steps can take some time, especially at the beginning, but it’s the most important part of this visual creation of the background, so take all the time you need brotha'.
Learn how to make a simple easy custom brush, then use it to create vibrant, freehand paintings along the way. This is one of the manipulation result I wanted.
You can simply add a directional light on that sample to make it more bright or something, but I leave it as the original image said. That's obviously optional. Remember... You are ROCK and you can do this simple kinda trick!!! Take a peep for a while at How to Install and Manage Brushes and Other Presets to save easily your custom brush.
Mr. Das... If you can do this awesome trick, then you are absolutely in the right way to create image background like both images above... It is the same way. Hope this is quite helpful to you. For all my blogger friends... Additional notes?!?!? Any critics?!
Paint Brush screenshot taken from www.keithgarrow.com

Once you’ve picked the brushes you like and convenient to your need and created the Layer of each color you wanna paint, select the Brush tool (B) and apply separate paint strokes so that each color are on separate layers – and make sure you name each layer to find them easily.
For this exercise, I used around 7 different brush size diameter on about 15 layers, but you can use more or less depending on your image and the effect you’re after.

Play around with the brush diameter size and set the opacity of each layers created in low. Add some blur filter to each and voila! You've created what looks like a stain paint, but in the future, you can use a similar technique form of cutting force and distort your subject.. if you need to :p

Note : Shortcut of Brush size diameter is [ bricket or ] bricket.
Try to free your mind.. there's no need to be afraid of making mistakes. Remember what I've said yesterday? Now you got what I meant, such a simple way, isn't it? Do the same to scratch your other layer till you get the aim of this tut. These steps can take some time, especially at the beginning, but it’s the most important part of this visual creation of the background, so take all the time you need brotha'.
Learn how to make a simple easy custom brush, then use it to create vibrant, freehand paintings along the way. This is one of the manipulation result I wanted.
You can simply add a directional light on that sample to make it more bright or something, but I leave it as the original image said. That's obviously optional. Remember... You are ROCK and you can do this simple kinda trick!!! Take a peep for a while at How to Install and Manage Brushes and Other Presets to save easily your custom brush.
Mr. Das... If you can do this awesome trick, then you are absolutely in the right way to create image background like both images above... It is the same way. Hope this is quite helpful to you. For all my blogger friends... Additional notes?!?!? Any critics?!
Paint Brush screenshot taken from www.keithgarrow.com



salam friend
ReplyDeletethank for info
I know brushes and photoshop ,coz read your article
Ya ampun...daritadi cuma kesengsem ama model yang paling atas, cuantik tenan, xixixi...
ReplyDeleteOh..ya, susah cari warna yang tepat buat brush, gak pernah mantep saya pakeknya, xixiix...
Hello my friend Genial, thank you very much for your visit, good weekend with happiness and successes. Valter.
ReplyDeletewow..good tips nih..ngomong2 mslh photoshop..daku khan katro nih...dulu waktu masih jaman CS2 kadang suka pake image ready, skrg udah pada CS3+ kok bingung yah ..gantinya image ready ada yg tau gak yah?
ReplyDeletemodel di atas oke juga.. sayang perutnyaaa wkwkwkw... :P
ReplyDeleteTrims Mas Gen atas tutorialnya, jungkir balik saya belajar motongnya gaak kena2. akhirnya belepotan gak keruan. Sehingga saya lebih baik pake cara dengan membuat kayak lukisan biar ada kepuasan dikit. sementara untuk foto di atas ya belum berani. Contoh fotonya yang gagal ya yang diheader itu. bolongnya banyak. Punya tips buat motong yang rapi Mas ?
ReplyDeleteTrims atas supportnya. Salam :)
modelnya cuantik kakkk.. :) senyumnya ,.. nga kuku.. :D
ReplyDeleteMaap bro baru sempet mampir... beberapa saat saya nggak berkunjung ke tempat sahabat-sahabat...
ReplyDeleteKayaknya makin mantap aja nih tutorial sotosopnya... Salut deh bro... :)
Keren postingannya. Usefull banget nget nget... sayang T inih belajar photoshop nggak bisa2 ehehehehe...
ReplyDeleteMet wiken!
hey!! Fantastic! Thanks for showing the trick! I can now try myself... Yahoooooooooooooooooo!! ThankUuuuuuuuuuuuuuuuuuuuuuu!!!
ReplyDeletehehe!!
nice work :) keep it on up
ReplyDeletewow.. keren tipsnya bang.. I like this!
ReplyDeletekeren neh poto pacarnya bang
ReplyDeletebanner perfect money udah dipanen?
hyyy lam knall...
ReplyDeleteTukran Link yuk... ?
SAya tunggu ya Konfirmasi nya ...
Waws.. its very nice.. I like it. n interested.. thanks ya..
ReplyDeleteIts good article friend... thanks for your share... good luck..
ReplyDeletenice tips
ReplyDeletewuaaa, sexy bener.
ReplyDeletehasil yang indah, sesuai keindahan ceweknya hi hi hi
Your blog was related to mine, about how using photoshop for the maximum result on photographs. Thank you for sharing my friend.
ReplyDeleteaku boleh ngirimin fotoku biar di gambar lagi sama dirimu?
ReplyDeletesyukur2 bisa jadi vektor hehehehehehe
met siang kang.. wahh.. lama juga ndak sotosopan lagi neh :D
ReplyDeletewah cara make brush yah.. cara buat brush kang yang dari image.. mantep buat tutorial :D udah ada atau belon yah?
infonya bagus!
ReplyDeletenice info kk ^_^
ReplyDeletekemana nih orangnya?!?!?!
ReplyDelete@ ria : mana photonya?
ReplyDelete@ nara : sama ajja kan bli sama yg biasa...?!?!? itu udah ada di How to Install and Manage Brushes and Other Presets...
Potonya yang atas bagus tuh saya sseneng.. hehe
ReplyDeleteTutorialnya perlu di bookmarks dulu nih..
ReplyDelete