Step 1 - Background PreparationI’m working with a
580px wide and
700px height at
72ppi document.
For a print quality file, 150-300ppi is just great, but still.. it depends on your printer’s desired file size.
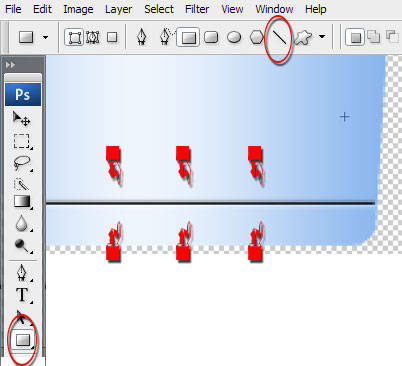
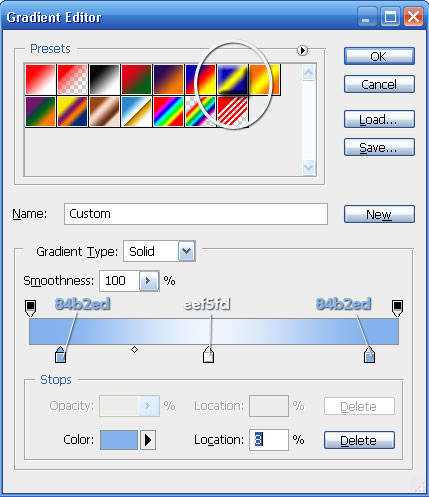
Use the
Gradient tool (G) for the next step and set it up to
Radial Gradient, as shown in the image below..

Apply then the
#eef5fd for your
Foreground and
#84b2ed for your
Background.
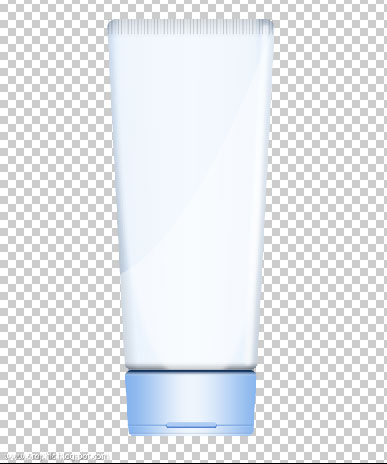
 Step 2 - Rectangle Tool Implementation
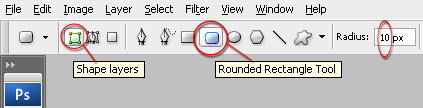
Now... on
two separate layers, create
two main shapes using
Rectangle tool (U) you've set up earlier (see the image above) and don't forget to name each..
(1) Main, the body of the bottle shape layer and
(2) Cap, for the cap or head of the bottle.
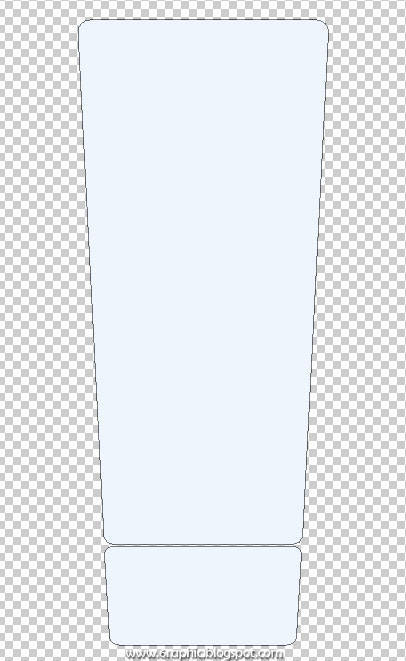
My both shapes above created by repositioning the upper side of the
Main layer as well as the
Cap layer by
Transforming the
Perspective of each shapes wider.
 Step 3 - Coloring (Fill or Adjustment Layer)
Now we're gonna add the
color and also the
shadings for the main shapes we made, both of 'em.
First we should activate your
Main shape or
Cup shape by clicking on their layer (you just pick one of 'em, lol)... (I just couldn't think of anythin' funnier to put there.. Sorry).
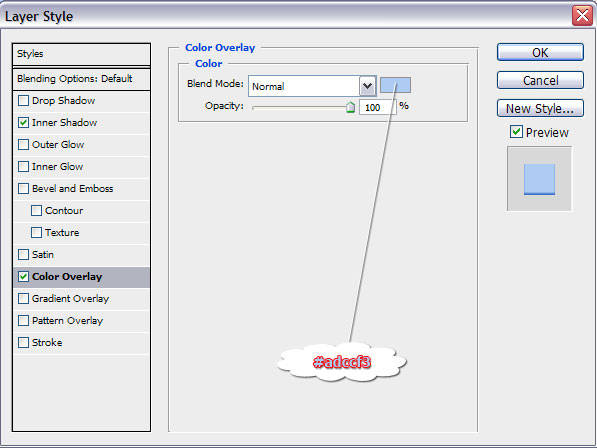
After that, click the
Create New Fill or Adjustment layer button at the bottom of your
Palette layer. We will add a
gradient color to cover the shape. Choose
Gradient.. there is little pop up windows come up, set like the image below..
The color combination I put on the box is the color I used on the Step 1. It's all arranged with that way (...of life, again I just couldn't think of anythin' funnier to put there..) just because.. we wanna make the cylindrical illusion in that shape.
Rasterize that
Gradient fill layer by
Right+Clicking on its layer, than hit
Rasterize Layer. Hold on..! Why you should do that? It's because you will
rotate the
Gradient Fill layer and
fix it with the
Cup (The Cup of the bottle). Just because I'm so lazy on adding it by way a selection or something like that (or just because I’m just that kind of guy).. so I lose my mind with this?!?! Lmao! You should
Rasterize it first so you can edit just like what you want :p (Did you notice.. how many
Rasterize words in this paragraph???)
OK..(still.. no better joke) Take a breath for a moment guys...!
While you're done preparing your
hot delicious coffee with a
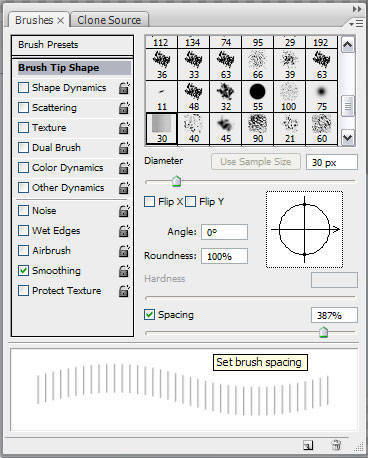
djisamsoe or something, sit back and complete your work flow... Now.. I'll give this two alternative in coloring. First.. You can use your
Brush tool (B) set to a size of about
90px, color the
Main shape (the bottle layer) you made with this two color
#252525 and
#FFFFFF, and change the
Blend mode into
Hard Light, and
turn the
Fill down into about
37%..
Or you can add a
New Gradient Layer above the
Main layer to cover up the bottle just like I did with the
Cup.. Here I use the
second (just because that's the point.. that what I', talking about) to apply the color (of course with
the same sets as you use for the
Brush's).

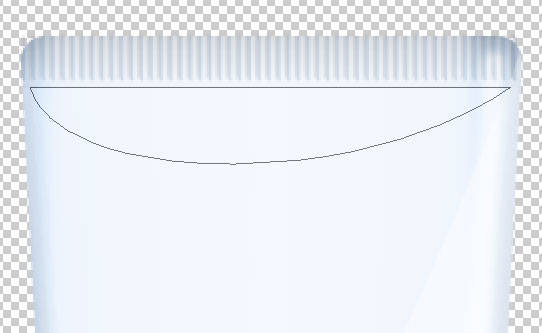
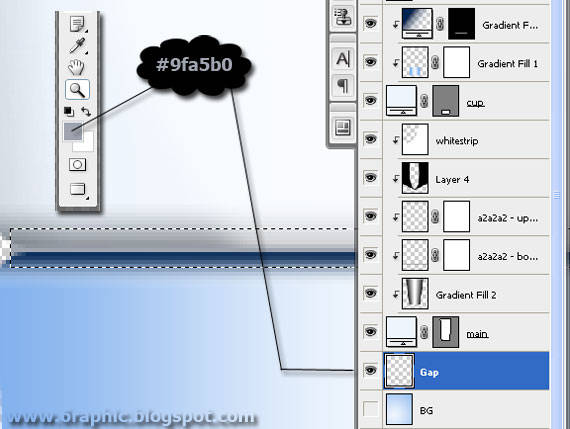
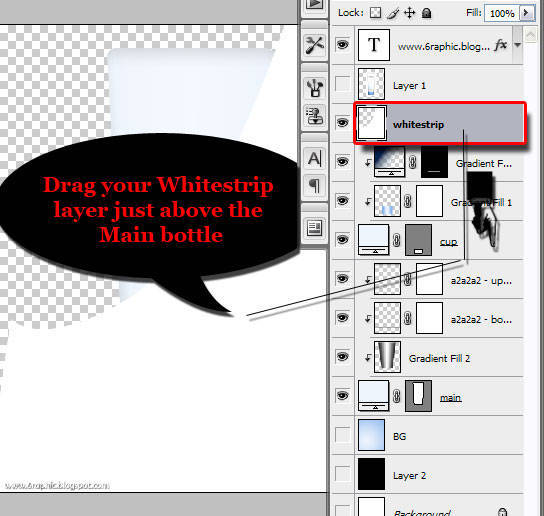
Let's get back to our
Cup.. we have something to do with the
gap between the
Cup and the
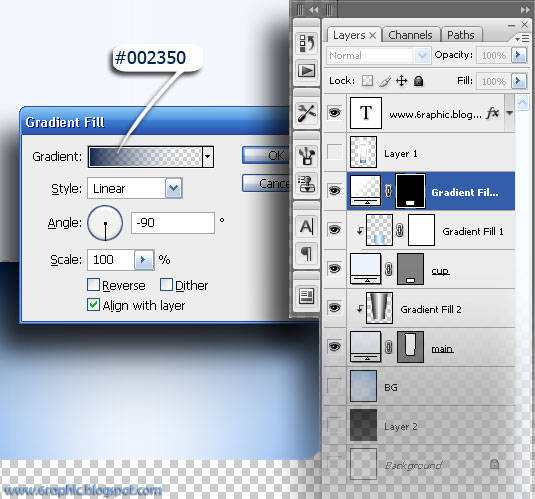
Main bottle... First,
Ctrl+click your
Cup thumbnail to invoke the selection of it. While the selection is active,
click the
gradient layer above the
Cup layer, we're gonna add another
Gradient Layer above it. Done? Ok, don't go anywhere, you should do
click Create New Fill or Adjustment layer on the bottom of your
palette layer, then choose
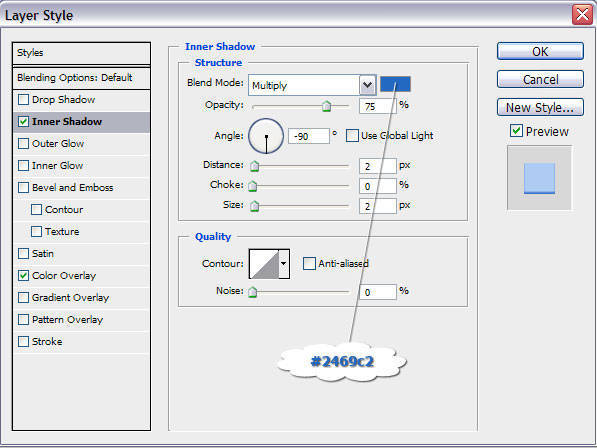
Gradient! Fill it with
#002350 and
transparent,
Style =
Linear,
Angle = -
90. Leave the
Scale 100% and
Check the
Align with Layer.
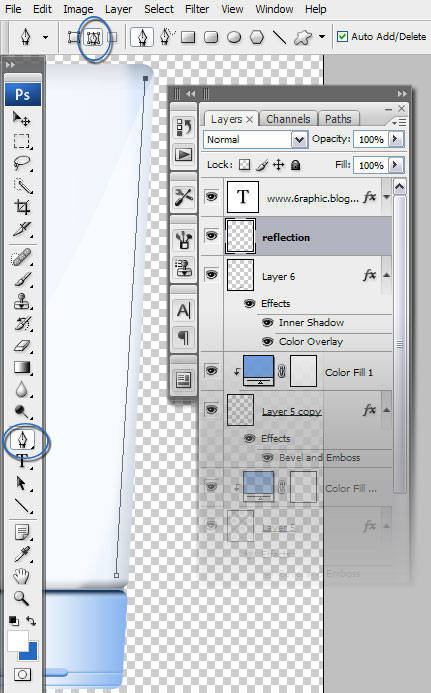
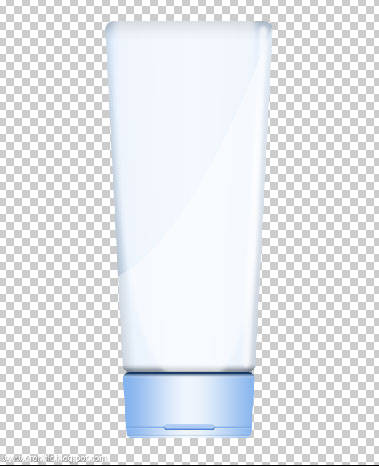
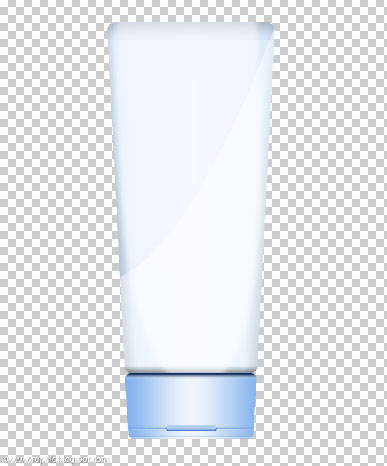
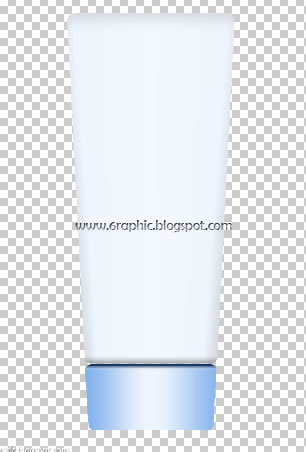
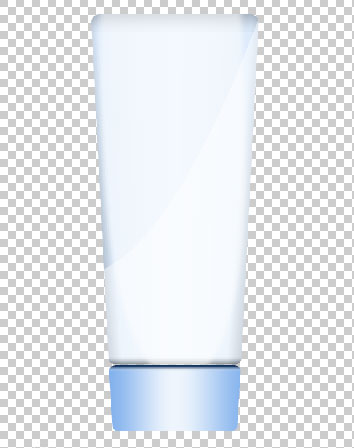
Then your product will become like this...
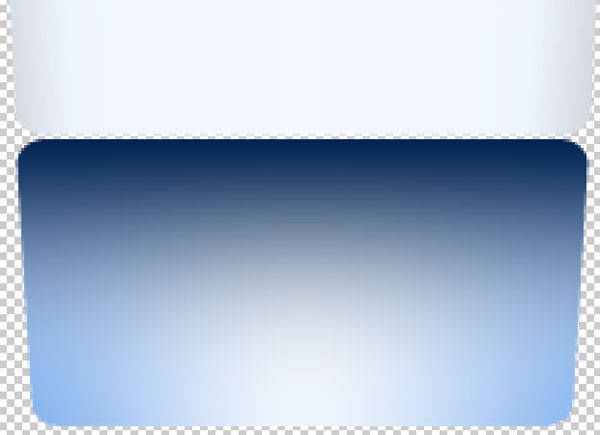
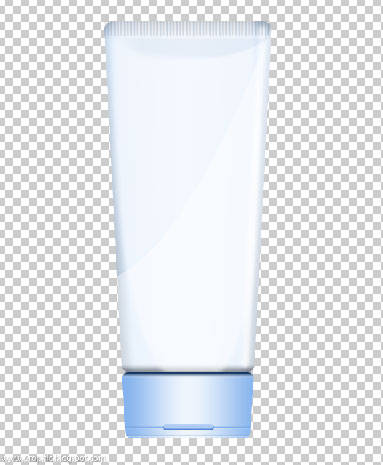
That's not good, is it?!?! Who's the one that agree with me... it's not good enuf! Raise your hands. lol!!! Let me tell you this.. you'll need this to fix the prob.

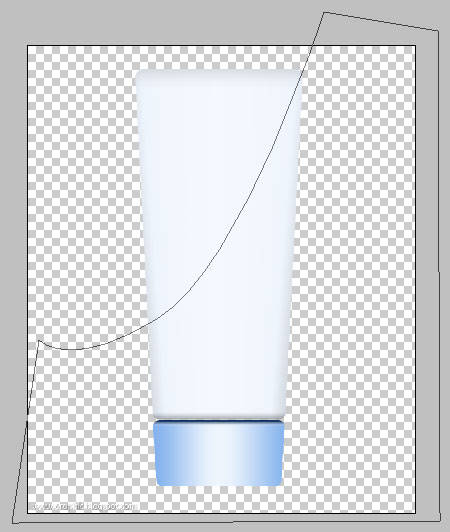
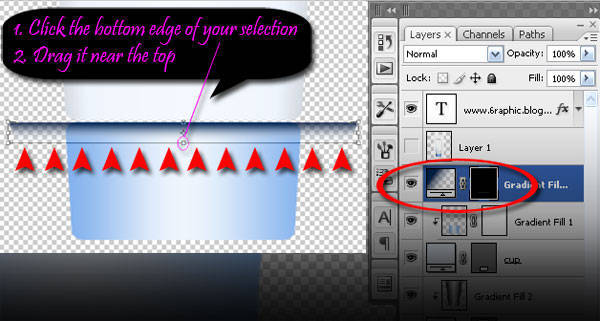
Click
Ctrl+T to invoke the
Transform tool..
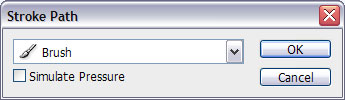
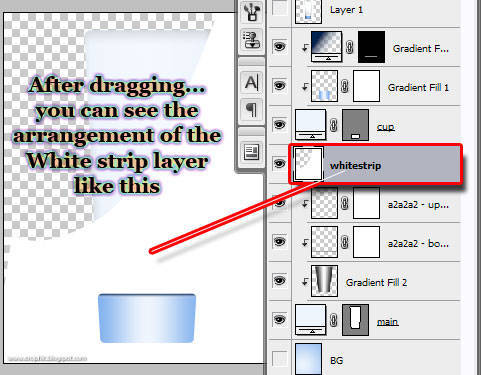
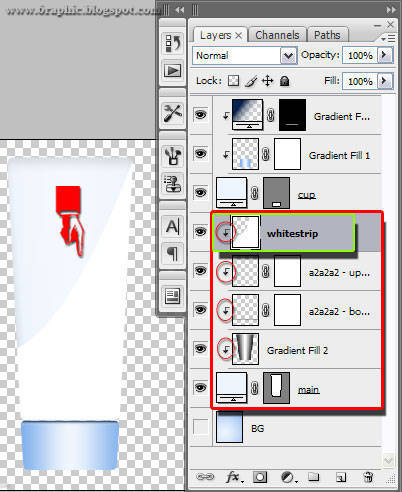
Drag your bottom
Gradient Fill (you've created above the
light blue gradient) just like I show you here.. watch this carefully!!!
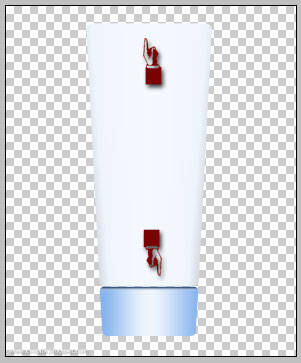
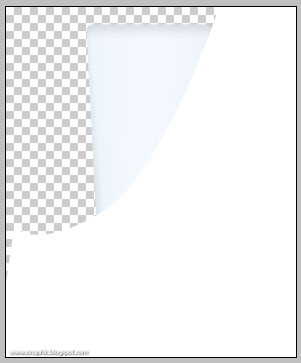
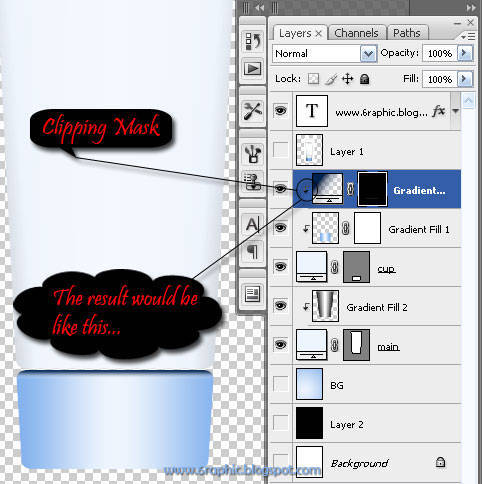
Put your
Cursor between
Gradient Fill1 and
Gradient Fill 3, hold it there, press
Alt.. than you'll see the icon of
people wearing headset, lol (shit.. I dunno what to say doods!!!) D'ya know what I mean?!?!
That's what we called Clipping Mask fellas.. Take it easy! If you see that damn ghost, Hit your cursor (click it)!
Your image would look like this.. If it doesn't work..?!?!? Repeat until you get that, lmao!
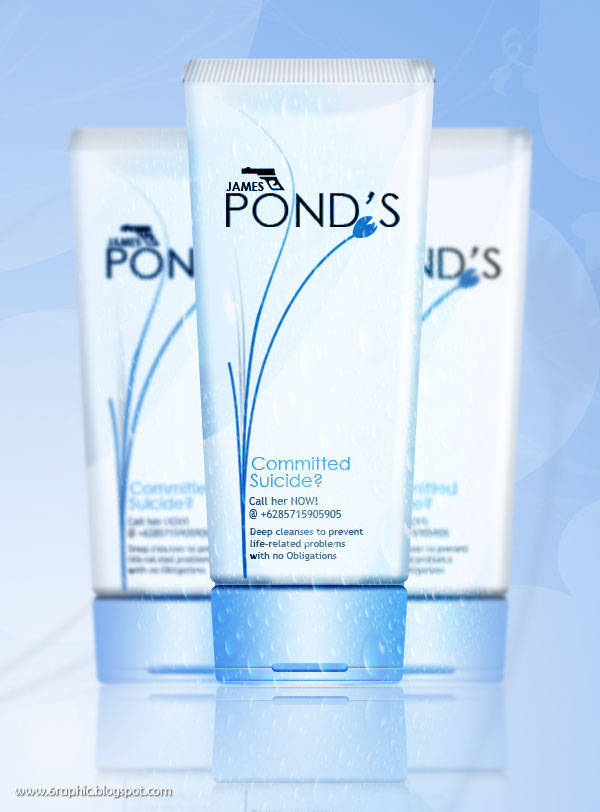
 To be Continued...Complete tutorial : James Pond's 1
,
James Pond's 2,
James Pond's 3,
James Pond's 4.

 Allow me to reveal this little secret: I was actually just a... Let say... horrible photoshopper. More accurately I can say that there are times when a designer has the lowest point of their creativity, I know, this could be happen not only in the field that I admire, it occurred in all areas of our lives.