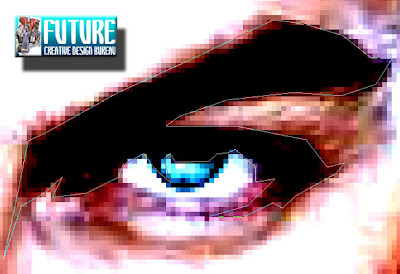
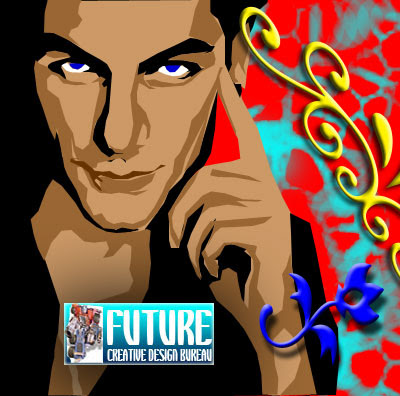
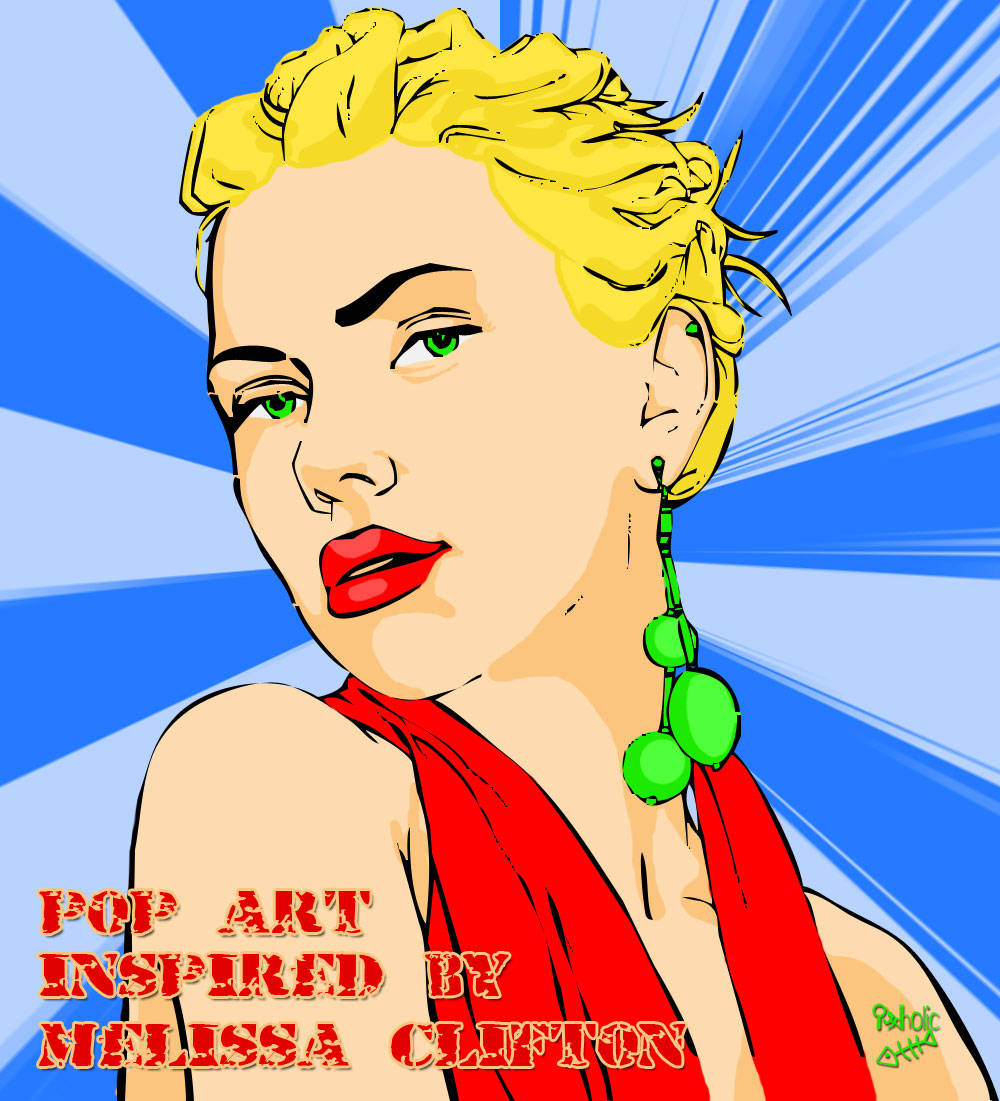
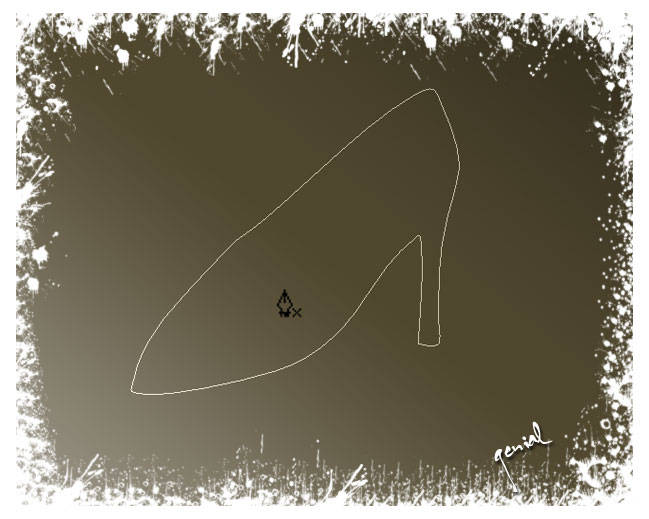
Although the Design-Based is quitely different with the Vector Bitmap, not a few people who also make a vector design must involve the photographs as source material for creating the design and Vector Tracing. Note the second picture below, the image comes on the image (bitmap), which was then converted to vector design by using the technique Tracing.
Tracing technique is a most loved technique by designers, because the object that has been in the Tracing as if entering the world of cartoons. Tracing techniques that are used by every one was different, it depends on the creativity of each and also how far the understanding of image processing software (vector) that is used.
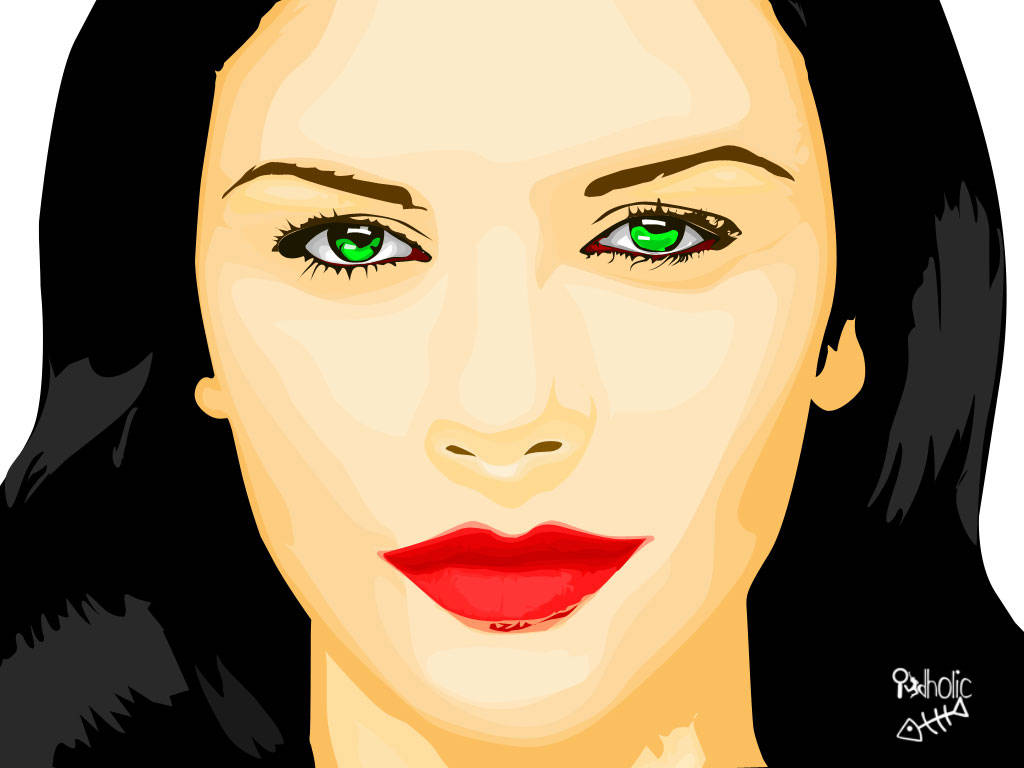
Sometimes also a lot of people who want to go deep knowledge of the cobwebs photography, in order to get a picture that you want to turn into the design vector corresponding desires.
Bitmap images and
Vector imageTherefore, the design of more vector used to create designs that emphasize soliditas form and color, size and flexibility, such as logo design, letterhead, cartoons and so forth.
To create a vector design, you need to use software design vector, there are various options that can be used, such as Adobe Illustrator, Macromedia Freehand, Corel Draw and so on. Of the many vector processing software, graphic designers tend to be many who choose Adobe Illustrator as vector processing software. This is due to various considerations, such as skills, facilities, features, and compatibility offered by the program output illustration software giant Adobe, Inc.. In addition, the already long-known Adobe Illustrator be knowledgeable professional illustration software as a design (design vector) number one in the world.
Bitmap DesignThis kinda type design is the design of a bitmap, or the general design is called Raster (Raster based design). Bitmap or Raster design is composed of objects from the point - called dot/pixel - with various colors arranged in a row-column vertical and horizontal - called the grid - with a certain level of sharpness.
Imagine the design as a set of bitmap dots in a mosaic. When the mosaic is viewed at a certain distance, you will find a picture / image you want. However, if you zoom in it looks, you will find dots image editor to start - generally referred to as the effect of broken (jaggy).
The nature of design bitmap that looks like this broken is called the resolution is not free (resolution dependent). Type design is suitable bitmap used to display the image with the fad that many color, texture variety, and so does not require the flexibility of size, such as images.
Bitmap image will appear broken when the enlarged. To create or edit design objects bitmap, you need software image processing / image editing, such as Adobe Photoshop, Jasc PaintShop Pro, Corel Photopaint, and so forth.
Vector Design PurposeIt is encouraging that someone would learn something is the usefulness of this. Similarly, when you want to learn the design vector, of course read in your mind, what is the benefit to learn this skill one? Here are a few things that can be obtained from the ability of the design vector:
1. Design vector used to create design that require soliditas shape, color, size and flexibility, such as a logo and letterhead. With the design vector, you will be more capable in the design, to create or edit a logo design, letterhead and so forth. Design and logo creation is one of the creative work that will meet your time working with the graphic design world.
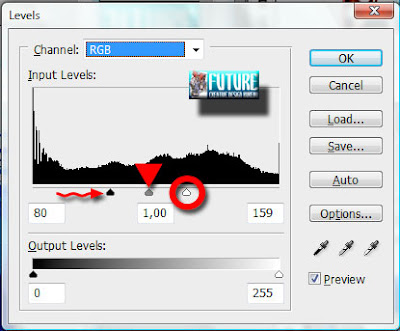
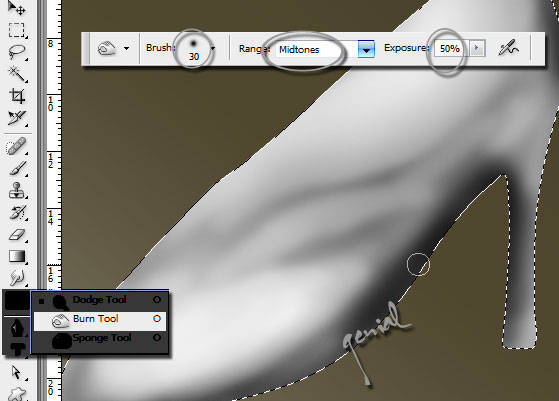
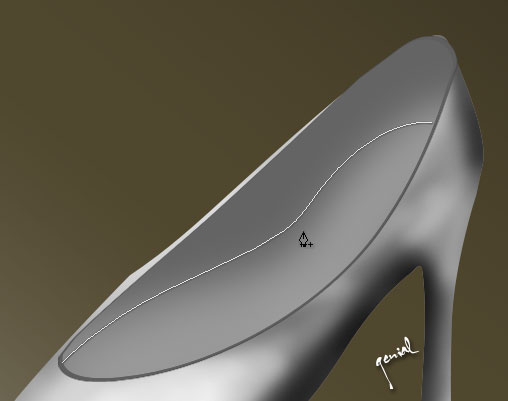
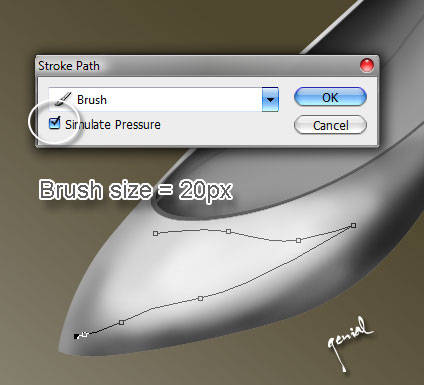
By using the
Pen Tool on Photoshop, set the parameter just like this :

2. Vector design enables you to further explore the ability to create a form, select the color, adjust the layout (layout), and various elements of the other basic design. The more often you train to make the design vector, the more skillful you are in making a design.

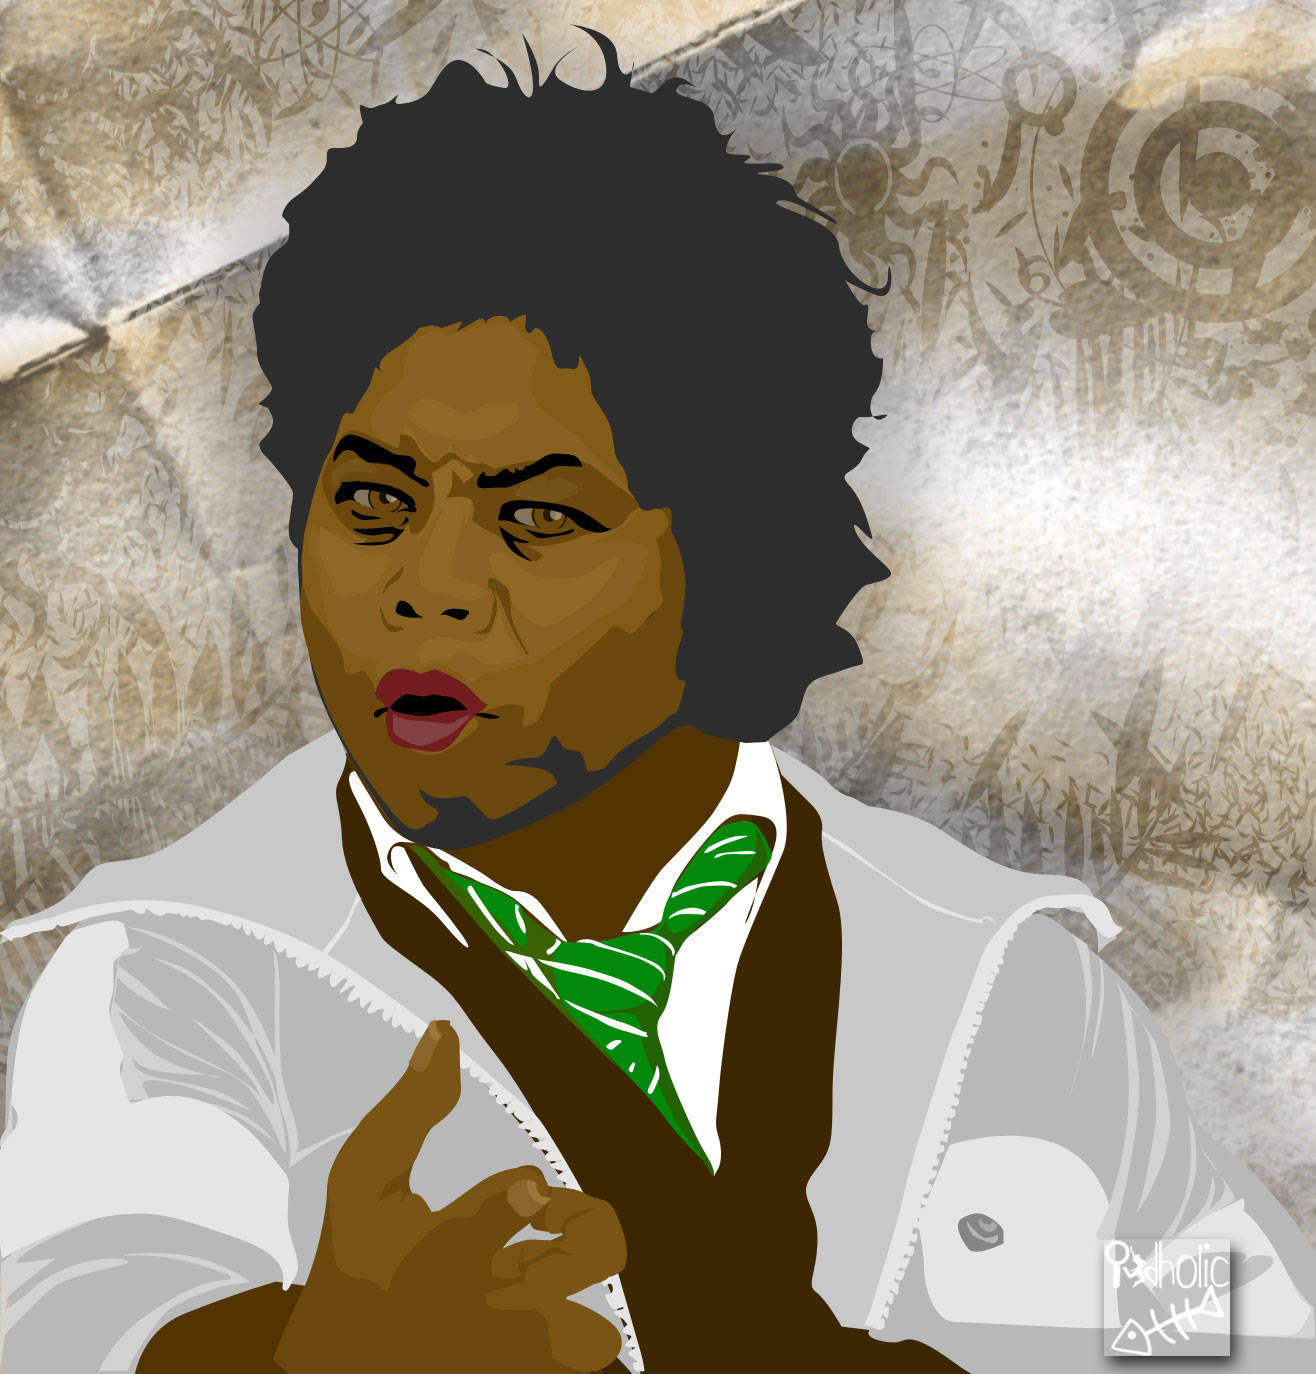
3. Vector design allows you to display the identity of your personal papers in a design that you do. Why? This is because the design of an object is a vector illustration, which will never have two illustrations that can be truly equal. Artistic touch of the designer behind the very strong view color vector objects concerned. So, we will be able to identify with the figure of a particular designer. Is the place you showed identity.
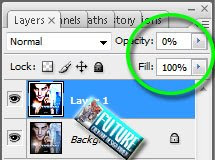
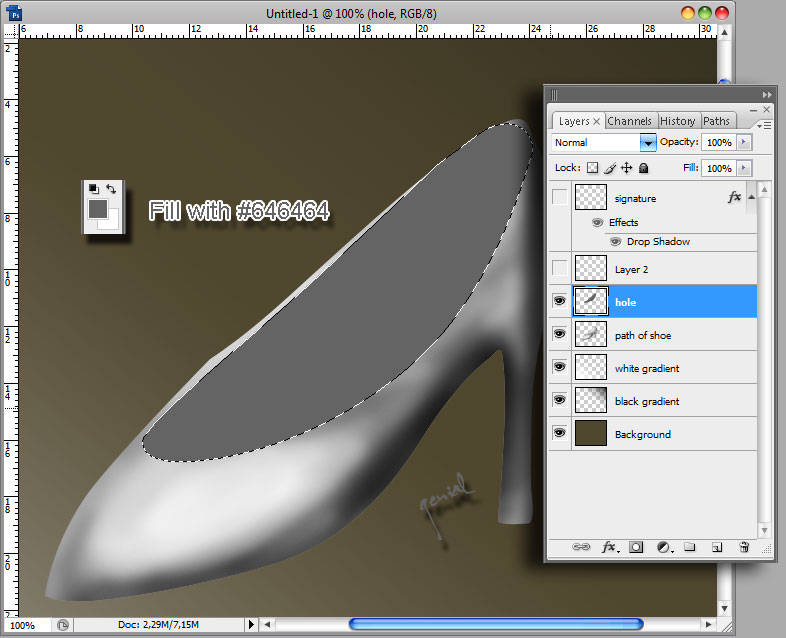
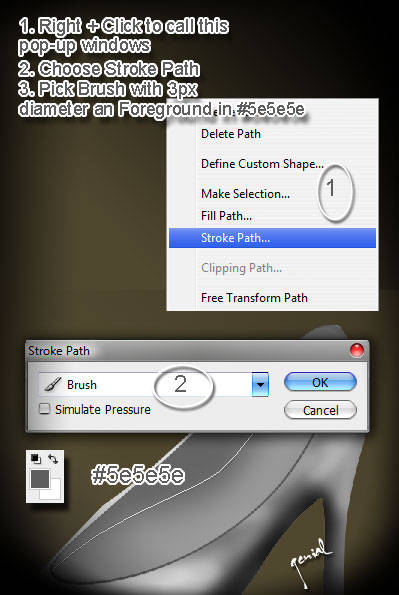
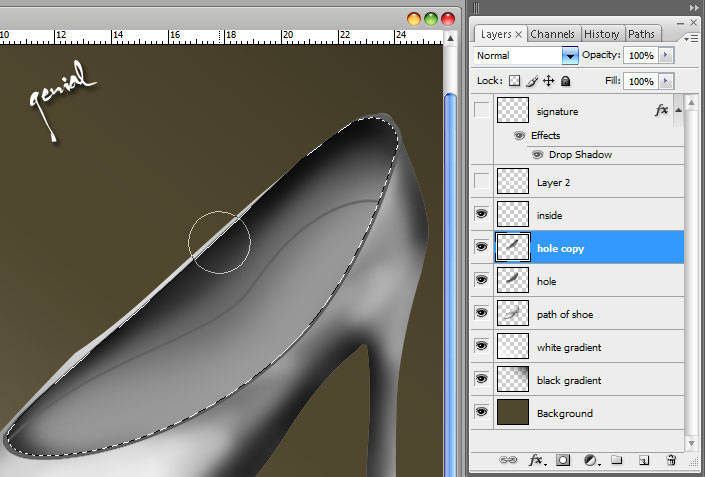
Here we had
22 Shaped Layer which is a
hundred percent of
Opacity after we've done, but before, you should decrease the
Opacity into
0% (NULL).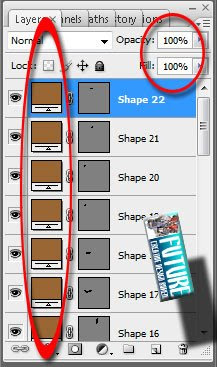
4. Vector design enables the exploration of form and design elements that were not found in the Peng-edits bitmap image. An illustration gives designers a freedom to form and to edit it, in accordance with the imagination and technical too. The restrictions have only a matter of creativity.
Vector design allows you to create original works that has dank with the personal touch. This is a most base why you need to take to work through the design vector. Through because you can show the world who you are actually OK ..!
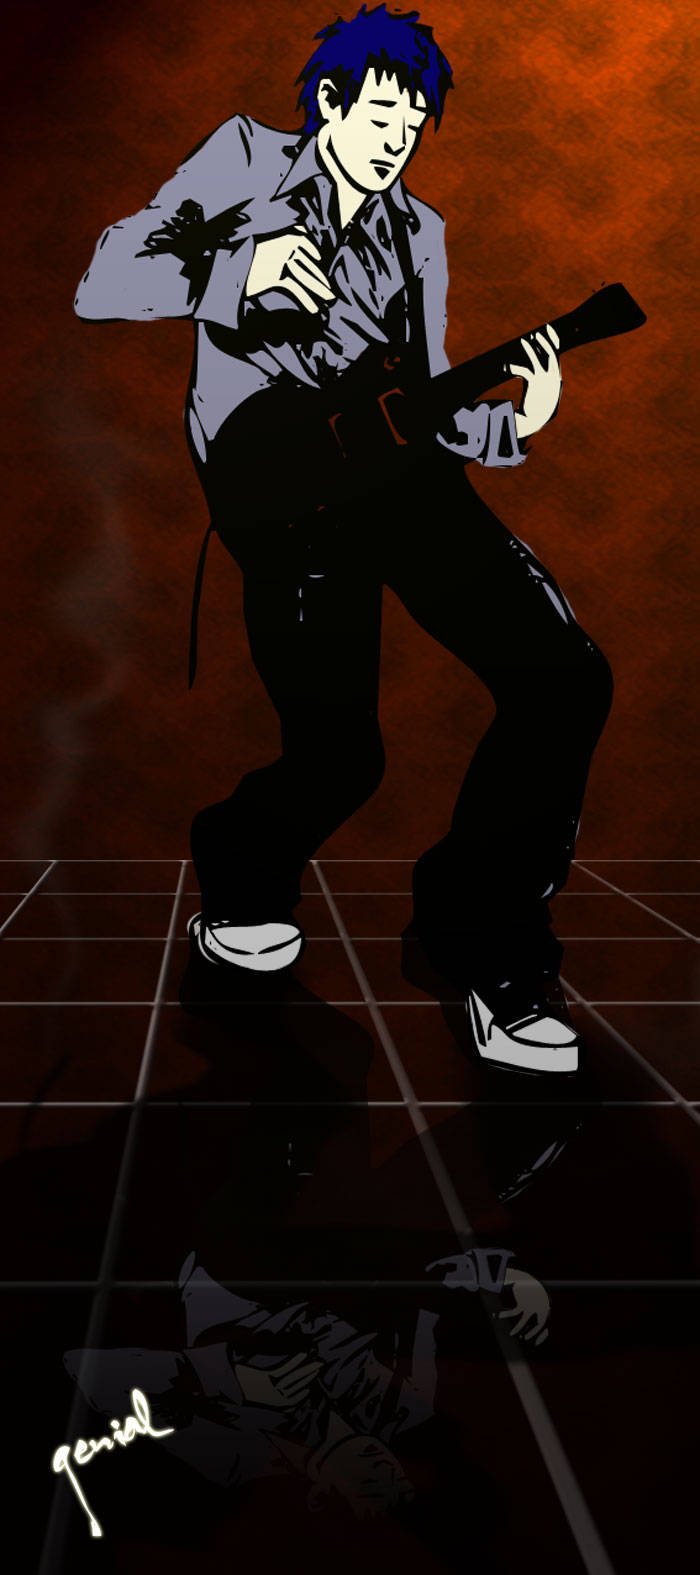
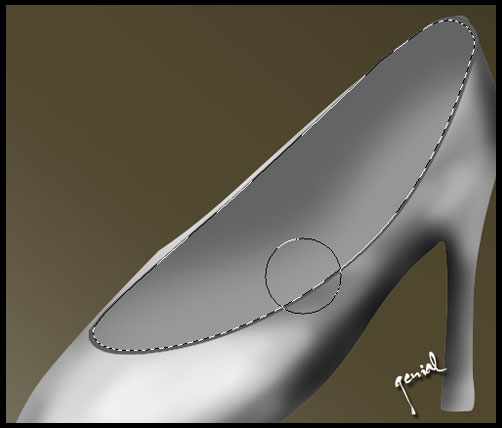
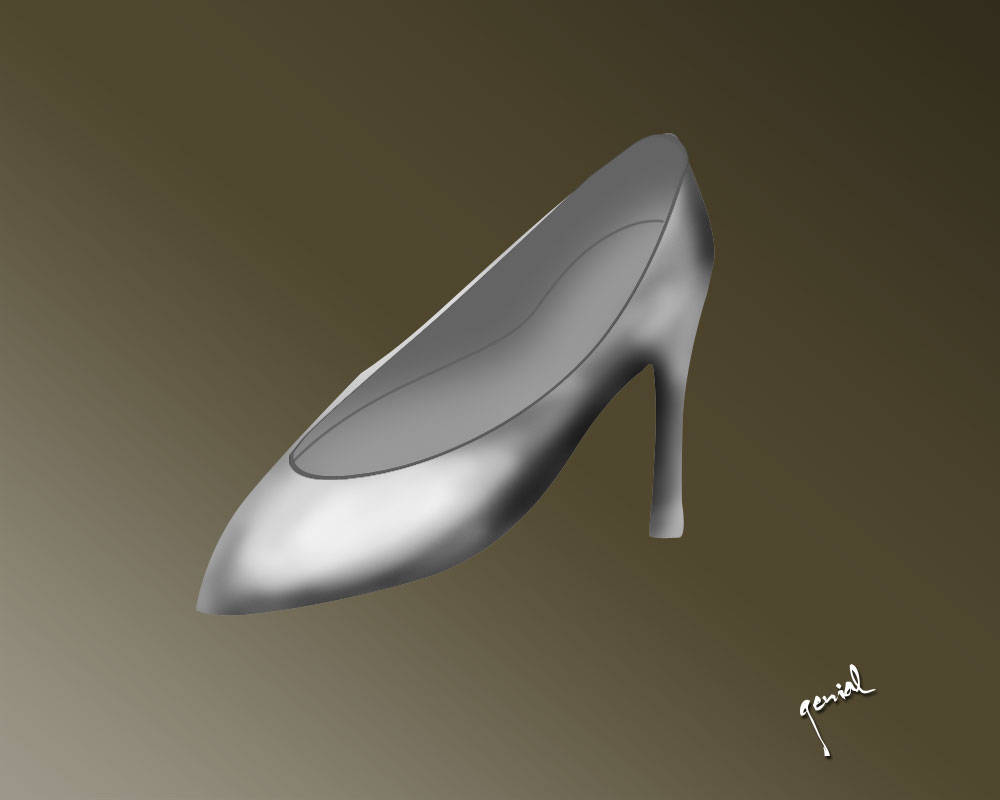
Voila... this is how we made that... how about you guys??!?!?!
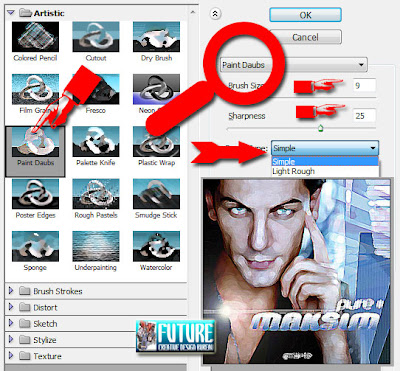
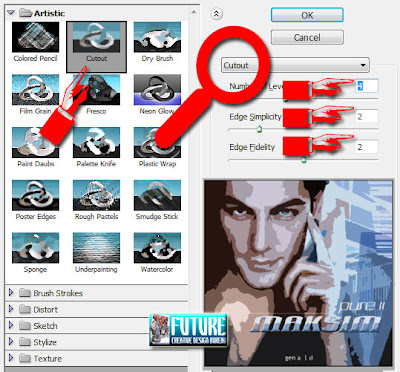
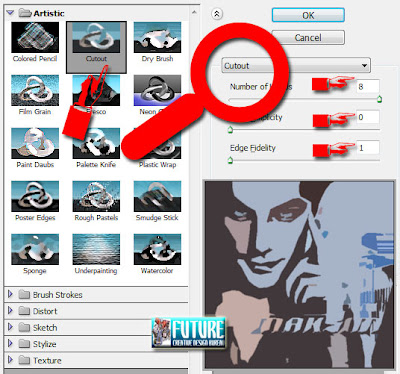
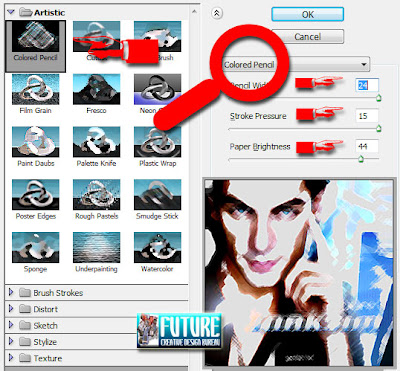
If you guys wanna make it fast, you could use the Effect from
the Photoshop Menu directly...
Here are some samples if you pick Effects displayed
on the menu and
the result similiarly like
Vector Trace...
1. Paint Daubs
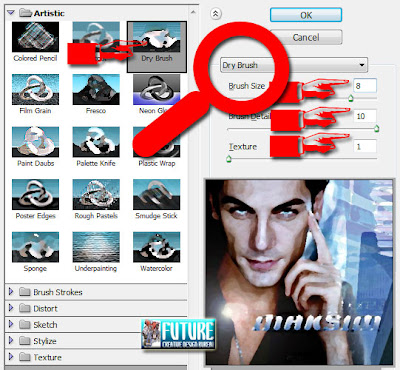
2. Dry Brush
3. CutOut 1
4. CutOut 2
5. Colored Pencil
Related Topics :Air Brush StyleDancing Text AnimationMenu NavigationAbstract BackgroundRain EffectMatrix EffectFiring TextRetouching ImageTransparent Image
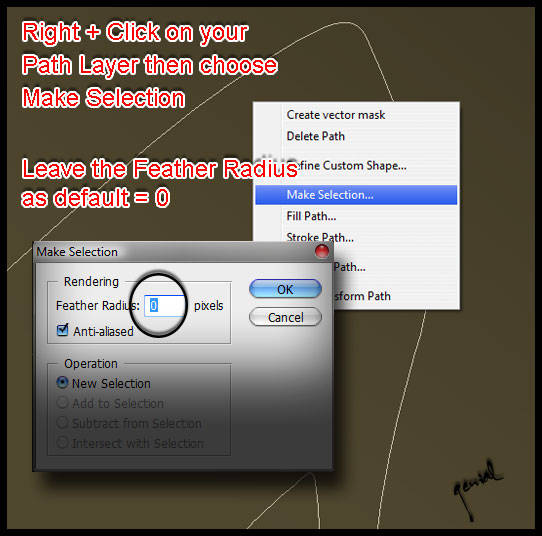
 Drawing shapes and paths
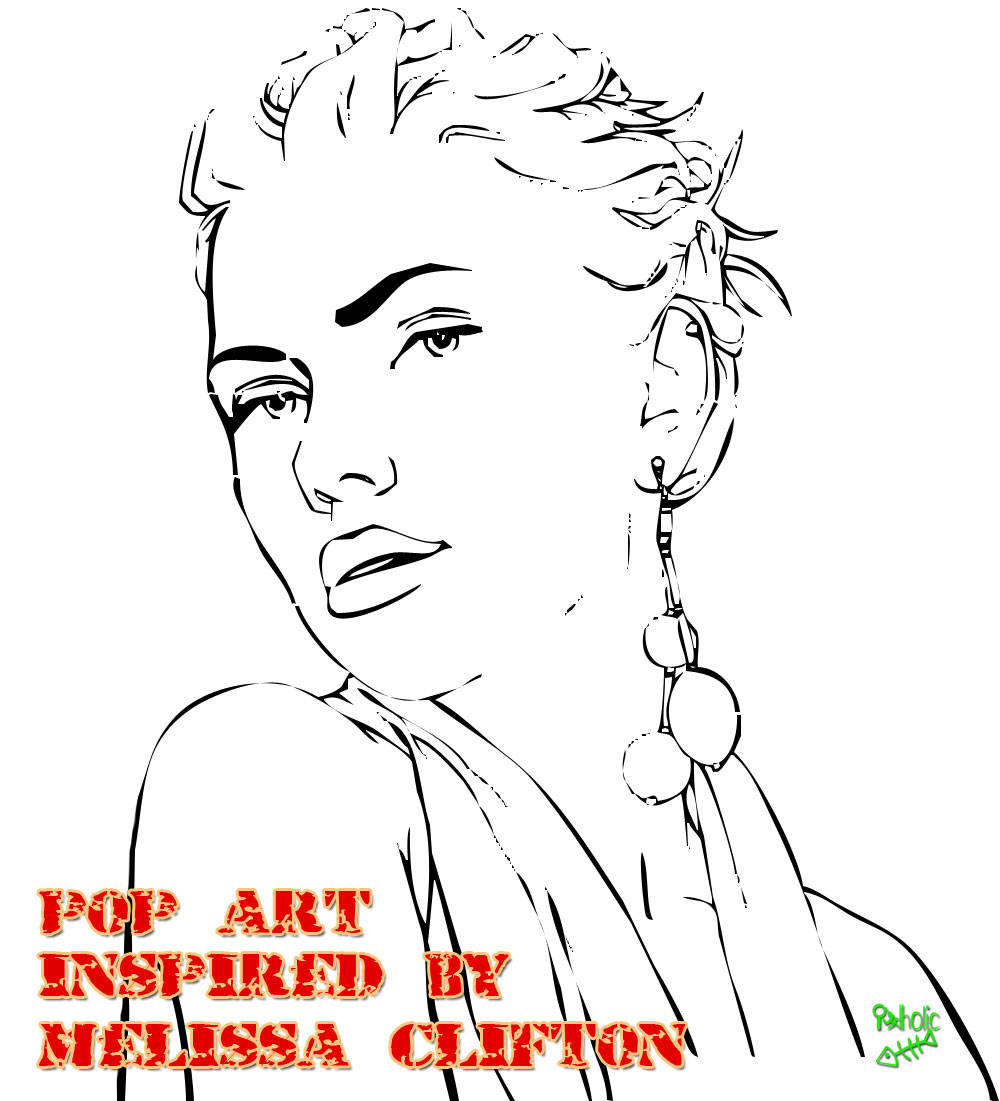

 Bonjour mes amies. I've had several requests on how to use this amazing tool in


.jpg)
.jpg)