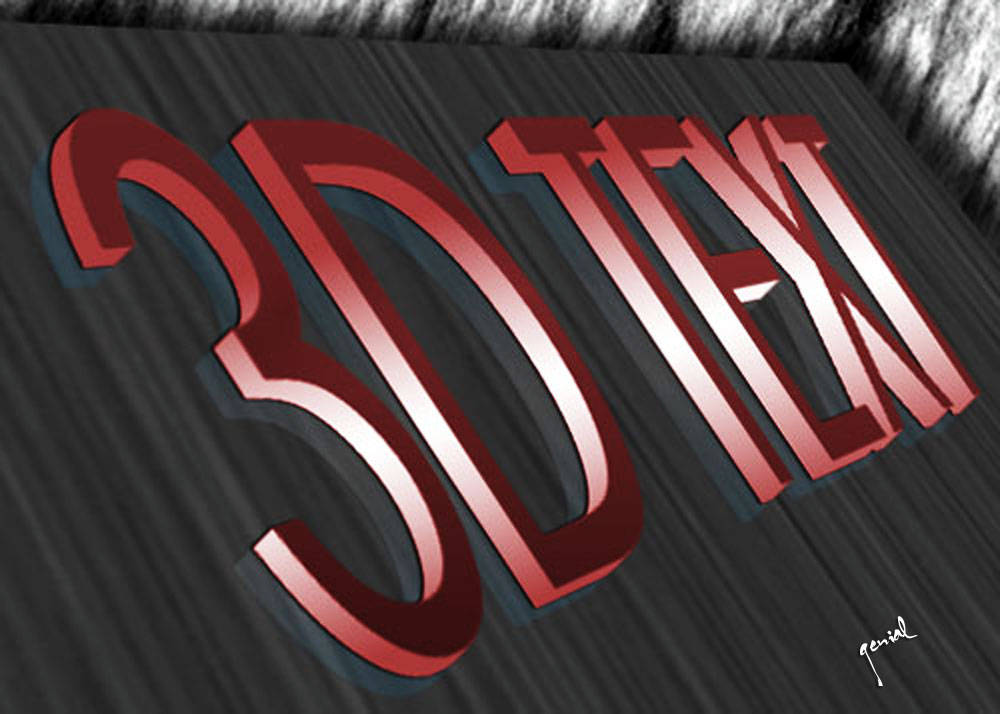
 This time.. I will be.. a little different than usual, but still with my favorite software, Photoshop, only this time.. with the help and the use of 3D rendering power of Adobe Illustrator to create 3D text effects.
Step 1
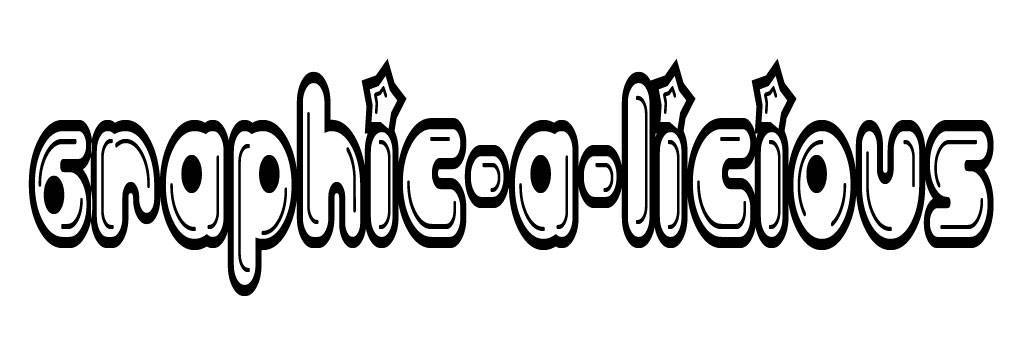
Open a new document by choosing File > New from the Main Menu or by using Ctrl + N to shortcut it.. my favorite one.. Activate the Text tool by pressing the T key... I use Billo Dream fonts that you can download it here for free.

Step 2
Text Tool still active, right-click your text and choose Create Work Path. Press the A button and then click and drag the area around the text you have selected.
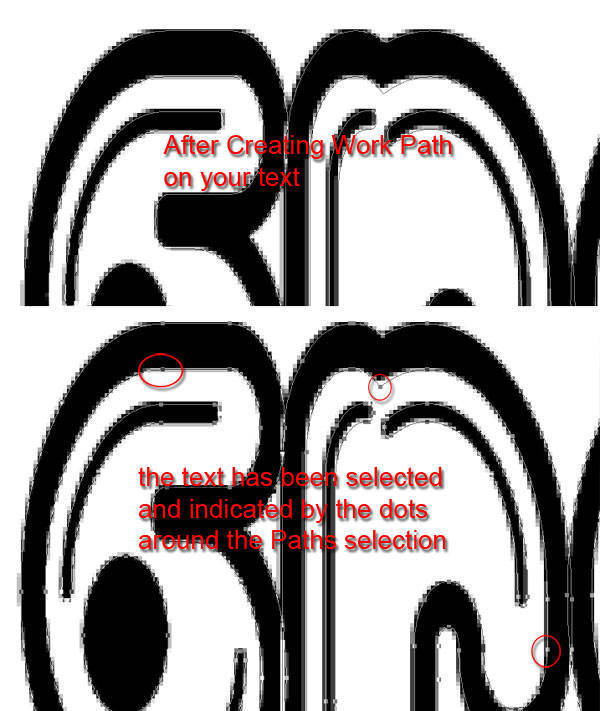
Becoming this...

In the options bar at the top of Photoshop, you can see the Combine button... click it to make sure our letters are all stays together (as a single unit). You can now copy the selected paths by the famous shortcut command Ctrl+C.

Step 3
Skip to Illustrator. Move on, open your Adobe Illustrator now. Go ahead.. paste the paths we copied right into your Illustrator document also by the famous shortcut command Ctrl+V.
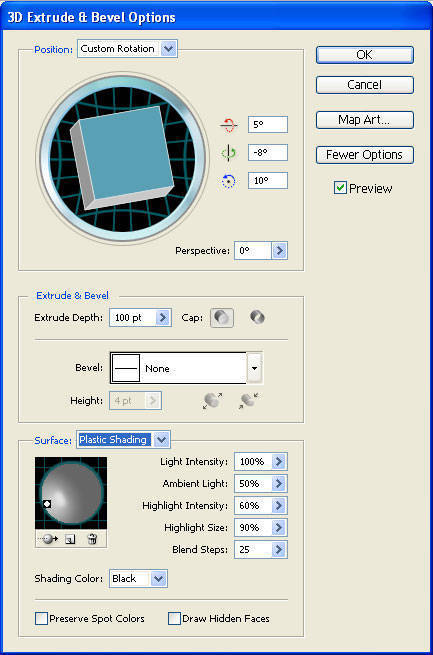
Here comes the delicious part! Still with the path selected, choose Effect > 3D > Extrude & Bevel. After all your settings are done, click OK to get your 3D transformation.
Step 4
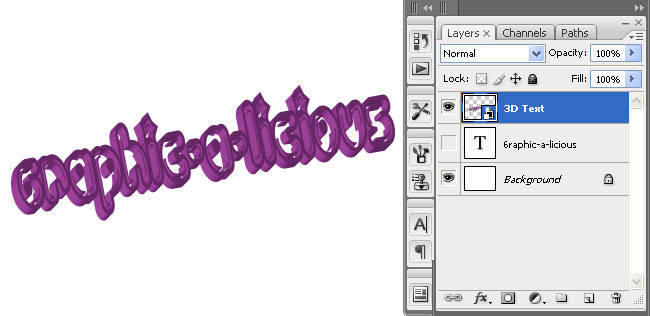
Back to Photoshop. Notice that our object still selected in Illustrator, copy it back by hitting Ctrl+C, then click over to your Photoshop and hit Ctrl+V like we've done earlier. Choose Smart Object and click Enter. Rename it 3D Text like i did.
Step 5
Create the Shadow. We’re going to do the Copy and Paste again, but now.. in Photoshop. Copy the 3D Text layer and move the copied layer just below the 3D Text layer. Guys... I believe it’s gonna be hard seeing this new black pasted version over the original, so lets change the Blending Mode into Overlay and Down the Fill Opacity as you like.
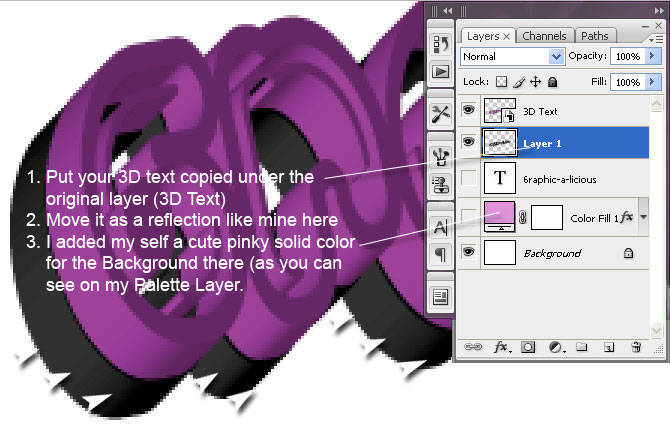

As usual.. play around guys, have a little fun with it.
Go crazy... Exploring the Art of Madness.
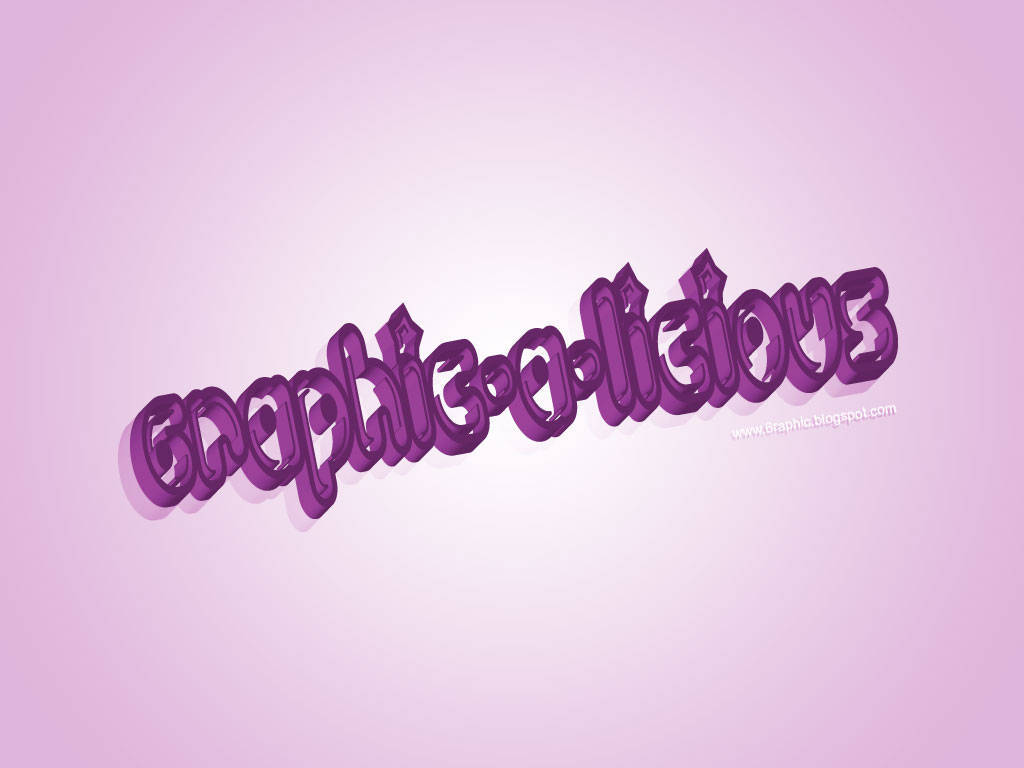
Here's my Final Cut!


thanks tipsnya sob
ReplyDeletewah .. saya menemukan sebuah rahasia di balik gambar2 yang terpampang di entri bang genial ... yaitu ketika ane klik tembus ke blog bang genial lainnya yang butuh somay :D
ReplyDeletehttp://genialbutuhsomay.blogspot.com/2009/04/ms-pratama.html
itu link salah satunya yah :D
wow...gambarnya keren...
ReplyDeleteThis turned out beautifully!
ReplyDeleteManstap BOZ text efek dngan efek 3d lebih berdimensi...Sukses selalu.
ReplyDeletekeren bgt tuh bro, 3D nya mantap!
ReplyDeletesalam sobat
ReplyDeletesampai step 5.
pingin coba, pasti keren nih.
trims sudah berbagi ilmu.
dah master bro satu ini :) salute :)
ReplyDeletewah keren tutorialnya.....
ReplyDelete@ John Terro : iia kang bener banged.. :)
ReplyDelete@ Aulawi Ahmad + suryowidiyanto : banyak yg lebih hebat kang di luar sana.. saiia sii cuma se-upilnya ajja :(
@ all : makasii kedatangannya iia akang sama mba' :)
Wang seepertinya si Akang Jago ama Adobe ..
ReplyDeletepingin belajar lebih jauh ahh ..
thanks and di banyakin postingan artikel seperti ini ya
wah asyik nih nambah ilmu baru saya, secara saya suka bgt desain grafis
ReplyDeletewew mantap gambarnya... pengen juga... buatin dunks... (minta eneknya saja..)hahah..
ReplyDeletewoy mantappppp
ReplyDeleteyeah! cobain ahh..:)
ReplyDelete@ all : makasii kedatangannya iia akang sama mba' :)
ReplyDeletewaah..saya baru belajar ngedit poto dikit2
ReplyDeletemas gen dah kemana2 pake 3D
kereen..sekarang saya lagi suka main di grafiti creator
tapi bikinan saya belum bagus
:)
this what I am looking for , nice gan informasinya :p
ReplyDeleteNyerah deh kalo urusan sotoshopan :D
ReplyDeleteMasih abal2, hehehe...
Lagian belum pernah nyoba Adobe Illustrator :D
Btw, linknya udah saya add kang, pake nama FCDB :)
cantik hasil akhirnya mas..
ReplyDeletecuma saya kurang senada sama warna fontnya :(
nice tutorial :D
ReplyDeleteLanjutin sobat, Oh ya Banner kmren g usah lagi mas, saya udah dapatin yang sesuai.. skli lagi makasih ya,,
ReplyDeleteWah salah satu Software yg aku pake untuk kerjaan nie Sob hhe... yg CS4 fiturnya nambah tuh Sob.. cuma sayang gak support untuk Windows... jadi cuma Mac OS Apple yg bisa make..... :P
ReplyDeleteMaaf baru bisa kesini Sob... happy blogging :P
kunjungan malam...!
ReplyDeleteijin mampir ngeronda nich :D
graphic 3D ini klik iklannya mahal lho
ReplyDeleteharus sambil praktekin nih biar lebih ngerti...
ReplyDeletetapi koq ya otakku belum nyampai..hiks...
makasih sharing ilmunya.
@ Zippy : iia kang, makasii uda berkenan :)
ReplyDelete@ Laksamana Embun : iia gpp kang, that's ok
@ Ferdinand : happy blogging juga kang..
@ Fir'aun NgebLoG : makasii berkenan mapir selalu kang... ntar saiia maen ke tempatnya... hehehe...
@ attayaya mobil keluarga : klik iklan? yg mana bang???
@ narti : iia bener tuu sambil di praktekkin lebih enak :) sama-sama iia bunda :)
Wow!
ReplyDeleteit seems that i'll try that <3
you're so creative :D
Xoxo ♥
Pinkie Anggia
http://sugarpuff.jp.pn
outputnya cantik.. langkahnya sepertinya sulit buat saya mas :(
ReplyDeletepake efek Extrude ckckck.. kereen bener.. IQ ane ga nyampe he he
ReplyDeletemakasih tipsnya :)
keren mas. i like it, aku jg bljar 3d max.
ReplyDeletesaya suka hasil akhirnya,
ReplyDeletewalau sebarnya masih agak rumit buat saya mas :(
I just want to share my experiences. When my newborn child until the age of 2 months the eyes belekan continue, according to his DSA is one of the signs that my child has allergies that turned out talent from my family.
ReplyDeleteI'm sorry for my late respond :)
ReplyDeleteheyy wow..
that's so amazing
you're so clever, isn't it? :)
Glad to hear from you!
*hugs*
http://pinkieanggia.tumblr.com
http://pinkieanggia.deviantart.com
http://lookbook.nu/pinkieanggia
it's ok... it's ok :)
ReplyDeletewew..thanks info nya.blog nya keren ey
ReplyDelete