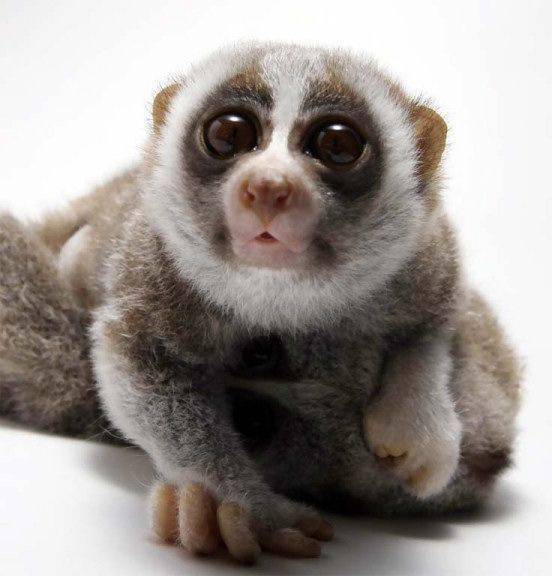
Take a look at that! Does it seem there is Starbucks everywhere? Wherever you turn around, you can see their logos plastered everywhere, from the famous shopping center in this city, the front of the huge famous store until the box of ice cream in the usual small shops.
Have you ever wondered where the actual Starbucks logo came from? What do you see? Hahaha.. forget about it anyway, I'm not suppose to discuss it right here and right now... but I'm gonna tell you how to produce that fenomenal logo with my fav software. Photoshop!
Step 1
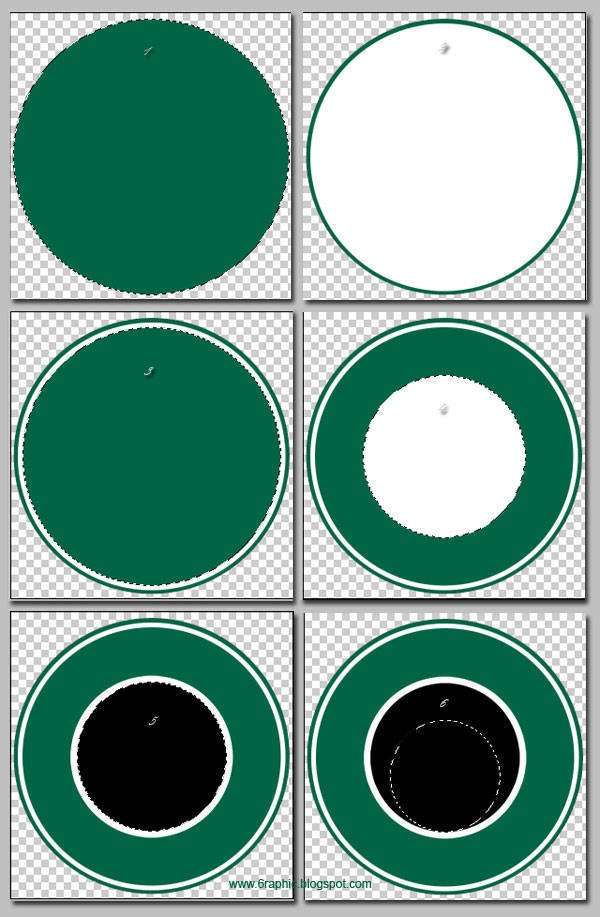
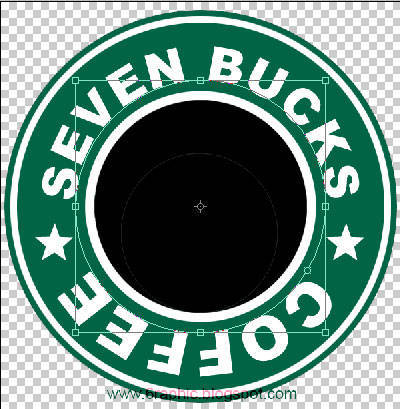
Doods.. I made 6 circle layers to create a Starbucks logo of my own. You can see the image below to imagine what should you do with your own step with your own Photoshop Portable CS3 software.

Step 2
After that, with the help of the turquois line, create another layer and name it star, because we're gonna create it twice, just twice... not three like the original logo. lmao.
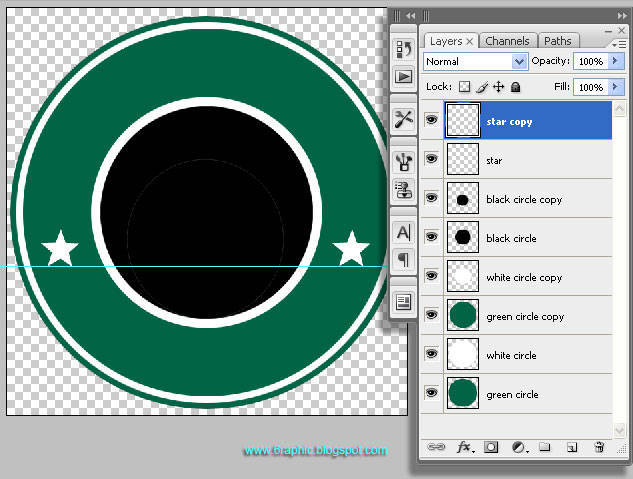
Position it just like I did.
Step 3
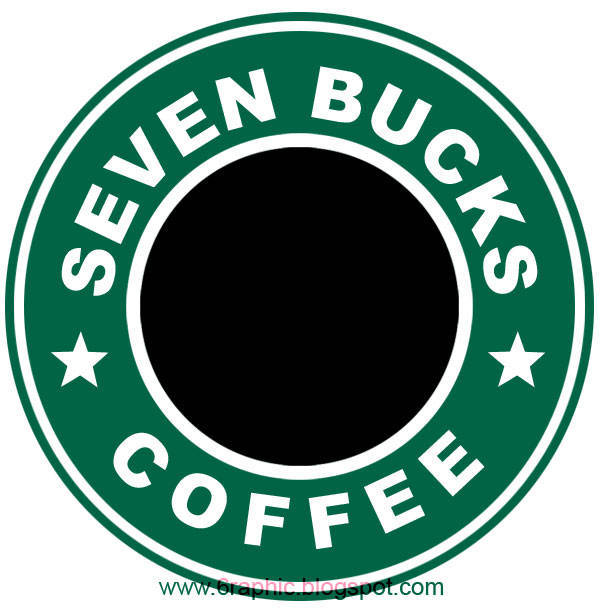
Now, click on the Star Copy layer and add a new layer above it for the place of our text. Next time I rename that layer with Seven Bucks.
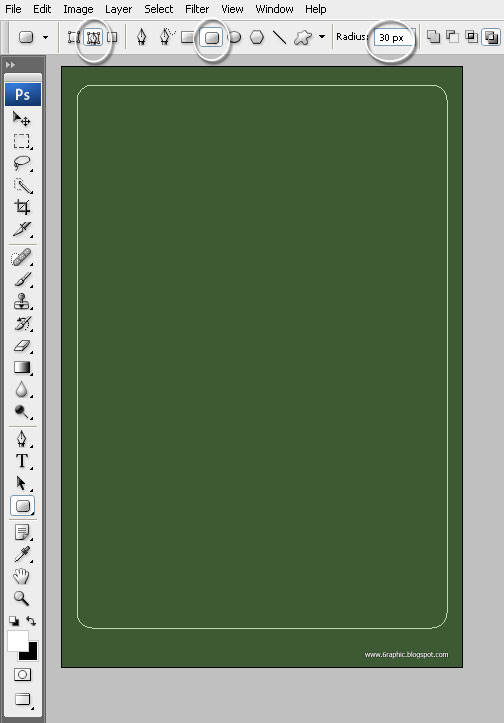
Switch to the Custom Shapes (U) tool and choose the Ellipse tool. Make sure that the icon for Paths is selected.
Hold the Shift key to constrain the circle and click + drag a path onto the workflow in roughly the same size as the one I’ve made below.
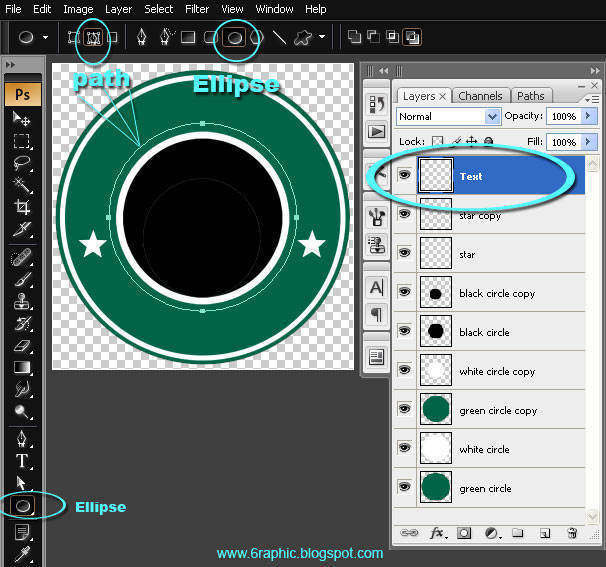
Note :The Green color produced by this hexa code >> #016445.
With the path straightly laid out... it’s now the time to switch to the Text (T) tool. I’m using the font Arial Black.
Read this carefully.. Can you see a little wavy line at the bottom of the cursor icon when you guys hold the text tool over the top center anchor point of the path we created earlier?
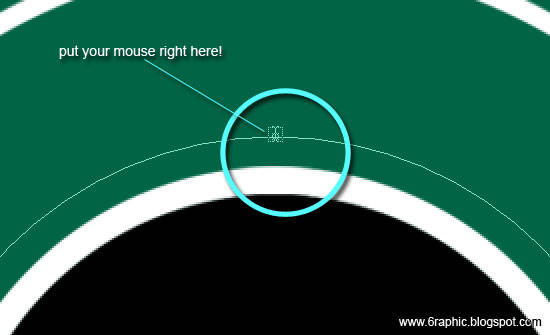
You'll notice that the standard Text cursor changes to the Type On Path cursor, this is definitely how you know that the text tool recognizes that you wish to type on the path, for God's sake! Go ahead.. then.. click and type your text.
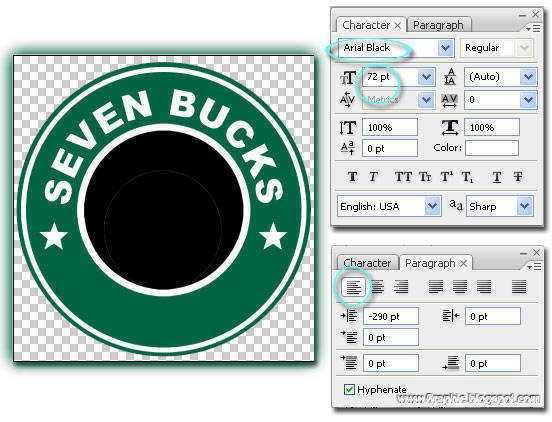
Guys, your image should be like this :)
Step 4
Repeat the step Step 3 and make some modification to your second text which is Coffee text.
Guys, your image should be like this :)
Note :The Green color produced by this hexa code >> #016445.
Step 5
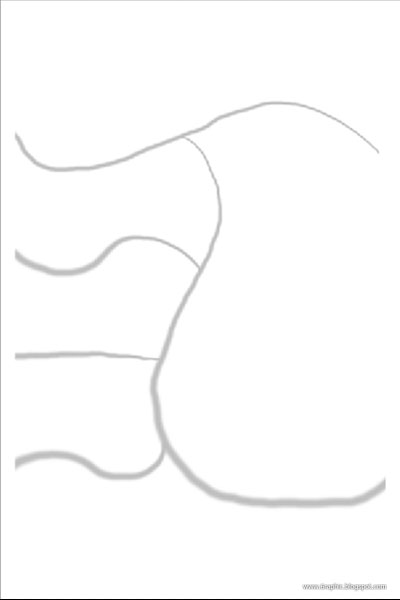
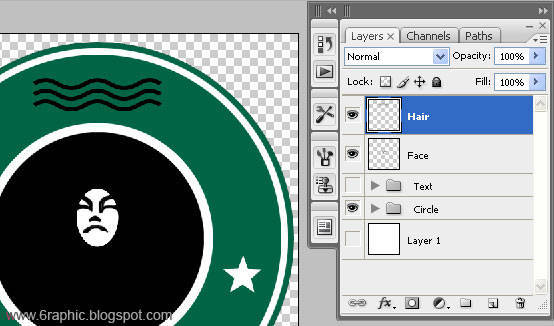
Open your Circle Group folder... I send my Arm Layer just above the Black Circle layer and clip that, so the edge of the Arm image hided by the black circle. And so for the Hair, Hair copy 2, Face and Tongue layer, I arrange those layer above Black Circle copy.
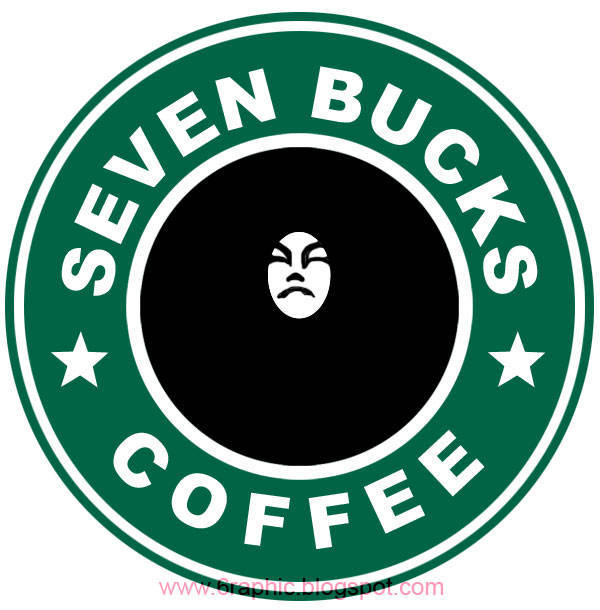
OK.. Let's move to the next level of this tuto; Drawing the Drama Queen part! watch this out!
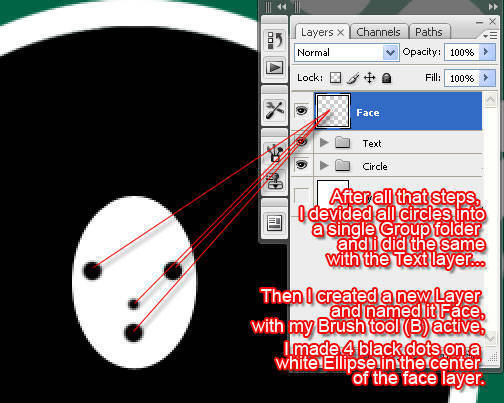
After making the 4 dots on the Face layer, with your crazy imagination, try to create like this one :)
Step 6
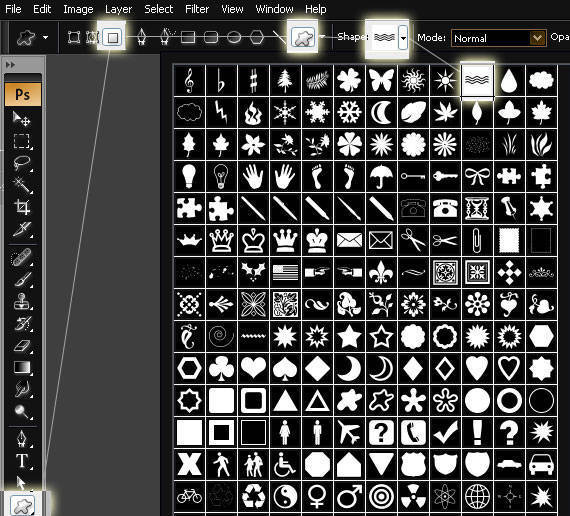
For the Hair part, you can use the Custom Shapes (U) tool and choose Wave to create it.
Voila!
With some ugly modification right here and there.. your image should be like this :)

I have my own Throne here.. :p

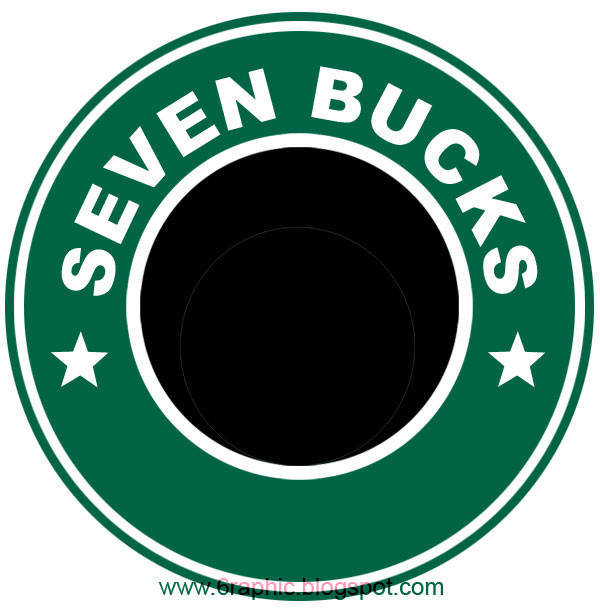
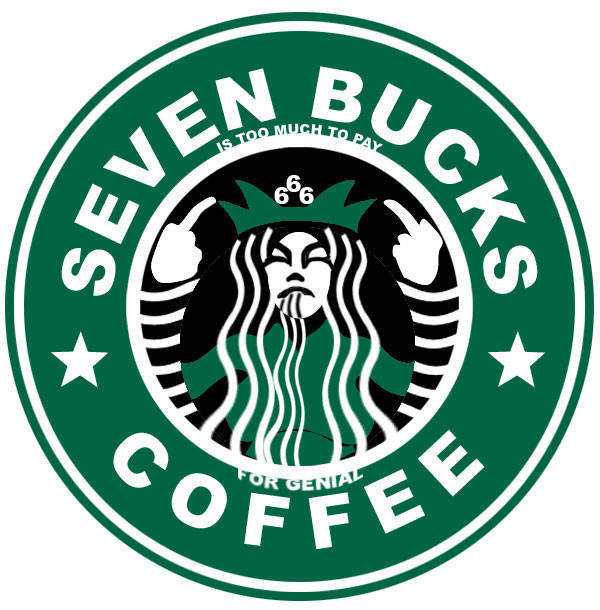
My final image will tell you everything :)
Note :The Green color produced by this hexa code >> #016445.