
 This tutorial is not the best way to get that Cracked Skin like in most of other PSD Tutorial I found in the net, but I think it is quite help for beginner to apply this on your next work. I will show you how to create a cracked skin Manipulation, the simplest one.
First of all, open our project image and immediately duplicate the background layer by Right-clicking the background layer and selecting Duplicate Layer or as I told you several times before, simply press Ctrl + J to do that..
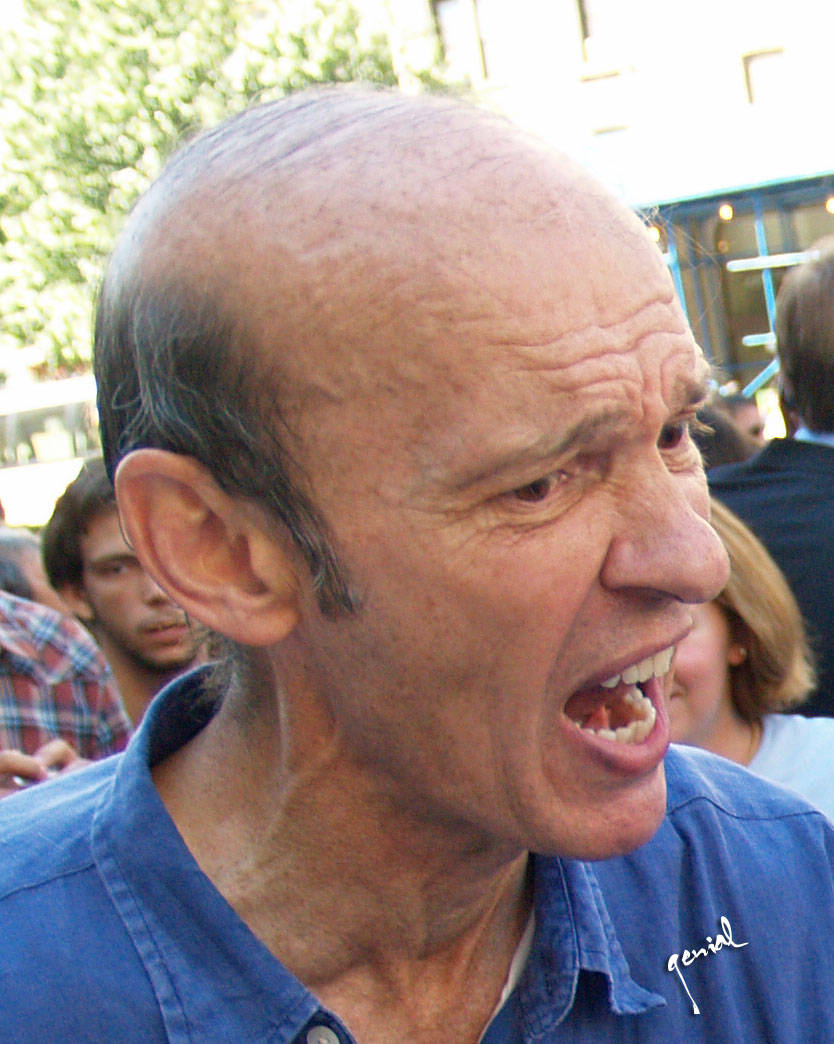
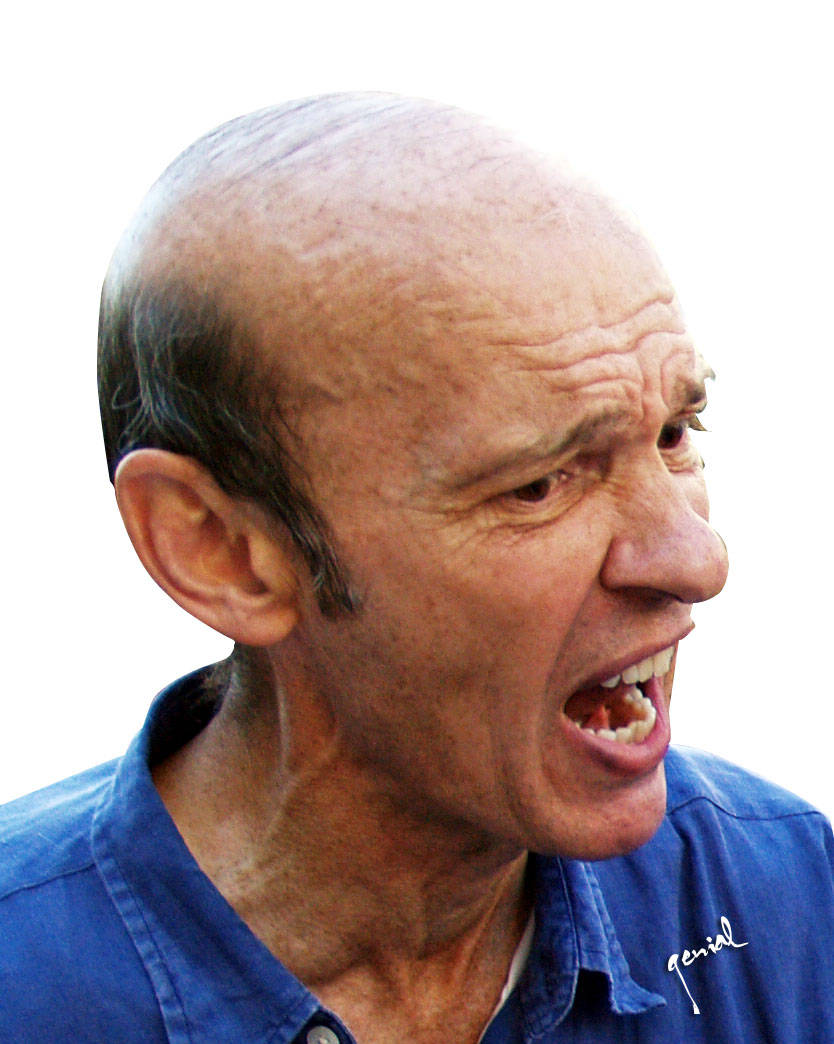
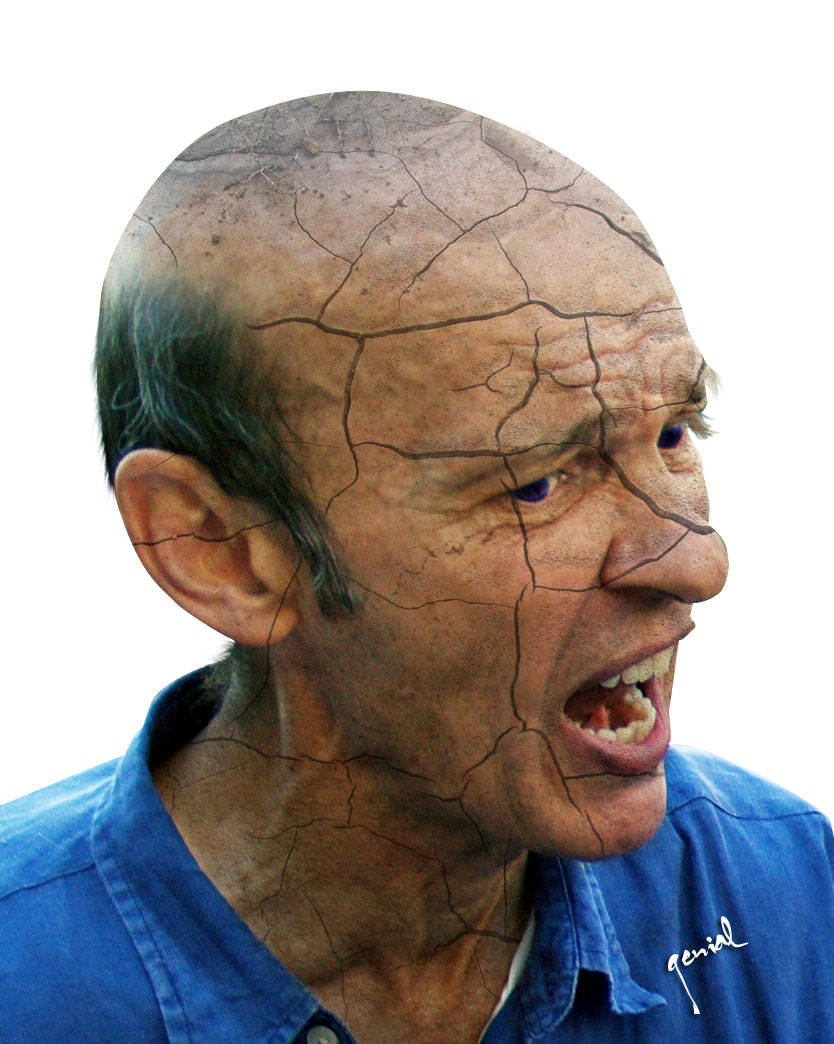
Crop away the part you don't want to manipulate. Don't forget to name this Layer, mine is anger people. Set your Background color to whatever you like :p
Hello.. We need a cracked texture around here.. OK.. this is a sample.
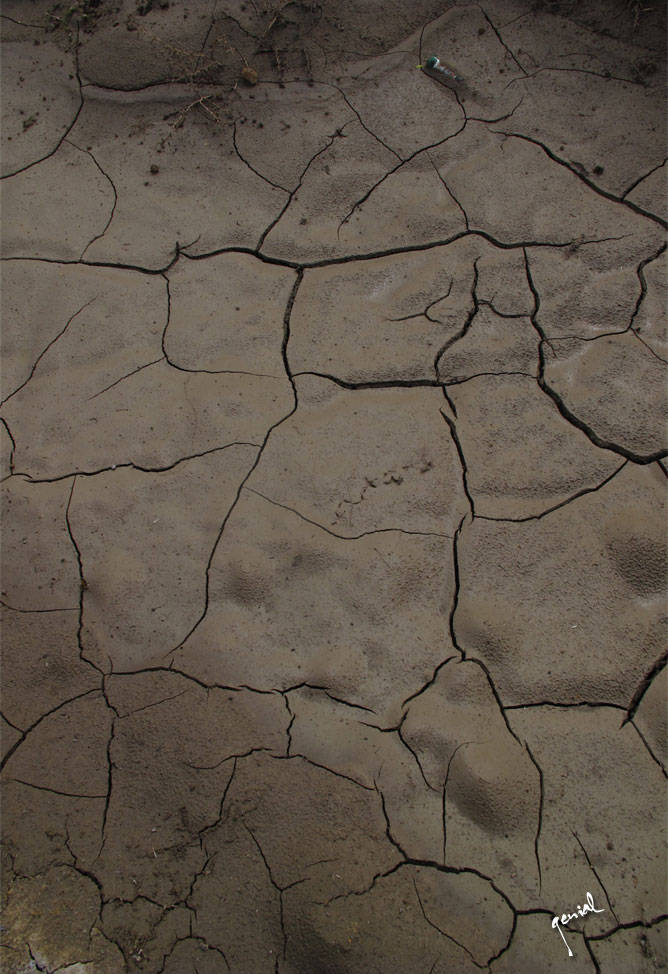
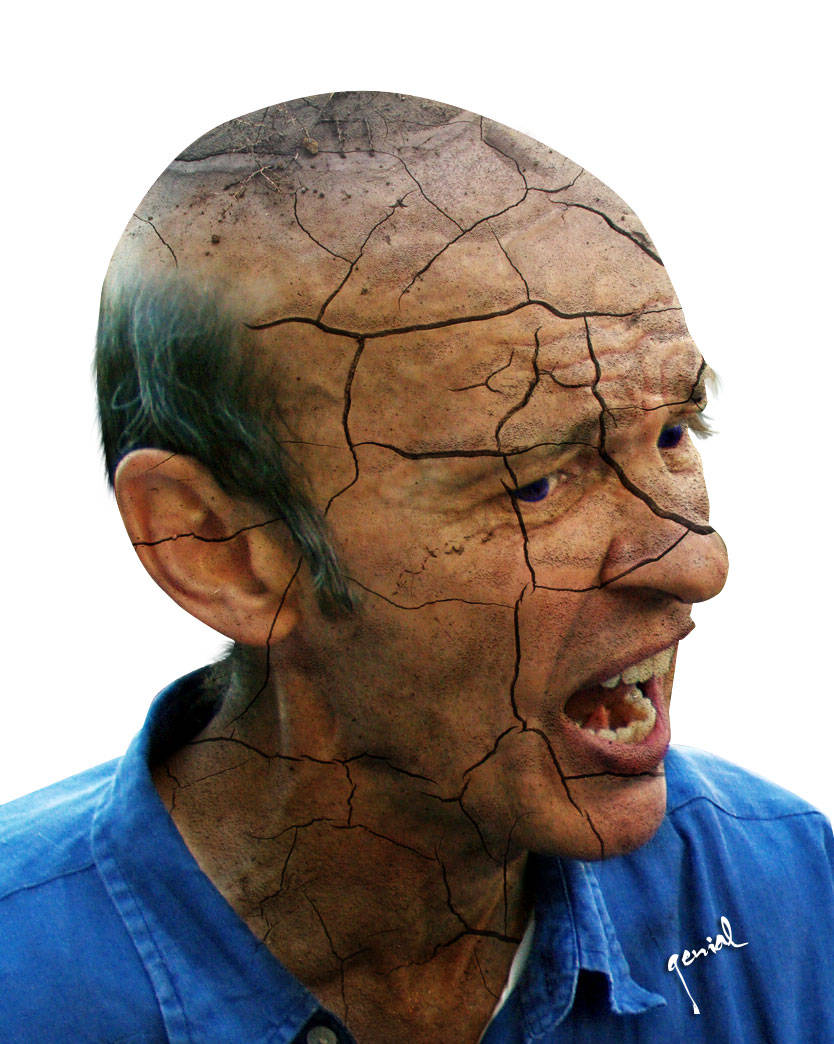
Now set this texture to Hard Light at about to 50-70% opacity and erase all part you don't need, still with the texture layer selected, press Ctrl + Click on the anger people layer to load the selection, inverse it by clicking Ctrl + Shift + I , then hit delete. That will erase the part of texture layer. This step can be done by masking tips or something, do whatever you like, go nuts! Done?!?!
Again, erase away the parts that you don't need or that look bad, like mouth, nose, eyes, etc.
Duplicate this and set it to Soft Light
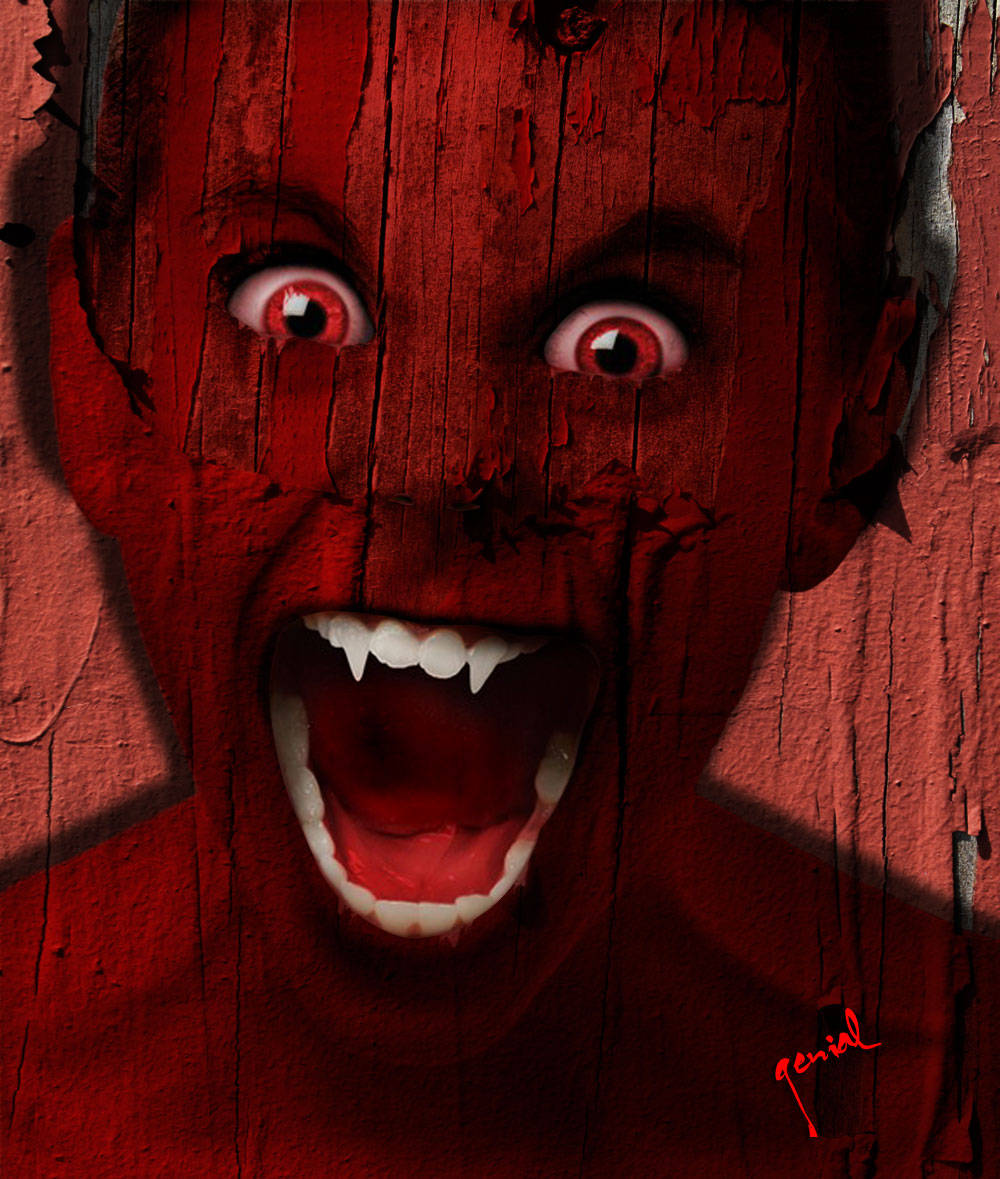
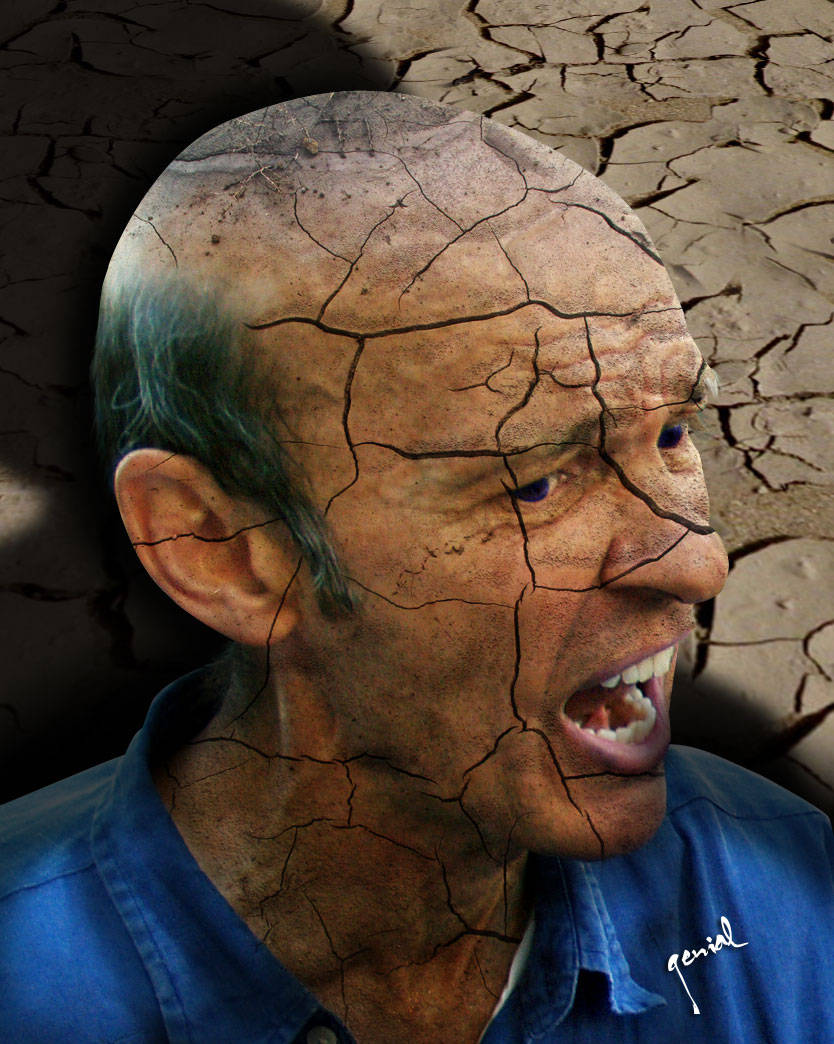
And you’re done!
My final result...
Sorry you found the tutorial difficult, all the feedback I have received so far has been very positive.
I am sorry to say that, but if you are not comfortable with `opening` files in photoshop then maybe you should really go back to basics before attempting a tutorial such as this, especially one that deals with alpha channels and masking.
Visit our Embedding Something to Uneven Surface Image Source.


gambarnya seremm ahh,....
ReplyDeletecool ^^b
ReplyDeleteseandainya saya mahir photoshop,hmmm....
Hello my dear friend Genial, thank you very much for your visit, new day of happiness and successes. Hugs Valter.
ReplyDeletewow...awesomeee..lol..im not good about editing pic. nice info. thanks
ReplyDeletewkkwkw sadis bet dah , tapi kereen! hehe
ReplyDeletelol,lmao,hehe bhs apa ntu kang?kang mbok ya sering2 nyapa sedulur to,beberapa kali aq coba masuk blog ini tp slalu elol,gambarnya kegedean,sampe2 aq ninggal komen di blog sioMAY itu lho
ReplyDeletewah efek wajah retaknya jadi terlihat betulan dengan photoshop
ReplyDelete@ mamah aline : ada kelemahannya dari tutor di atas kang...
ReplyDeletesource retaknya (efek 'drain mud' nya) salah ambil kang... harusnya
yang lebih berkarakter.. gag terlalu gelap dan banyak noisenya :p
tp gpp lah... hatur tengkyu kang uda mampir :)
Kpan ya bisa sepintan yang punya blog ini dalam hal gpraphic?
ReplyDeletethanks info nya Om
sudah sempurna pengetahuan Mas Genial ini ya. Keren Mas. Salut sayah :)
ReplyDeleteuda lama sayah tak mampir ke sini.. good keren. kagum sayah :D
ReplyDeletewah mantap nih bikin jadi retak
ReplyDeleteada cara untuk memperhalus wajah nda
tutorial as usual,, tapi sereeemmm iihh jadinya.. :D
ReplyDeleteWew...jadi ngeri liatnya nih, ckckckkc...
ReplyDeleteTapi keren banget deh, hidup gitu fotonya...
wew... klu iup saiia malah ngeri kang zip... jalan2 gtu?!??! huehehehe...
ReplyDelete@ arkasala : si akangnya berlebihan kang... saiia sii gag ada apa2nya
di banding sama yg laen.. kang endop misalnya... keren2 kang yg laen :(
jd malu saiia nya :(
Hello my friend Genial, Wednesday of happiness, Happy New Year with health and peace for you and Family. Valter.
ReplyDeletecakep cakep cakeeeppp...
ReplyDelete@ Valter : happiness to you too sir :)
ReplyDelete@ Cozy : cakep opone kang?!?!?
pusing saya mas :(
ReplyDeletekenapah?!??!??!
ReplyDelete