Showing posts with label CorelDRAW. Show all posts

Tuesday, February 16, 2010

Choosing Viewing Modes in CorelDRAW

Choosing Viewing Modes in CorelDRAW


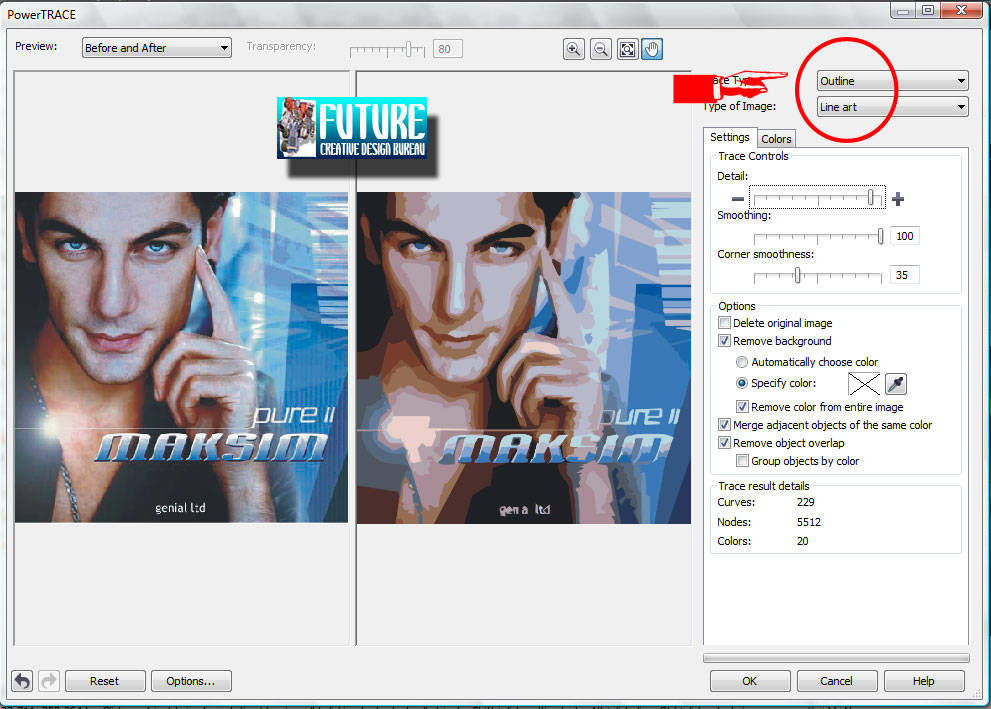
Screenshot in this Corel kinda post, is absolutely from CorelDraw, what else?!?!? Lol. Folks, almost every photo-editor has a similar function, photoshop, Corel, you name it! If you do not have a photo editor, we strongly suggest to look in Adobe Photoshop Elements for example, contains most of the features found in all of photography rule version CS2.

But actually, today, I'm not gonna talk about Photoshop CS2 or something like that (just because I’m just that kind of guy) lmao... what is that suppose to mean anyway?!?!?

Yes, actually I, we.. are going to talk about CorelDRAW for easy manual that you can simply find in Help section or something. I DO get carried away a lot, why do you ask? Let’s get started, uh-huh, uh-huh...

As you work, CorelDRAW lets you display a drawing in any of the following modes:

Simple wireframe — displays an outline of the drawing by hiding fills, extrusions, contours, drop shadows, and intermediate blend shapes; also displays the bitmaps in monochrome. This mode lets you quickly preview basic elements in a drawing.

Wireframe — displays a drawing in simple wireframe mode plus intermediate blend shapes

Draft — displays a drawing’s fills and bitmaps with a low resolution. This mode eliminates some detail to allow you to focus on the color balances in a drawing.

Normal — displays a drawing without PostScript fills or high-resolution bitmaps. This mode refreshes and opens slightly faster than the Enhanced mode.

Enhanced — displays a drawing with PostScript fills, high-resolution bitmaps, and anti-aliased vector graphics.

Enhanced with overprints — simulates the color of areas where overlapping objects were set to overprint and displays PostScript fills, high-resolution bitmaps, and anti-aliased vector graphics.

The viewing mode you choose affects the amount of time it takes for a drawing to open or be displayed on the monitor. For example, a drawing displayed in Simple wireframe view takes less time to refresh or open than does a drawing displayed in Enhanced view.

• Click View, and click one of the following modes:
• Simple wireframe
• Wireframe
• Draft
• Normal
• Enhanced
• Enhanced with overprints

• If you are overprinting, it is important to preview the objects in the Enhanced with overprints mode before printing. The type of objects you are overprinting and the type of colors you are mixing determine how overprinted colors are combined.

• You can quickly switch between the selected viewing mode to the previous viewing mode by pressing Shift + F9.


Wednesday, March 04, 2009

Pen Shape Tool

I like CorelDraw except for this, and this could be the deciding factor as this is such an important tool. If anyone could tell me or point me in the right direction to making the CorelDraw pen tool just as flexible as the painting in white blank ordinary paper just like in school, especially (or) in this reguard, it would be most appreciated.

One other thought, depending on how you are using the pen tool - the Bezier or Polyline tool might be a better option for me, luckyly. I am not sure if you are drawing freehand shapes or plotting nodes over a tracing, or what - but I find these tools more efficient for tracing and plotting nodes.

This time i'm gonna show you guys how to get the trick of making a guitar just with Pen Tool ... it's kinda practice how to use it well in CorelDRAW!... Let's get it on!!!

Just like usual... the most important thing, you should have a Corel installed there on your computer :p... then you can open a New Blank Document, it's up to you about the size of document, 'coz it's realy imagination thing or something... you can imagine what size, widht and height for a guitar... heheheh... (blank tut?!?!? Dun no... lmao! )


First... imagine the neck of a simple electric guitar like i drew here...
If you done with that neck, you can continue with its body... remember to still use Pen Tool... it's amazing...!!!
The frets... use to get the circle on the neck and Head...
The strings....

This time you can use the help of this tool... ... to get the real Frets...
But before, you could draw the Head... full with the Dryers on it...
The Tremolo with its Handle...

After you've done with the whole body... do this...

The result should be like this or unless...

Here we are...

Other samples using Pen Tool...


Friday, February 20, 2009

Flash Disc design

Flash Disc designHi there again... this time I am gonna show you how to create a magnifique Flash Disc using this magic application, CorelDRAW...

Feel free to post your critics, requests, requirements or whatever-related comments here. Don't be rude, use only English (lmao... kidding, pink), don't go offtopic and read FAQ before asking a question.
Owners of this website aren't responsible for content of comments.


1. Open the application, make a new blank document ofcourse, what else!

Flash Disc design

2. Draw a circle with pressing F7 (Ellips Tool), do not forget to hit in the same time the Ctrl to get the whole circle in line like this...

Flash Disc design

3. Block that circle and make it double with pressing Ctrl + D, double it in one straight line just like this...

Flash Disc design

4. Again draw a persegi panjang with Rectangle Tool (F6) like the image shows below, put the box right in the center position between the first and second circle!

5. Block all the image, click Weld from the Menu Bar to merge all the stuffs.. Now you have a landscape capsule like this...

Flash Disc design

6. Again and again, block that capsule and press F11, the Fountain Fill came up, leave the default, click OK to terminate it.

Flash Disc design

7. See the result after you colorize that image...

Flash Disc design

8. Make it double after blocking it and hit Ctrl + D, fill with #FFFFFF, set the second capsule smaller than the first one!

Flash Disc design

9. Kiss the Interactive Blend Tool on ToolBar, pick this kinda ... pic ... Interactive Transparency Tool. Do this thing!

Flash Disc design

10. Flatten all that image, lick the Outline Tool on Toolbar, pick this No Outline! Voila, all the lines disappear! Don't get bored if I say this to you.. 'Block'... Lmao... yupp, block all image, push Ctrl + G to merge all the two images. Now you gotta shiny gorgeous capsule just like mine here!

Flash Disc design

Flash Disc design

Flash Disc design

11. Next thing to do is... broke the capsule into two pieces, you can do that with making a white box without outline... Got it? Go on.. after that, we'll gonna get this image...

Flash Disc design

12. Add your capsule with all USB acessories stuffs... Hell yeah!!! follow me then...

Flash Disc design

Flash Disc design

Flash Disc design

Flash Disc design

Flash Disc design

Flash Disc design

Flash Disc design

Flash Disc design

Friday, February 06, 2009

Vector Image Reinvention (CDR)

Bitmap image is the image of a photo taken from the scan, digital camera, etc., usually in the Jpeg or Tiff format. While the image is a vector image that is created or formed from the line, kurva, field, fill mathematically. Component changes the image vector (line, field, etc.) either increase or reduce the size, rotate or flip will not affect image quality. Merging bitmap images with vector correctly and will produce an appropriate design of the paper.

Changing the Bitmap image into vector using the program Corel Draw X3:


1. Select a picture / image bitmaps (photo, scan results, and others), i use this Maksim that you guys can get here!


2. Select Bitmaps on the Menu Bar, and select Trace Bitmap


3. Then will appear on side bar, multiple choice type (line art, logos, and friends), select one, and a new window will appear.

4. Appear in the original image (Bitmap) and trace the image is an image vector.

5. In the Options menu: Type of image, select one of them (logo, or select another try and see the changes in the vektor)

  • Set the smoothing and detail as you wish, see a change in appearance Color mode, that will determine the color mode in the image on the vector trace.
  • In the menu options, delete the original image, if enabled the bitmap image will be erased, replaced on a page image vector corel draw it.

6. Once in the brain especial settings, continue to click OK.

7. But on CorelDRAW, the image covering the Bitmap image with its vector above, the vektor slide image, and color can be changed, in ungroup, etc ...


Just use your imagination! Good Luck!!!


Related Topics :

Create a name Tag
Sweet Butterfly


Monday, February 02, 2009

The sweetest butterfly that you've ever made

Rhis time, I'm gonna show you how to create a butterfly with digital painting like I use to said before, but now we'll gonna use CorelDRAW.


What we'll gonna learn exactly?


1. How to work with a new document
2. How to use smoothly Artistic Media Tool
3. Learn to use Shape Tool
4. Duplicating an object
5. And the last thing is Mirroring an object


New Document (setting)

To create an image, logo, what ever, surely we have to open first the appliccation, not open your clothes or something, just thee Corel. Sit quitely, do not forget bout the paincake or whatever you like to accompany you there.

The steps are :

1. Open File > New
2. On the property bar, type 5 in Paper Width and Paper Height

Create a butterfly

Fist of all, we draw the butterfly wings. Use the Artistic Media Tool that's what I'm talking about, showing you that the image is trully hand made. Then that first wing shaped with the Shape Tool, Shape Nodes to manipulate it. Then we doubled with duplicate wing earlier in order to become two of course, if you ain't do so, then the butterfly fly with one wing Lol!!

Drawing a butterfly wing

1. In Toolbox, choose Zoom Tool

2. The Zoom levels on property bar, choose width
3. Then choose Artistic Media Tool on Toolbox

4. The Preset Stroke List displayed on property bar, select the brush edges

5. Artistic Media Tool Widht, apply 177
6. In Color Palette, Choose Red
7. The Uniform Fill box show up, check Graphics check box, hit OK
8. Drag to document to create the wing.

Details of the wing

1. Choose Shape Tool

2. Drag any point on Stroke to modify the wing according to the taste, for example, like this:


Doubling it

1. Hit Pick Tool on Toolbox, the click that wing
2. Edit > Duplicate to create one more wing on that butterfly
3. On the Duplicate Offset box, type 0 as Horizontal offset and Vertical offset, bite OK
4. Again on Toolbox, scratch Transform Tool
5. Go to Property Bar, dig the Free Angle Reflection Tool button
6. Drag the angle and... drumrolls... eng ing eeng... you now have created two wing of that sweet butterfly


Butterfly Body

1. Kiss the Artistic Media Tool

2. On the Preset Stroke List in property bar, you have to choose select only the tip of the brush the Bold and the thin end of the other


3. Gimme a break, drink you bir or something... OK
4. We'll gonna add a head. Where should i put it then??? Hmmm.. OK, put it between the wings then,,, Lmao! What is this?!?!?! Are you kidding me?!?!?! Whatever!
5. OK now we draw a circle in between two wings 'till anyone get knows that you've done with that head, lol! See...?!?!??


6. Add the body with an Ellipse move under the head... done?

7. Here's the finishing touch.. add two antennas...


Satisfied? Shit... I gotta headache.... ciao!!!


View Indonesian Version Here!


Related Topics :

Create a name Tag
Trace and Vektor in CorelDRAW