
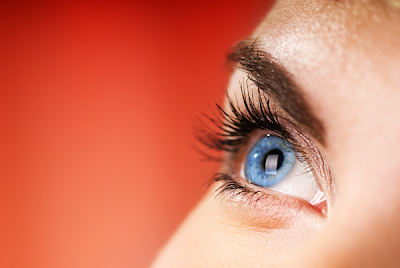
 Holla Hooppp!!! It's me again :p Waddap?!?!? Guys, today we're gonna discover together how to create a realistic fascinating Eye Ball. Creating an Eye Ball actually could be an enjoyable funny task with many design options available on internet today. Creating an Eye Ball is currently quite popular and in demand.
When Create an Eye Ball, one of the first things you will include is your deep innocent part of the transparent eye part. The default mode gives you a plain white background. You can create your own background if you are computer skilled and even a little bit creative. OK enuf with the mongkey business folks, let's jump right in...
Step One
Start by creating a new square file around 1000x1000px. Set your colour palette to Red foreground combined with white background.
Enter to the menu ;
a. Filter > render > clouds go on.. go on...
b. Filter > texture > stained glass (leave the default >> cell size 10, light intensity 4, border 3)
c. Filter > blur > radial blur you can choose Best and zoom/distance 80
d. Image > Adjust > Invert then go to Image > adjust > exposure (for more contrast). See the screenshot below...

Step Two
Create a New Layer by pressing Ctrl + N. Create a circle by hitting on M key on your PC at that new layer with almost filling the whole canvas. Set the Feather in about 1px and fill with black. You can easily apply that by this Ctrl + Alt + D shortcutting key. Take a deep breath for a moment doods :)... OK, now from the drop down menu, Select > modify > contract set to 6.
Feather the selection by 5, delete.
Take a look at this image below!


You should now be left with a dark ring like this.

Create a new layer and let's draw a new circle for the pupil part, remember... not too big and fill it ofcourse with black or something :p Next... From the Layers pallete (in the right side of your workflow), select this layer and add outer glow. Choose a wise green that compliments and accomplish the blue textured iris. You can create it diffused and wide, just normaly play with the settings 'til you're happy fellas.

Step Three
Create a new layer and name it Highlight1 or something. On that Highlight1 layer create the highlights part of the eye by drawing a simple white circle. Carefuly catch the light however you like, but -remind to bear in mind- you have to follow the center of curvature of the Eye Ball.

Let's create a new layer and name it Highlight2 :) (that's why I named the previous layer with Highlight1 :p) Doods... Add more catch lights or reflections as you so desire and vary the transparencies of the layers to get varying degree of reflections. Here I use a white circle with help of U to call the Black lines and delete that black line to create a window reflection.. you can create your own reflection using your wild amazing imagination ofcourse :)


To finish this, select the Magic Wand (W) to select the outside of the larger circle (perhaps you can pick your 1st BG if you do duplicate it in case this is happen, right :p). Keep activate the selection and create a new layer and fill the selection with white.

With creating a further illusion of a bulge in the eye with final burning in around the edge of the eye. Keep that in mind, choose the mid-tones for it.

2nd Result.

Additional
The reflection is on a separate layer. It is a jumping skating silhouette model. Use warp to bend the image as though on a sphere and then set the layer opacity so you can see the eye detail through it. If you have a particularly realistic reflection you may wish to sharpen it so it stands out. To do that I made a new layer with the Blending Mode set to Color (Soft Light in some cases works fine also), then I used a very soft brush with proper color, and Voilà!
1st Result

So be creative and try to discover your way of using them.


