
 If you work in an office environment, the chances are you spend the majority of your working day sitting down. Since everyone is different, we all need chairs that suit our body shapes, height and working styles if we're going to be comfortable.
That is for your need of office kinda situations. What about your self? Your fashion. Your style. Your freedom of interpreting something. Manicure-pedicure or something? Nope this time is not about that. We're gonna talk about how to make a professional processing of your hair in your boring office with Photoshop, I meant by here is your image/photograph ofcourse, lol... You can add any different shades you like and bring some shine to the hair. Sounds delicious to me.. lmao.
Ok, first thing first.. pick some appropriate picture of woman with a long hair (in case you don't have your own long hair's picture) to work with. Open it up and you can start with me along the way.
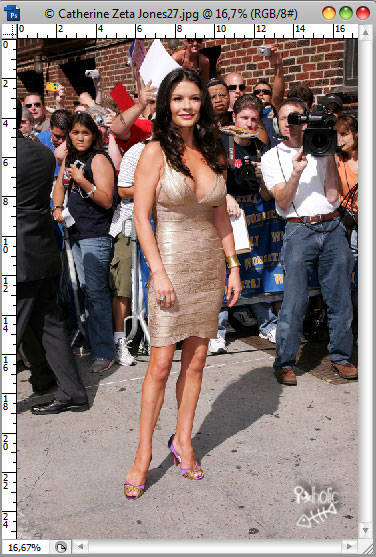
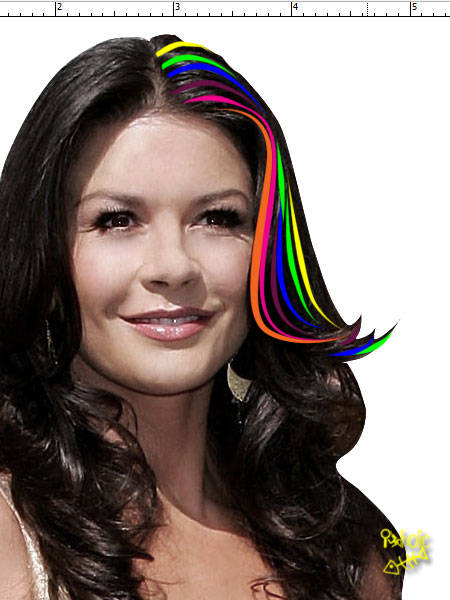
Here I use Catherine as my model =p~... I think we don't need the whole part of that image, so I crop it and erase the crowd behind Catherine away. Don't get me mad of this guys, you know what to do :p You can crop the Catherine out of the background by the Extraction, use the highlighter tool to cover the edges of the areas to be retained. Try Smart highlighting on well-defind edges..
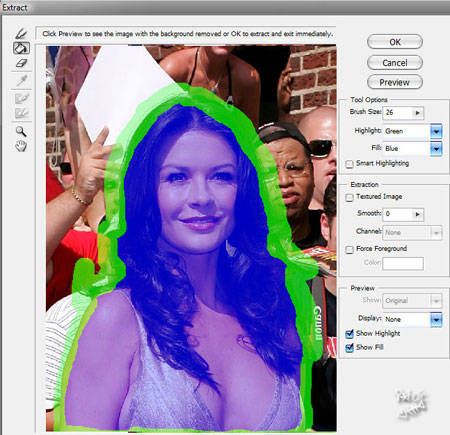
Note : The chortcut to do the Extraction is by hitting Ctrl + Alt + X from your keyboard.
Or... you can simply use the old way (but the powerful one in my side, lol), the Pen Tool (P)
Is this seat taken Sir?!?! Is that way answer to your questions about it? Available to your style? Yes, I hope so. Yes can be costumised to suit a range of an instruments or tools in Photoshop.
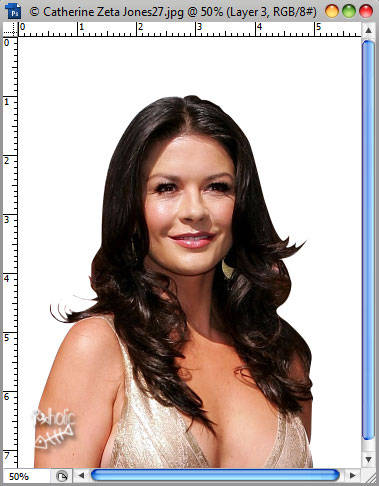
Guys, I think the Catherine is too loud colours there... :( It's too bright, I don't really like that situation..) So I'm gonna need to make her faint and lil' bit mellow. Enter the menu Image > Adjustments > Hue/Saturation... or you can apply that by pressing Ctrl + U to short it cut.. and turn down the Saturation into about -39 or something.
 ,
,Usualy, when you intend to create this such effect with your photograph, you should first apply some shiny part of the hair, you have to bring some shine to the hair.. but this image I brought to you has have it own shiny hair, so I am going to skip the Hair Dodging section. Is it totally suck to you? hahaha..
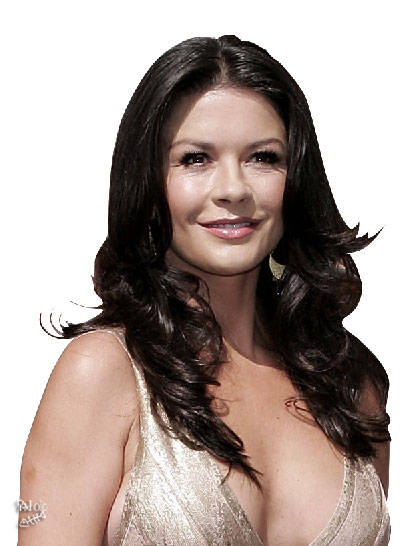
Enuf with your perfect photograph, now we move to the next level of tuto. The coloring hair step. Create multiple spread sheet (layers) and make a color into each layer. So you can see them in different layers with different colors. Start it with Pure Red Orange >>> #f26522.

Have fun guys! Create four or five more color highlight there like this:
OK, merge all your color layers into a single one, name it as you like, mine is Colors, what about yours? (Couldn't think of anything funnier to put there folks.. Sorry, hahahaha..) and go to the menu Filter > Blur > Gaussian Blur with radius 2-3 px.. Here's the way why Photoshop is called the 8th world wonderers.. Easy guys easy.. wanna prove it? OK, Change the Blending Mode to Overlay. Alakazam!!!
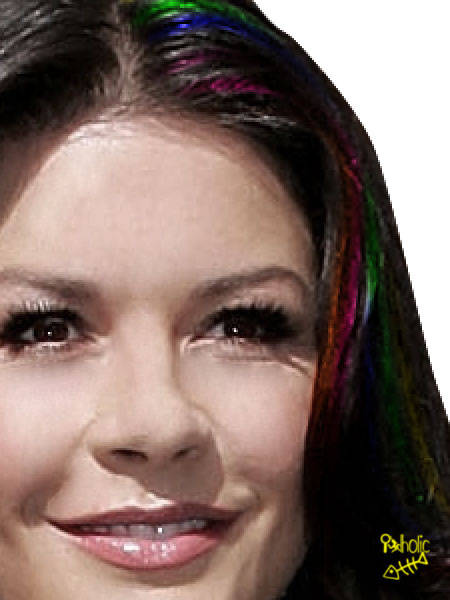
It would be absolutely more sophisticated if you Duplicate the Colors layer by pressing Ctrl + J and turn the opacity down into about 21% or something.
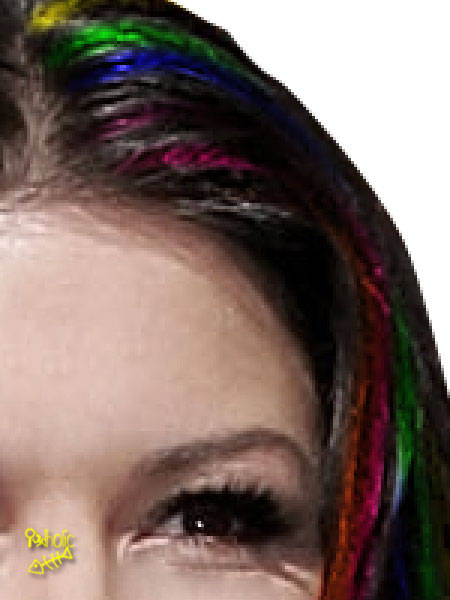
You know now what the heck am I doing with the eyes part then doods.. Here we are again. Save your work carefuly and spread the love all over the J town... I'd sure be glad to help.. as always.

after...

View the Professional Hair Processing image galery here!


wew... mantap nich tutornya..
ReplyDeletemo hias rambut istri ku ah.... :D
wow...bisa ganti warna rambut dalam sekejap tanpa merusak rambut ya? keren keren...makasih tutorialnya.
ReplyDeletekenapa milih modelnya itu ya? bukan si emba yg cantik kmrn? hehe....
ReplyDeleteouh....
ReplyDeleteCatherine Zeta Jones....
hmmmm....
oh.....
nice hair...
hahahhahahahahaha....
ada somay dalam bumbu kacang...
hahahaha.....
Wow.. Luar biasa, baru tahu saya bisa di edt se detail itu.. Thanks
ReplyDeletewkwkwkwkwk... itu si budi andukkah??!?!? wkwkwkwkwk...
ReplyDelete@ narti : alasannya adalah, rambut beliau agag kurang hitam... klu harus saiia efek nantinya malah ngerusak tampilan keseluruhan :( hueheheh... gtu kira-kira :p
ReplyDelete@ all : hatur tengkyu buat semua yang masih mau mampir ke tempat saiia :) ^:)^
ReplyDeletehallo, blogwalking
ReplyDeletemakasii kang ampirannya :)
ReplyDeleteaturin rambut saya dong mas :p
ReplyDelete