
 First thing first, if this piece is to be printed, create a new file in A4 format – 300dpi and use CMYK colour mode.. but my creativity is lately running a little low this week, what the heck.. I'm not going to print anything at all, so 650x650px with 72% resolution is OK.
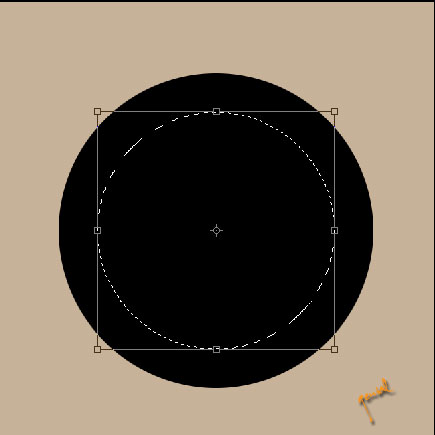
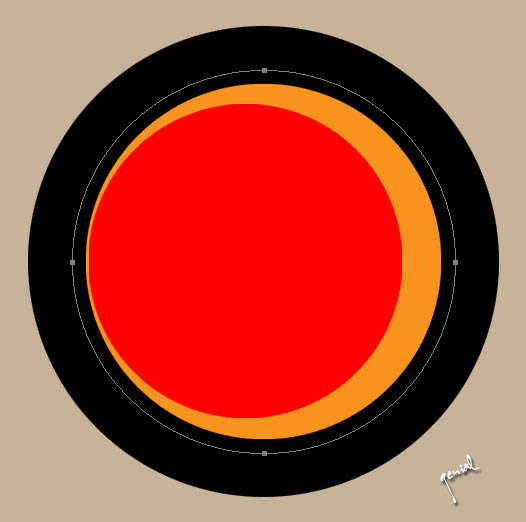
GOSH!!! Apply a solid Pale Cool Brown background colour (#c7b299). Create a New Layer and name it Circle1 by pressing the keyboard shortcut on your PC Ctrl + N. By grabbing the Elliptical Marquee tool (M), just click and drag a simple circular selection Draw a nice circle onto the stage while holding down the Shift key to make it constrain in proportion and fill it with Black.
Because our circular selection is still active, lets go ahead and enter to the Menu Select > Transform Selection to bring up the transform controls around selection of your Circle black Layer. Remain to hold the Alt + Shift keys to get the constrain proportion of the circle and transform towards the center, simply grab one of the corner points (any point you like) and drag it towards the center. This will be the space we’ll fill with the Pure Yellow Orange (#f7941d) in the center of the circle. I’ve called this layer Circle2
Once the selection is reduced to your liking Enter to commit the transformation, then fill it with Pure Yellow Orange (#f7941d) I've said before.
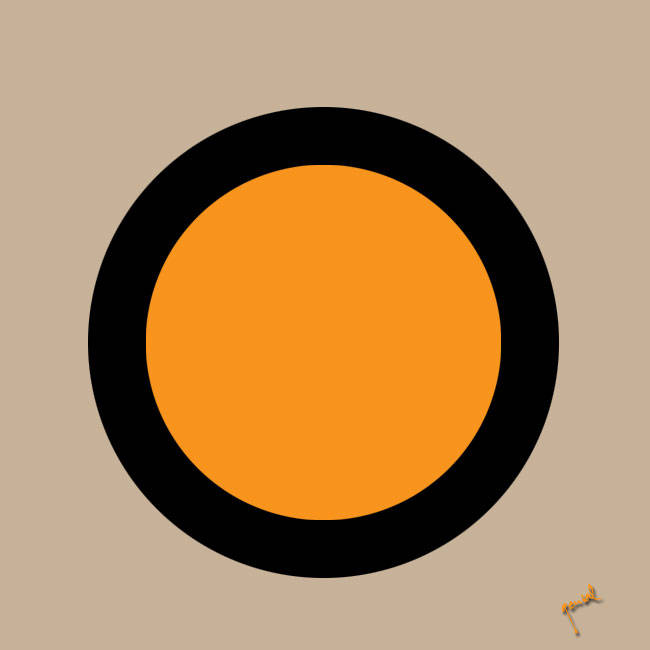
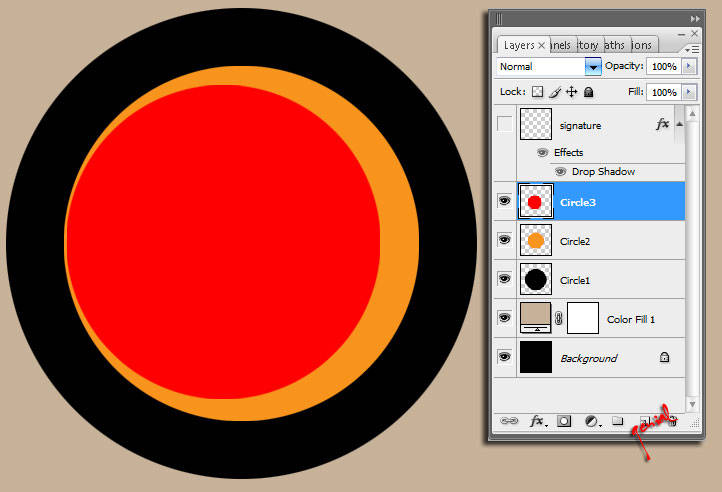
Ctrl + Click on the Circle2 layer to load the selection, create another Circle with the same way (on how you create the Orange circle). Fill it with brave Red (#ff0000) and place it like this image said to you.. Guys, ...and don’t make me remind you about the Shift + Alt key again, lmao.
Note : Do this step to apply in a different layer (Watch the screenshot of the Palette Layer below)
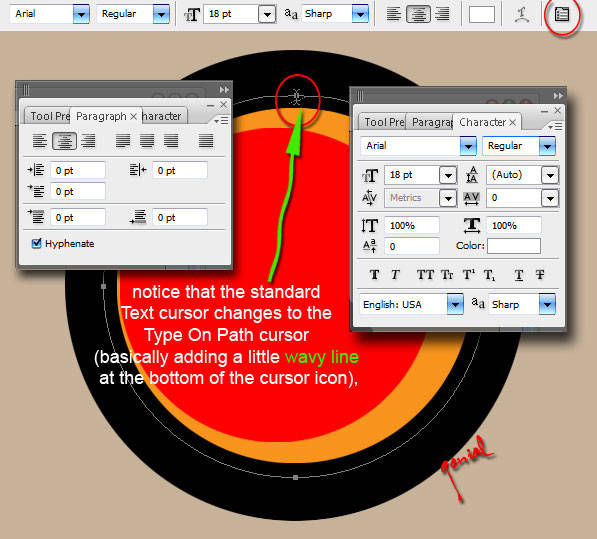
Now it's time to put some text there. But before that, we're gonna play a little with this part of trick. Press your U key to call the Custom Shape tool then you should choose Ellipse tool from your fly out menu, make it sure that Paths is selected (the one who's in the center) for the option.
Draw a path in your workflow with the same size as the one I’ve made below, (ofcourse you remember about the Shift I've told you right?!? lmao.
Go go go... now's time to switch to the Text tool by pressing the T key. With font Arial family, but any nice font of your choosing will be fine. To set the Character of your font isn’t visible, do not PANIC
After that.. how we could apply our text on that Paths? This is how!
When you guys hold the text tool over the top center anchor point of the circle path we created earlier you will notice a starting point... a place where you could type your words exactly encircle with the path.. I can't explain much better.. geezzz.. a change of cursor icon (on mouse hover) that the standard Text cursor changes to the Type On Path cursor. This is how Photoshop knows and recognizes and even allows your wish to type on the path.
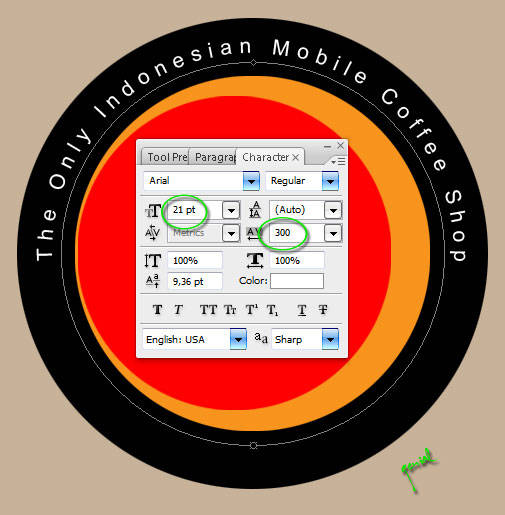
Ha ha ha... Sorry for the poor language.. kinda mess or something.. Just go ahead, click and type your text. Better things come to those who don't wait! lmao...
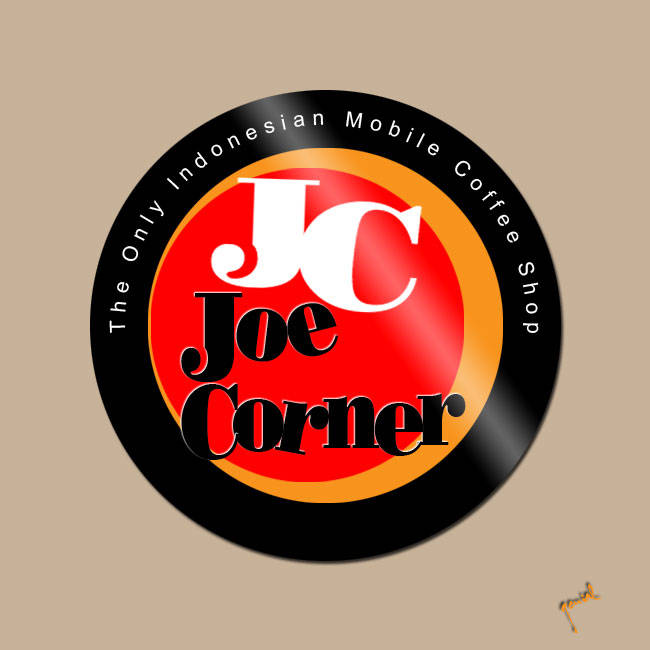
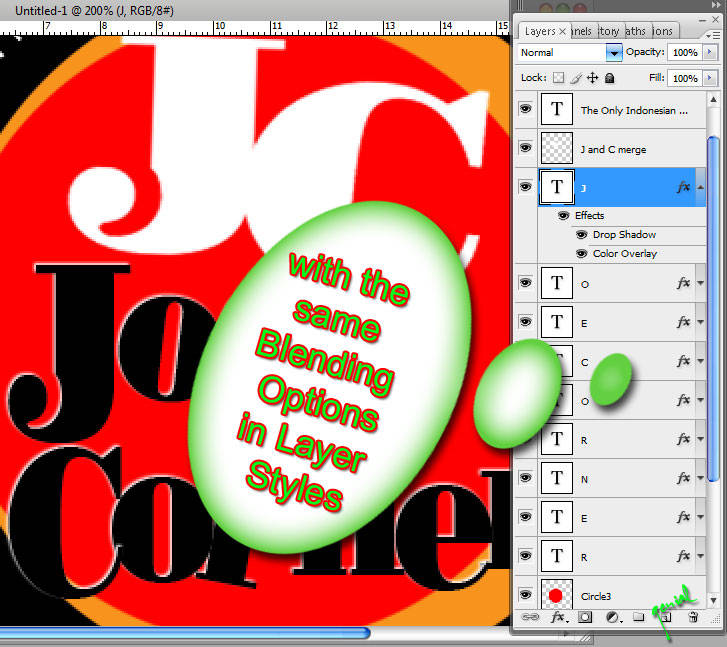
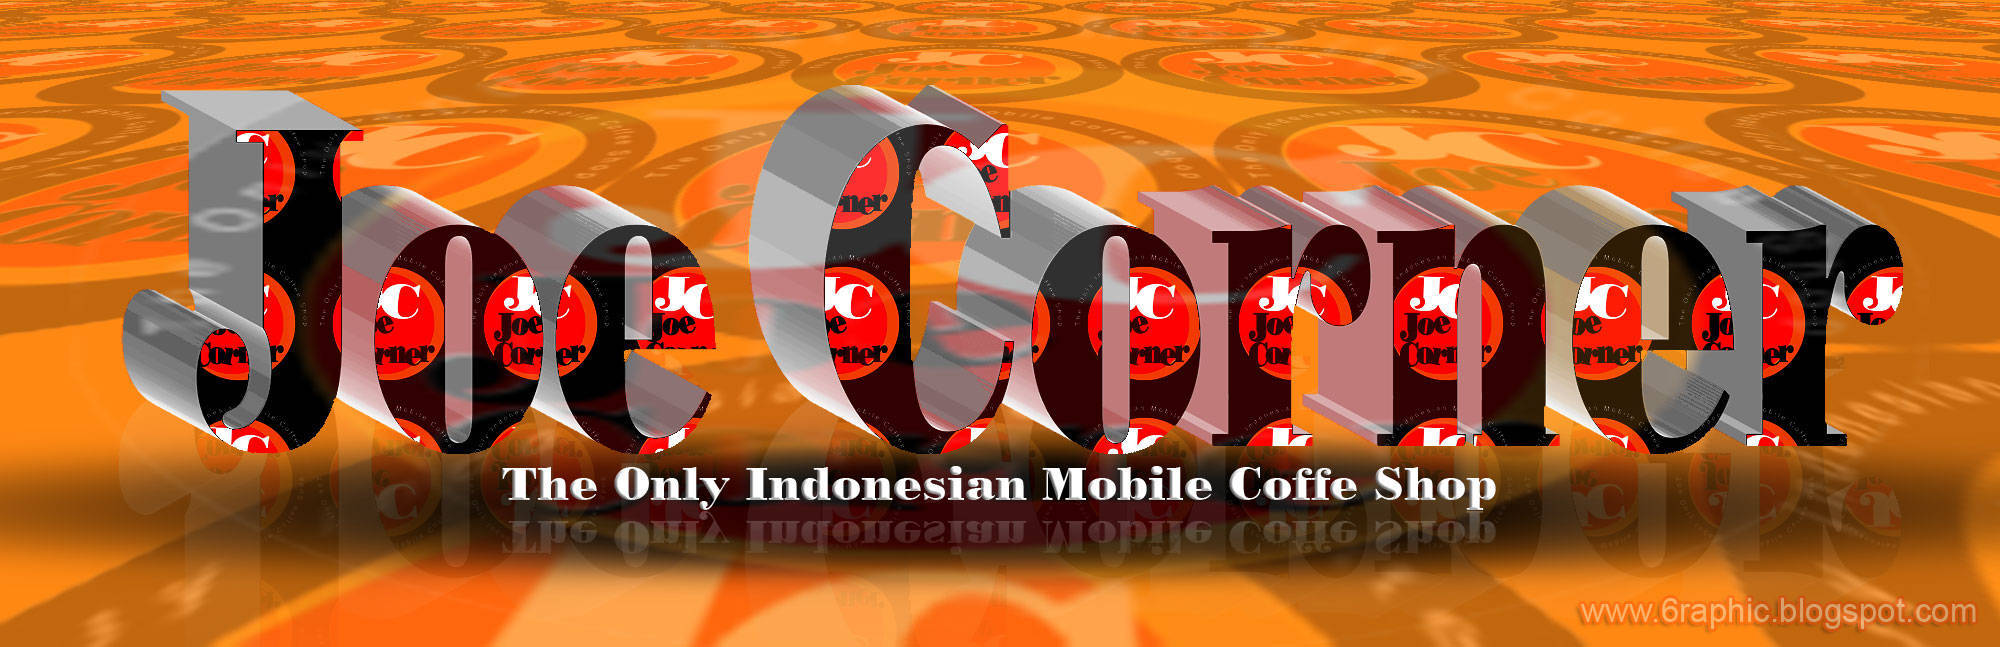
I added more Text Logo to our workflow here... using Poster Bodoni BT font family, I typed JC and Joe Corner in each single Layer for each Letter, with White Drop Shadow to each Blending Option Text Layer.
With some low highlighted reflection.. ALAKAZAM!!! The final result!!!
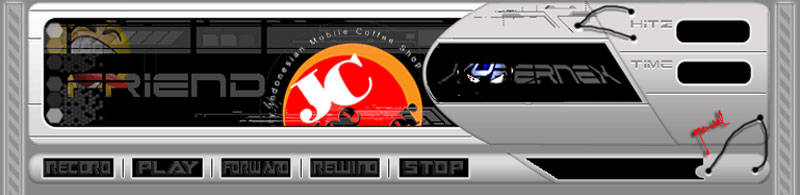
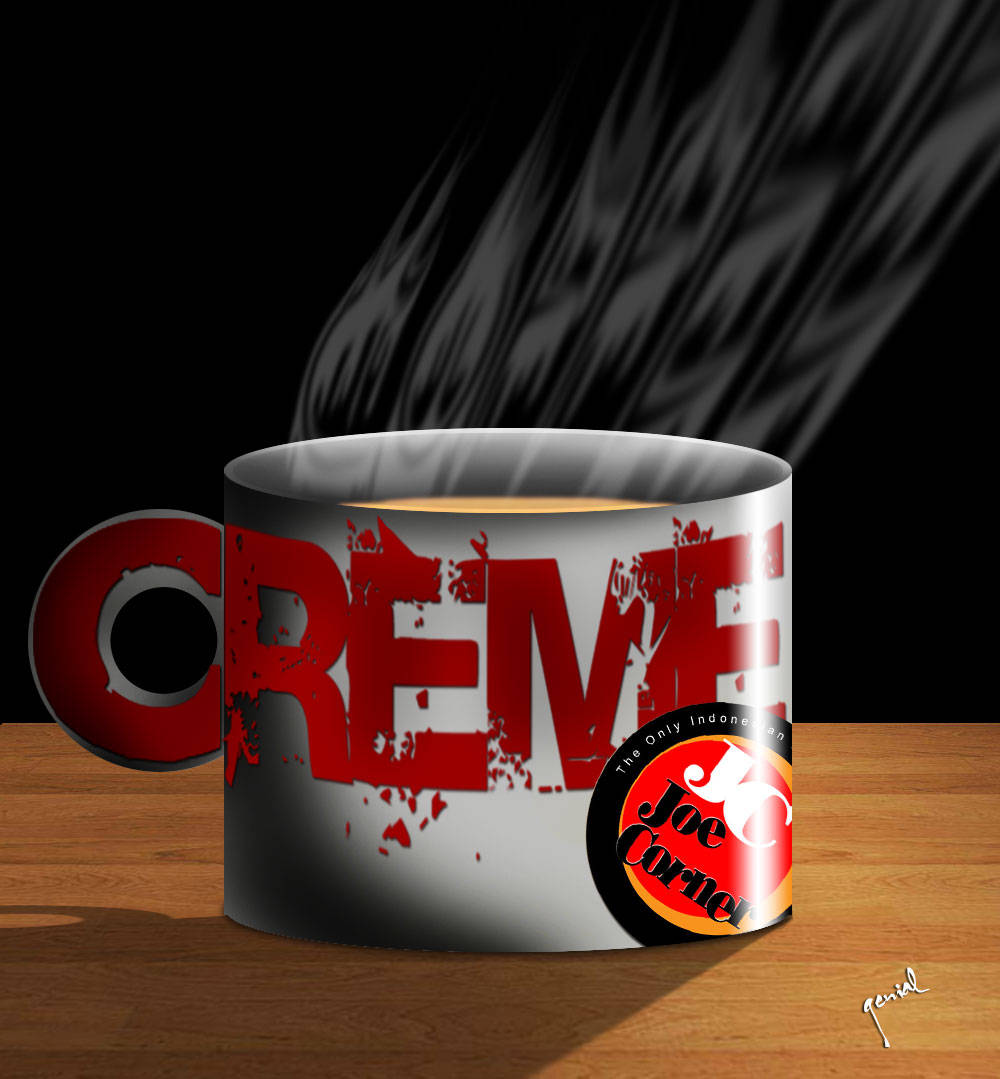
Other Samples :
Read the tutorial in Bahasa here!


Thank you my friend Genial, that 2010 are of peace, happiness and health, thank you for visit my friend. Hugs Valter.
ReplyDeleteSungguh Kalau main ksini terpesona dengan post tentang desain grafis nya..
ReplyDeleteMohn berikan sedikit kommentar bagi tampilan baru Laksamana...
Thanks
wkwkw asik banget tutornya, keren lagi bang! oh iya selamat tahun baru!
ReplyDeleteartkel wow very nice,,, ulmu should I have ... trimakasih of science that you give .. I would often come here ...
ReplyDeletewaduh, melongo terus neh kalo kesini, memang kalo master bikin ta'jub Gen.... :-)
ReplyDeletewow keren...
ReplyDeletenice info tHx dah sHare
mungkin hanya bisa 1 kartu dek, mb jg g tau, jualan link baru dgr jg heheh coyi g byk bantu :)
ReplyDeleteWah sotosop lagi kang...???
ReplyDeletebtw lemot banget blog ini kang, gak tahan inet saya.
Hasilnya menakjubkan hehehe... tapi sayang sayah ini memang nggak ada bakat di sotosop :D
ReplyDeletefinal touch yang mengagumkan.. sayangnya saya kurang tekun sama yang ribed-ribed seperti ini :(
ReplyDeletesaya akan banyak berlatih di sini... terimakasih mas tutornya...
ReplyDeleteterimakasii buat akang mba' yg berkenan hadir dan nulis beberapa patah kata di sini :)
ReplyDelete