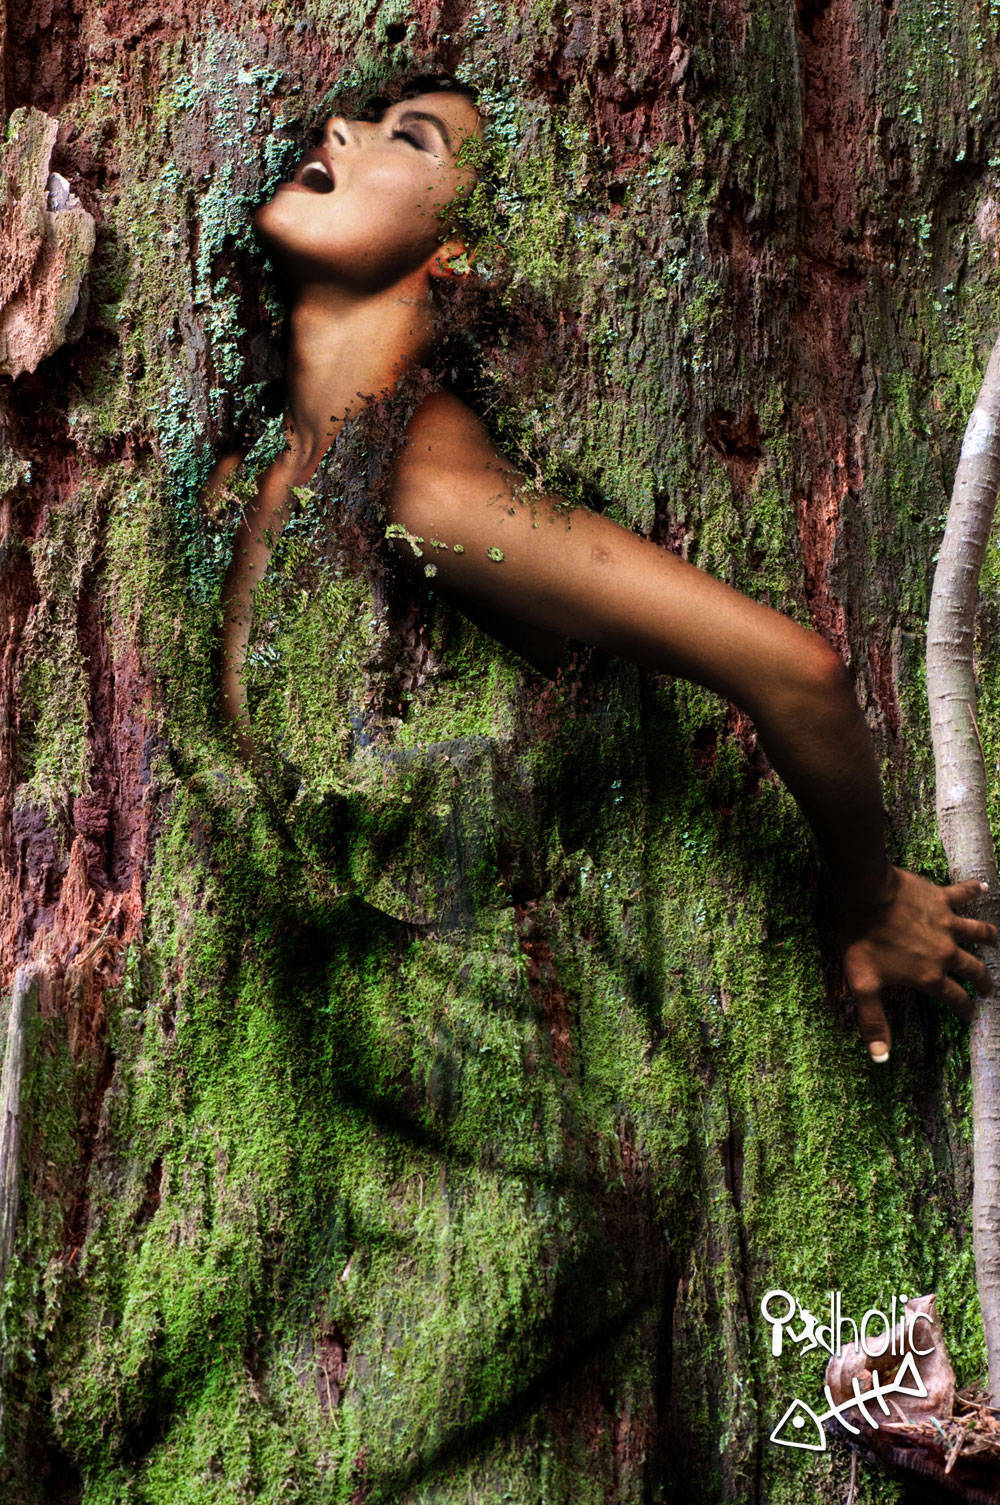
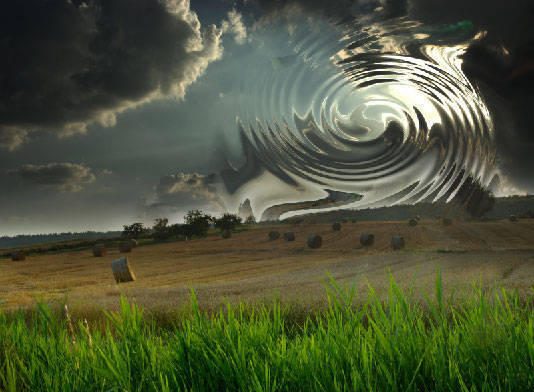
Step 1 : Displacement
The effect I used for
wormhole is easy to do and has many uses from rippling water to warping the fabric of space-time. You might be remember my other tutorial about this kinda diplacement filter? It's nice if you've had that ability first before you jump in to this Hole :p.
OK,
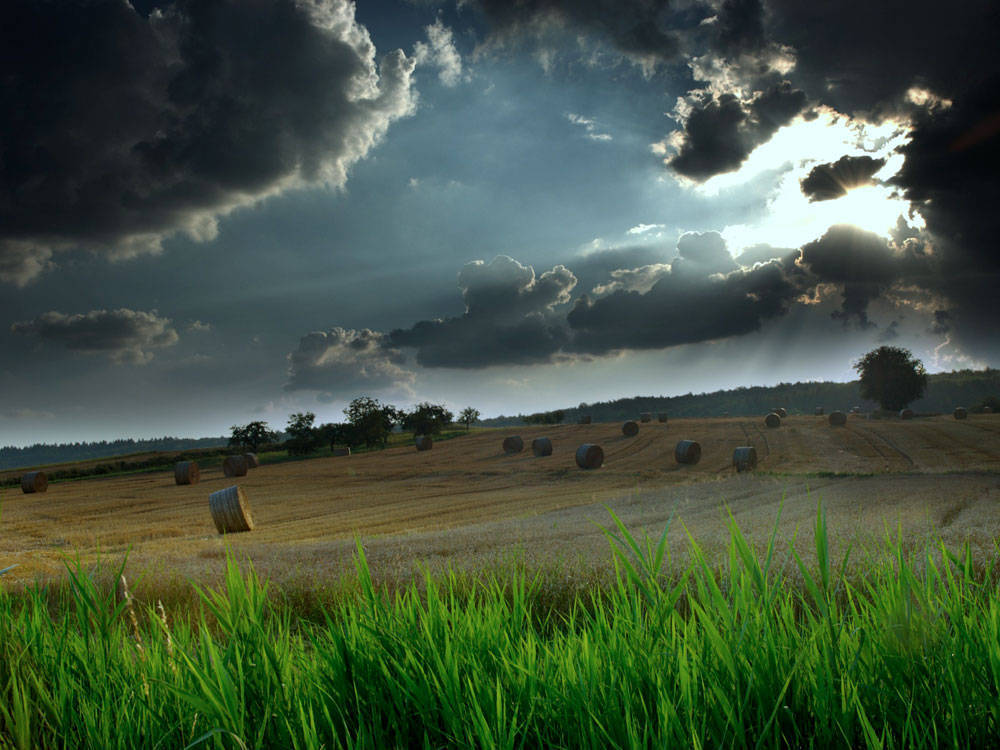
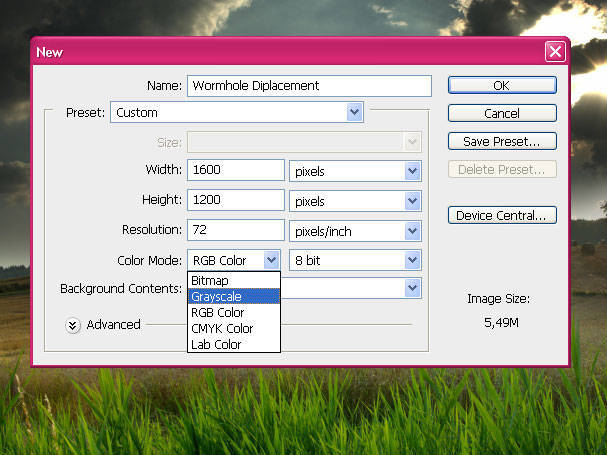
enuf mongkey bussiness, let's start off with the image you want to poke a hole in (mine is a savana kind of picture above), and create another blank image at the same size and resolution, but in grayscale, you guys could easily access this by entering menu
Image > Mode > Grayscale.
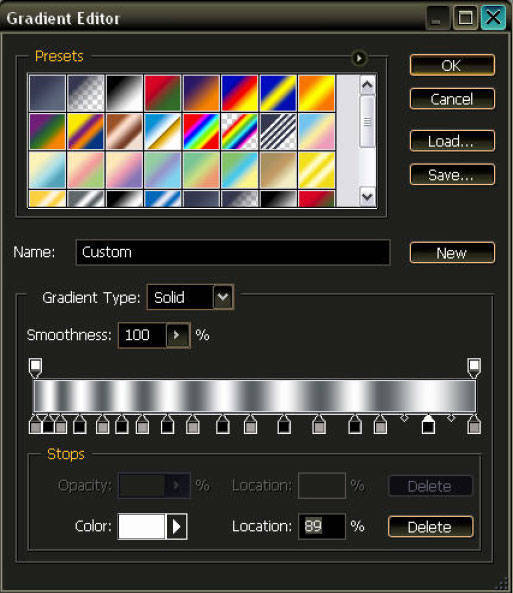
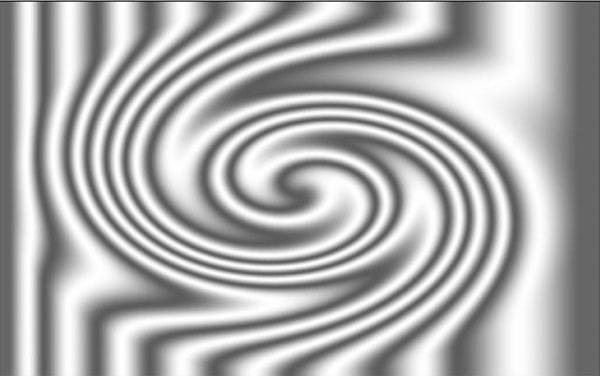
Step 2 : Making the WarpWorking on the blank image, create a new
Gradiant Fill (by clicking the
Create New Fill or
Adjustment Layer at the bottom of the palette layer), alternating dark gray and white as shown below.
The more stripes you create, the more waves your wormhole will have. For a mild ripple, use a lighter shade of gray. For a really warped look, alternate between black and white. You'll also notice I got farther apart as I moved from left to right - this detail makes the outer waves larger than the inner waves, a characteristic of rippling water. I chose a medium gray below:
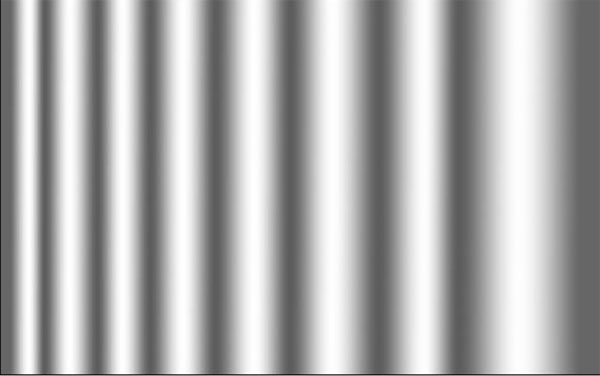
Step 3 : Twirl it!Next, you're going to apply a
Twirl filter to the gradiant. Go to the menu
Filter > Distort > Twirl. Play around with the amount to get the effect desired. It doesn't have to be perfect, there will be plenty of time for editing. I used
-450 here:
When you're happy with how it looks, save it as a
PSD file,
Wormhole Diplacement.PSD.
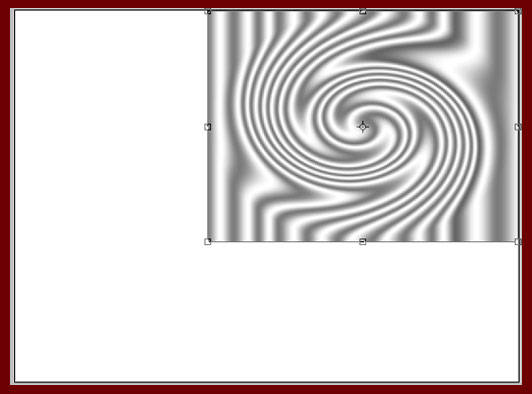
Note: Instead of the twirl filter, you can apply the gradiant as a radial (it will have a bullseye-type effect when applied). This gives you a slightly different look. Experiment!
OK! After all those steps.. we're gonna jump to the next level of this tuto. Go ahead!
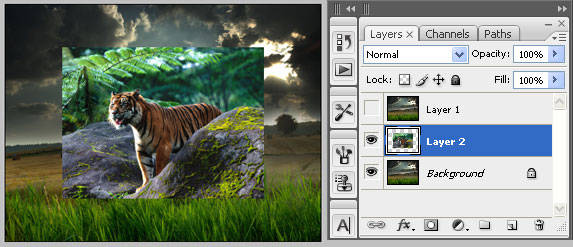
Step 4 : Setting UpBack to your source image. First, make a copy of your source onto a new layer by pressing
Ctrl + J on your keyboard or you can simply access the menu
Layer > Duplicate Layer.
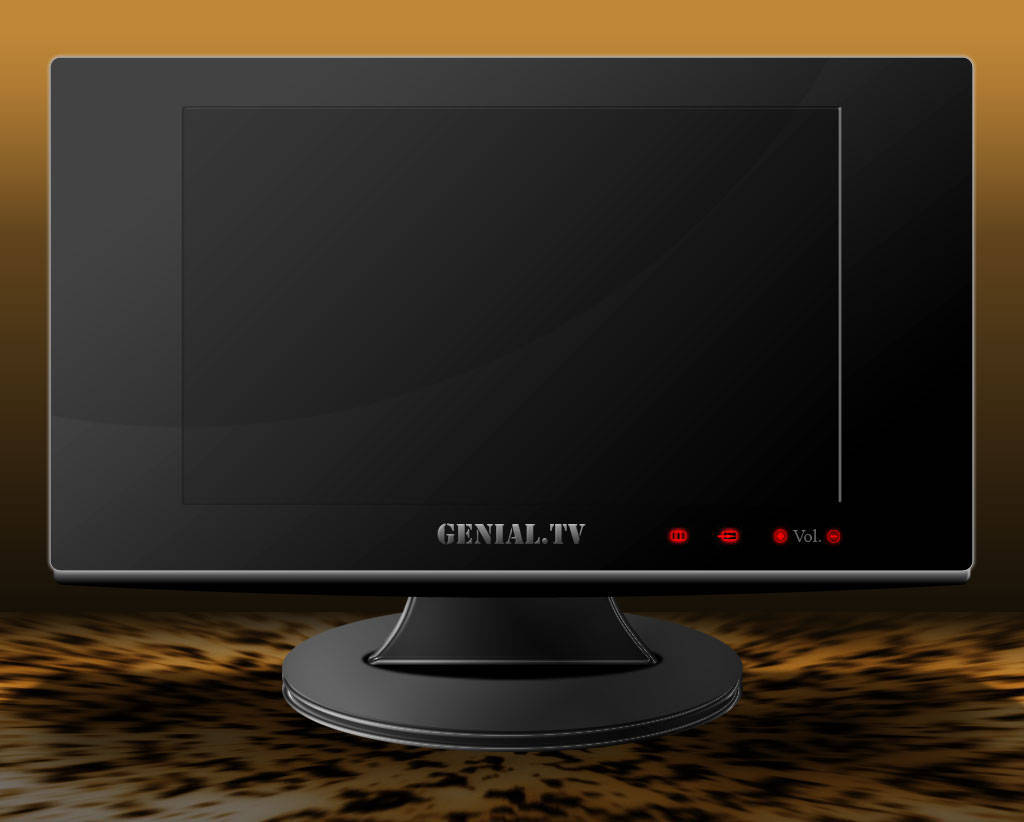
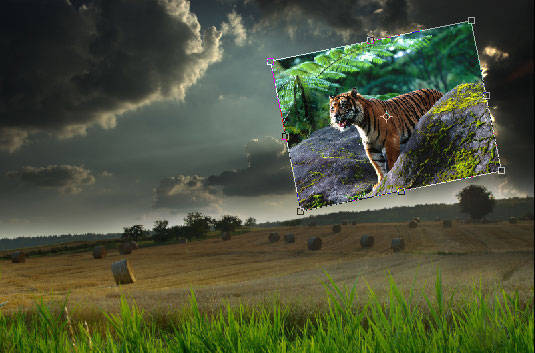
At this time, you can also place your
destination image (here I use a tiger image) between the source and the duplicate, as shown below. Note that my "destination" is much smaller than my source, sized to fit in the
hole we're going to make later. We can resize and reposition this layer as necessary once we make the hole.
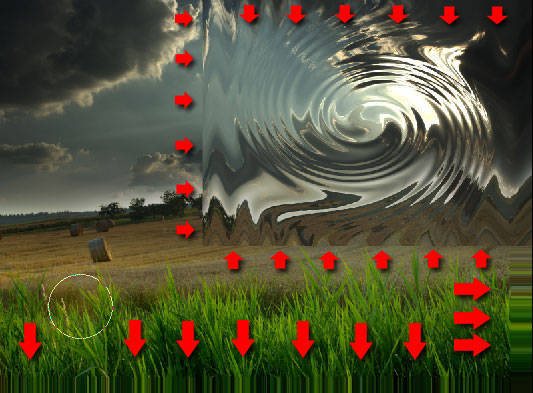
Step 5 : Warp RealityWith the top (layer 1) layer selected, apply a Displacement Filter. Go to menu
Filter > Distort > Displace. In this example, I used a horizontal and vertical scale of
50,
Stretch to Fit, and
Repeat Edge Pixels (which aren't important since the displacement map we created is the same size as our source image). Apply the filter, specifying the warp file you saved in
step 3 as the displacement map. Your image should now look like this:

For some really cool effects, try the
Liquify filter on the warp layer before starting your Layer Mask. That's the idea!
Step 6: Restore Some RealityNow you're going to define the wormhole. Apply a
Layer Mask to the displaced layer. Set your foreground color to
Black, background to
White, and select a
soft-edged brush.
Now, simply
paint around the outside of the warp to expose what's underneath it.
Remember, painting with black will Mask the area you're painting, painting with white will Reveal the area you're painting.
Simply press
X to toggle your foreground/background colors, painting in and out until you achieve the look you're going for:
Step 7 : Poke the HoleYou could use the
soft-edged brush to paint in the center hole to expose your destination, but I prefer the
Ellipse Marquee Tool (M).
Still in the
Layer Mask, use the tool to make an ellipse in the center of your warp (you'll see how to best fit it to match the warp's waves), then feather it to about
30 pixels (varies based on the resolution of your images - experiment!), and with your foreground set to
Black, press
Alt + Delete to fill the selection with black, exposing the center hole of your warp. You'll end up with something like the following:
 Step 8 : Getting Things Just Right
Now's your chance to move and resize your
destination (the Tiger layer in this example). Play around with positioning, size, levels, all that good stuff. You can also return to your
Layer Mask and touch up the
Masked and
Exposed areas of the
Warp layer.
Step 9 : Finishing TouchesTo
round off the image, I use the
Smudge tool ofcourse to smooth out any areas that seem to be too pixellated from the
Displacement filter.
Here's my final image...

I hope you find this tutorial helpful, and I'm sure you'll find many cool uses for this effect. Please message me with any questions or comments.